
The first time I tried this was an Easter when Ellie was barely two and kept trying to eat the raw beets while I prepped. We wanted something safe, no harsh chemicals, just colours from nature, and that is how I found this method. For families, this diy easter egg dye with vegetables fits right in.
What keeps me coming back is how forgiving it is. You simmer beets or turmeric, add vinegar, then let the eggs soak and the colours appear slowly, like a sunrise tugging at the sky. It feels a bit like kitchen magic when that first bright pink or blue shows up. Kids love it, parents relax a little, and you get a tiny win in a chaotic morning.
The trick is that it adapts. White eggs give bright pinks with beets, brown ones go maroon; turmeric turns white eggs a sunny yellow. It is budget friendly and kind to the planet, so you end up with an eco friendly easter vibe as well. My mum used to say nothing has to be perfect, she would shrug and put cheese on whatever was left. This recipe is like that: imperfect and full of love. Give it a go. You might surprise yourself.
Quick note: use room temperature eggs where possible. Cold eggs straight from the fridge can crack when they hit warm dye, and that ruins the look. Bring them out an hour before you start if you can. Small things, big difference.
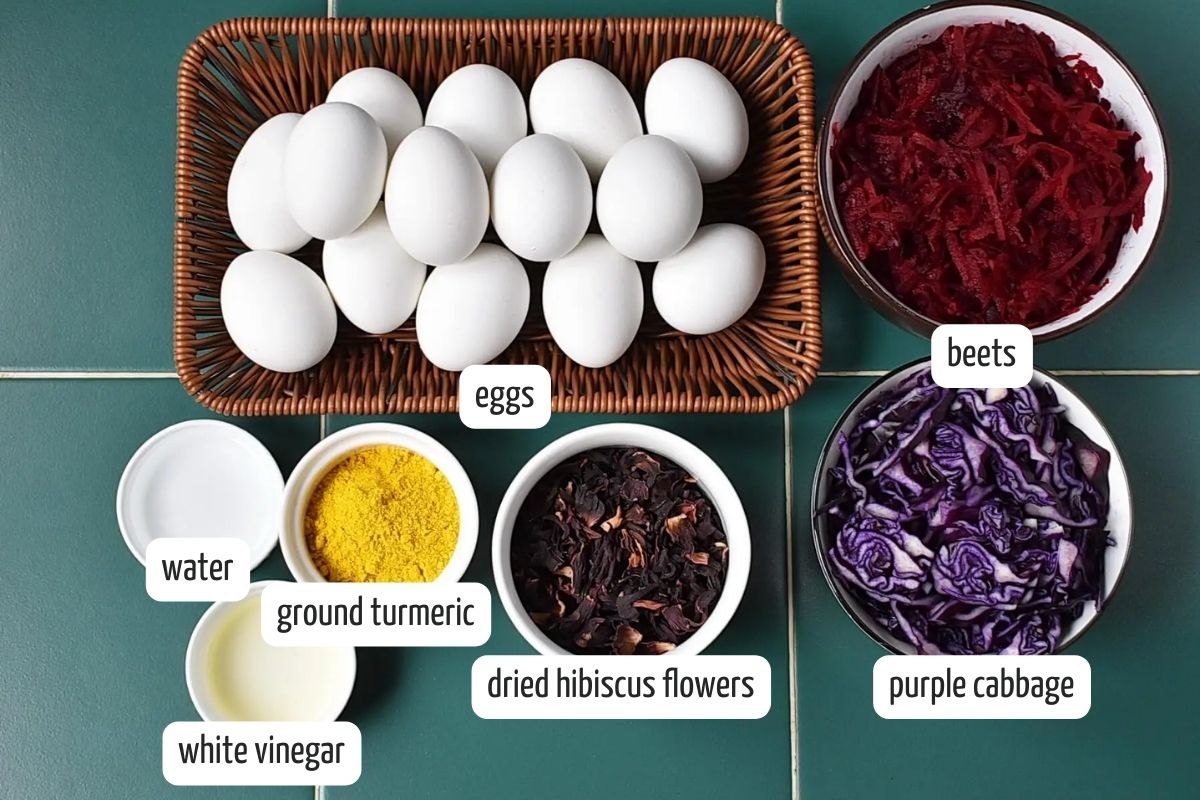
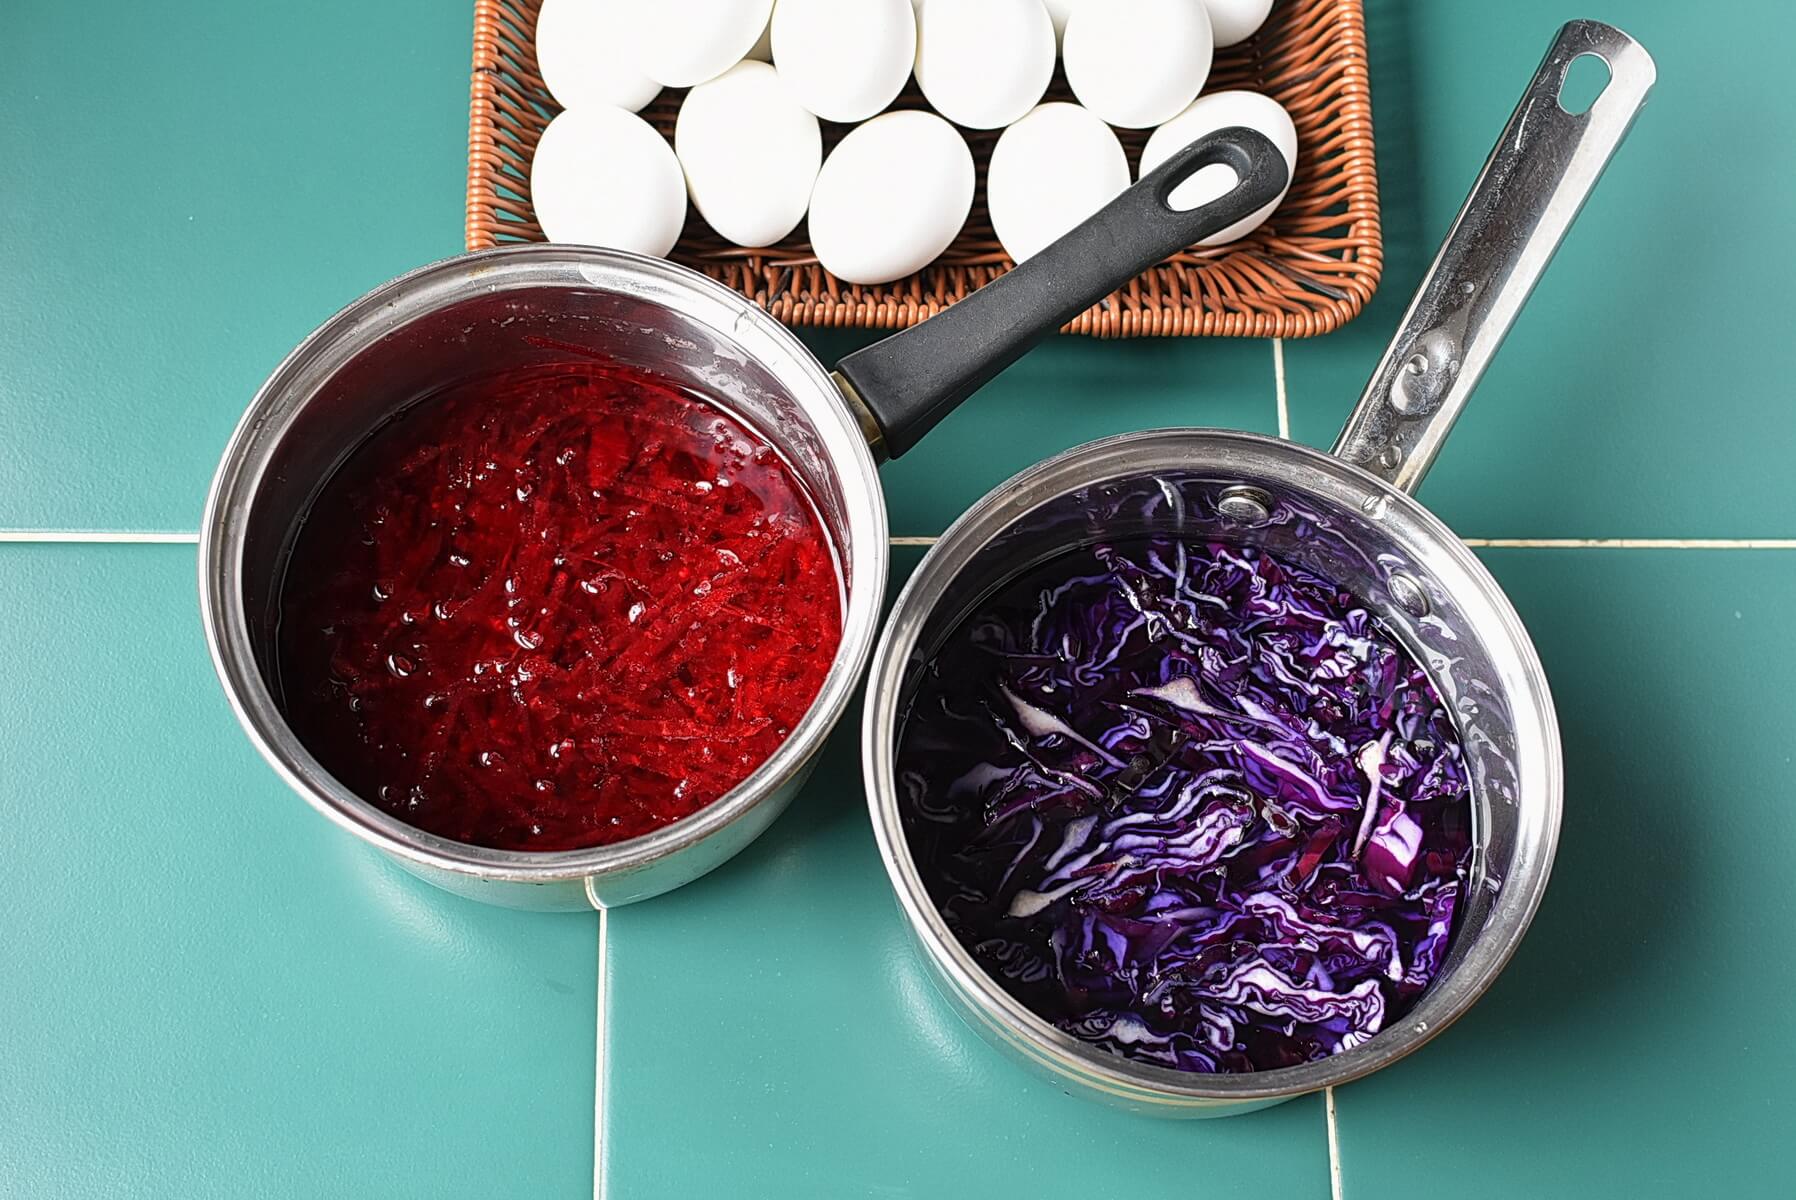
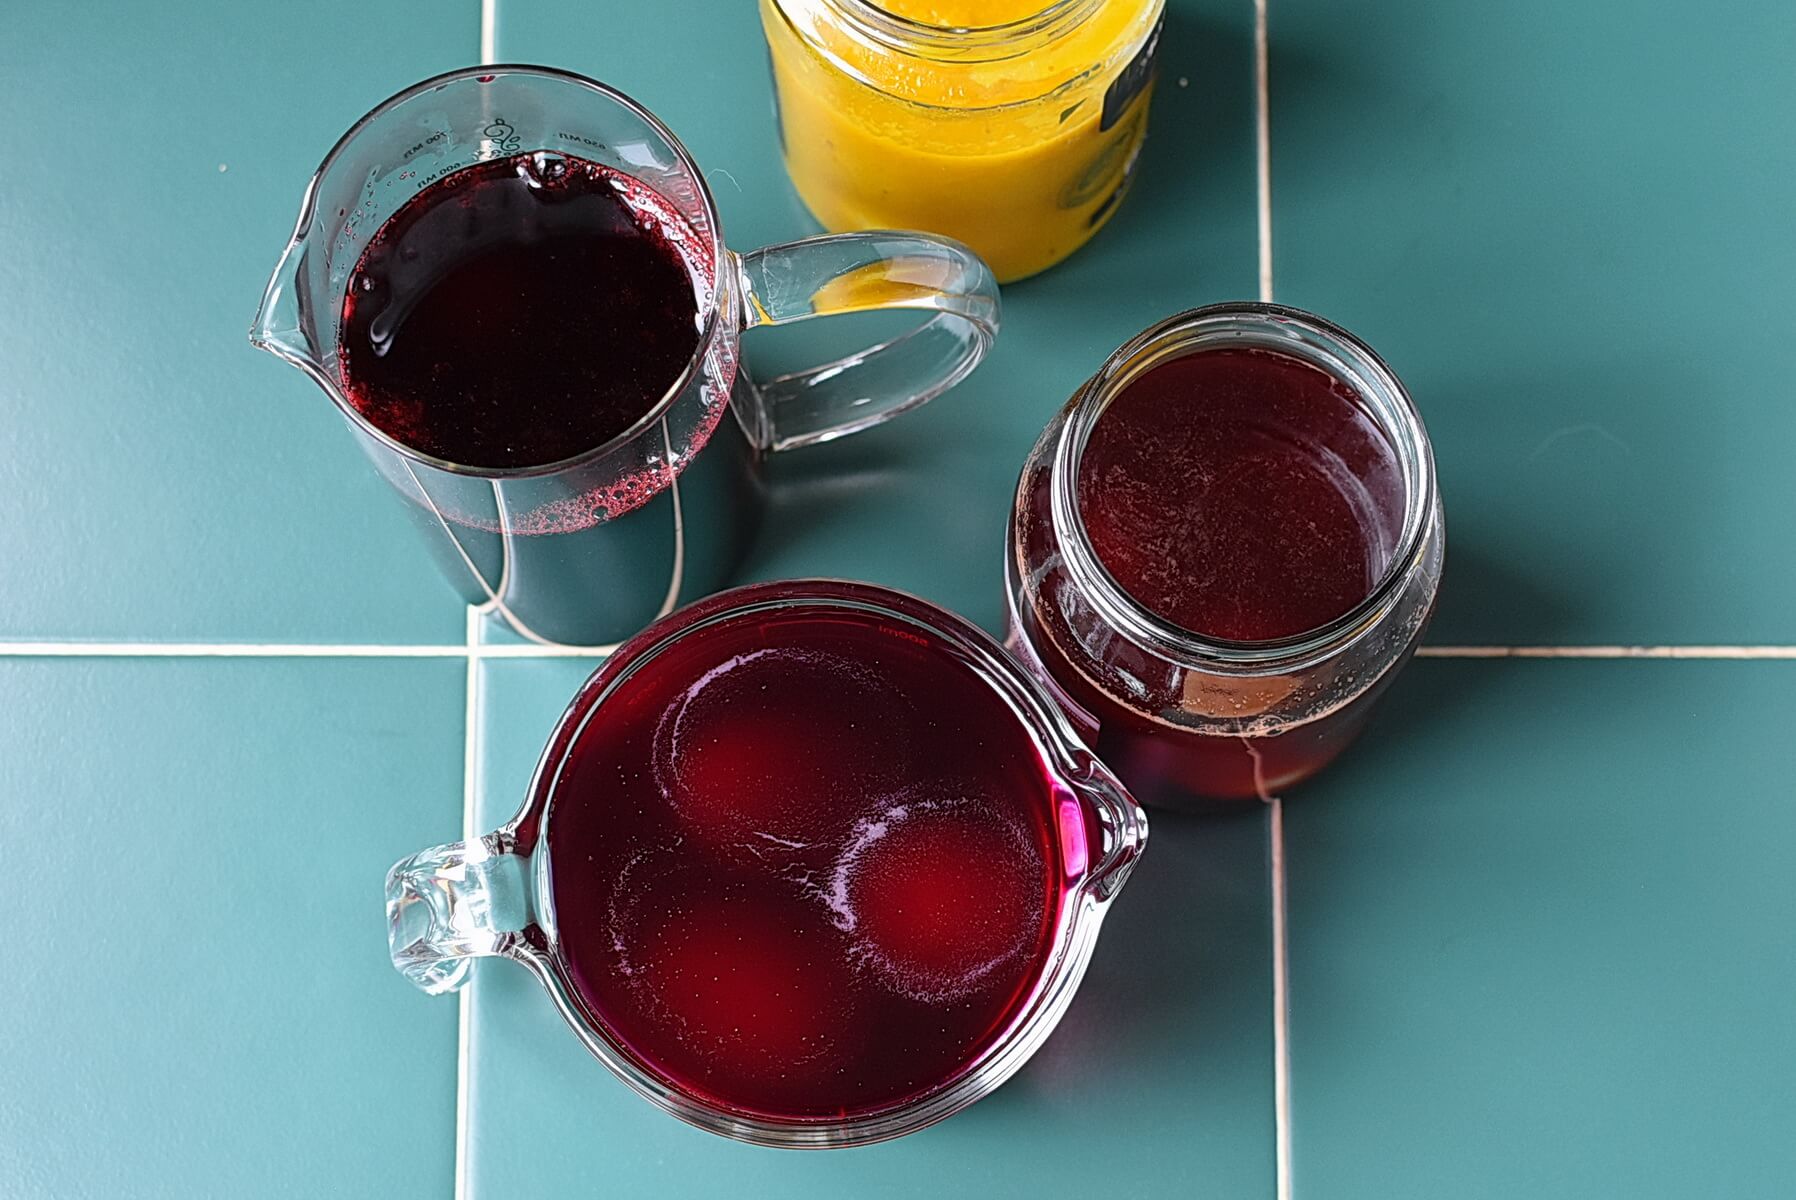
In a small saucepan over medium-high heat, add 2 cups water and the dye option of choice (shredded red beets, ground turmeric, chopped purple cabbage, or dried hibiscus flowers) and bring to a boil.
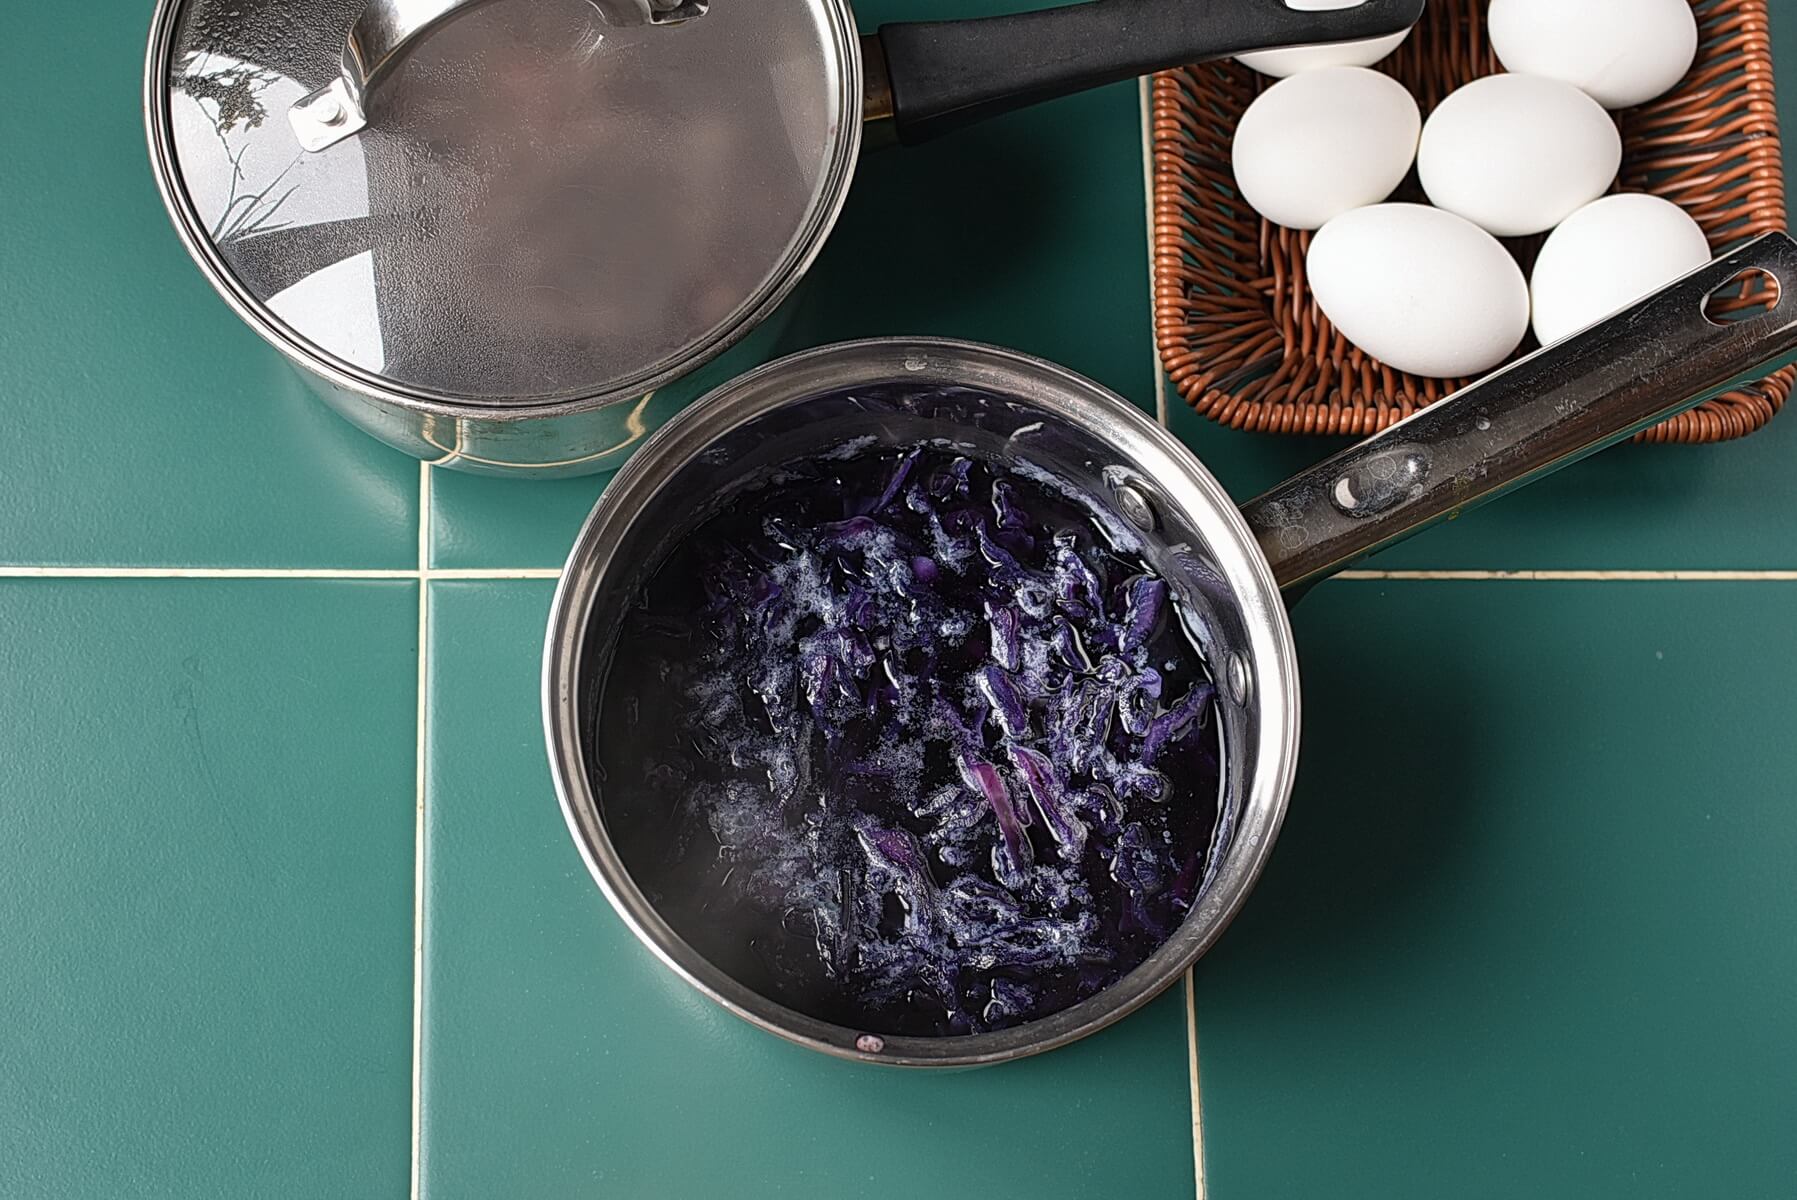
Lower the heat to low, cover, and simmer for 15 to 30 minutes until the color is slightly darker than desired for your eggs. Test the color by dropping a bit of dye onto a white dish.
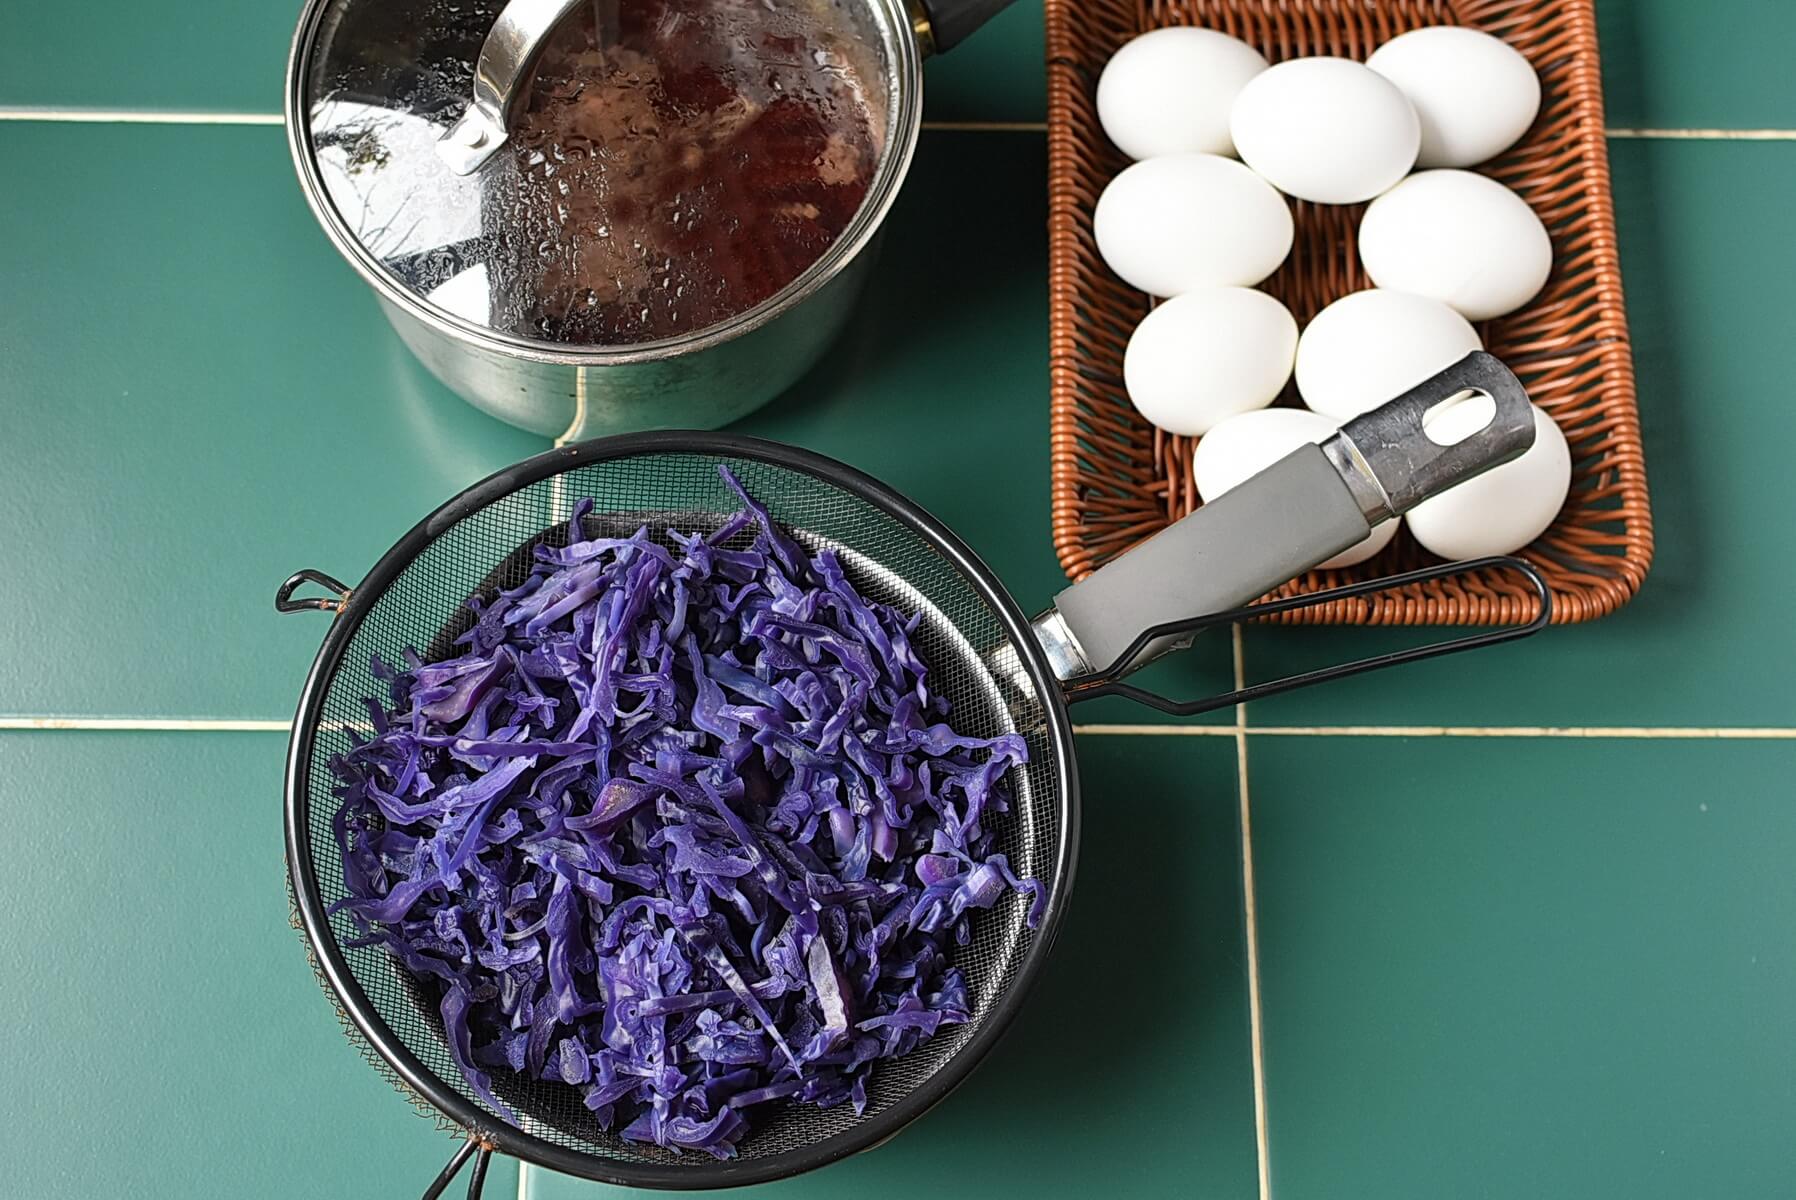

Remove the pan from heat and let it cool. Strain through a fine-mesh strainer into another bowl or saucepan, pressing on the solids to extract liquid, then discard the solids.
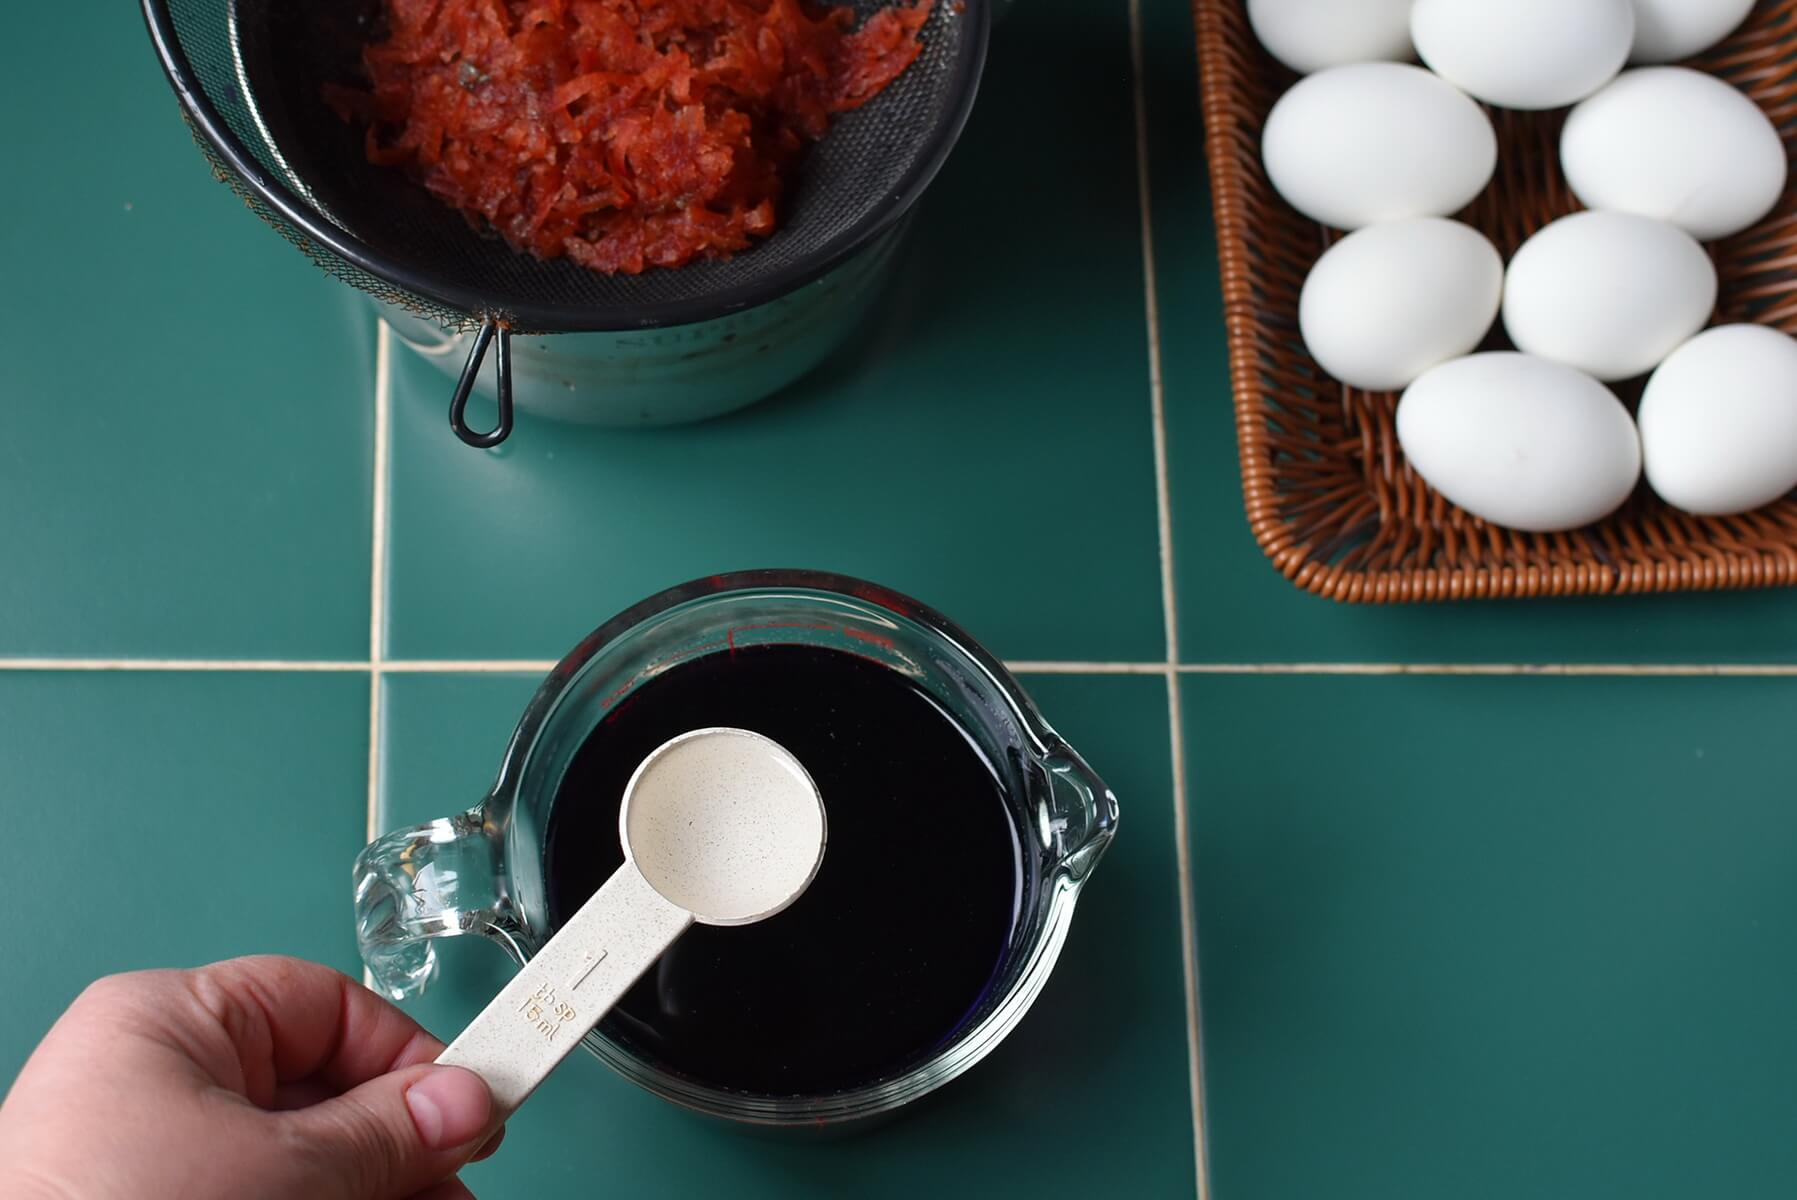
Measure the amount of the strained liquid. Add 1 tablespoon of distilled white vinegar per cup of strained liquid and stir.
Place 3 room-temperature hard-boiled eggs in a medium bowl. Pour the cooled dye over the eggs to fully submerge them. Repeat with the remaining eggs and dye. Refrigerate until chilled and the desired color is reached, a few hours or overnight.
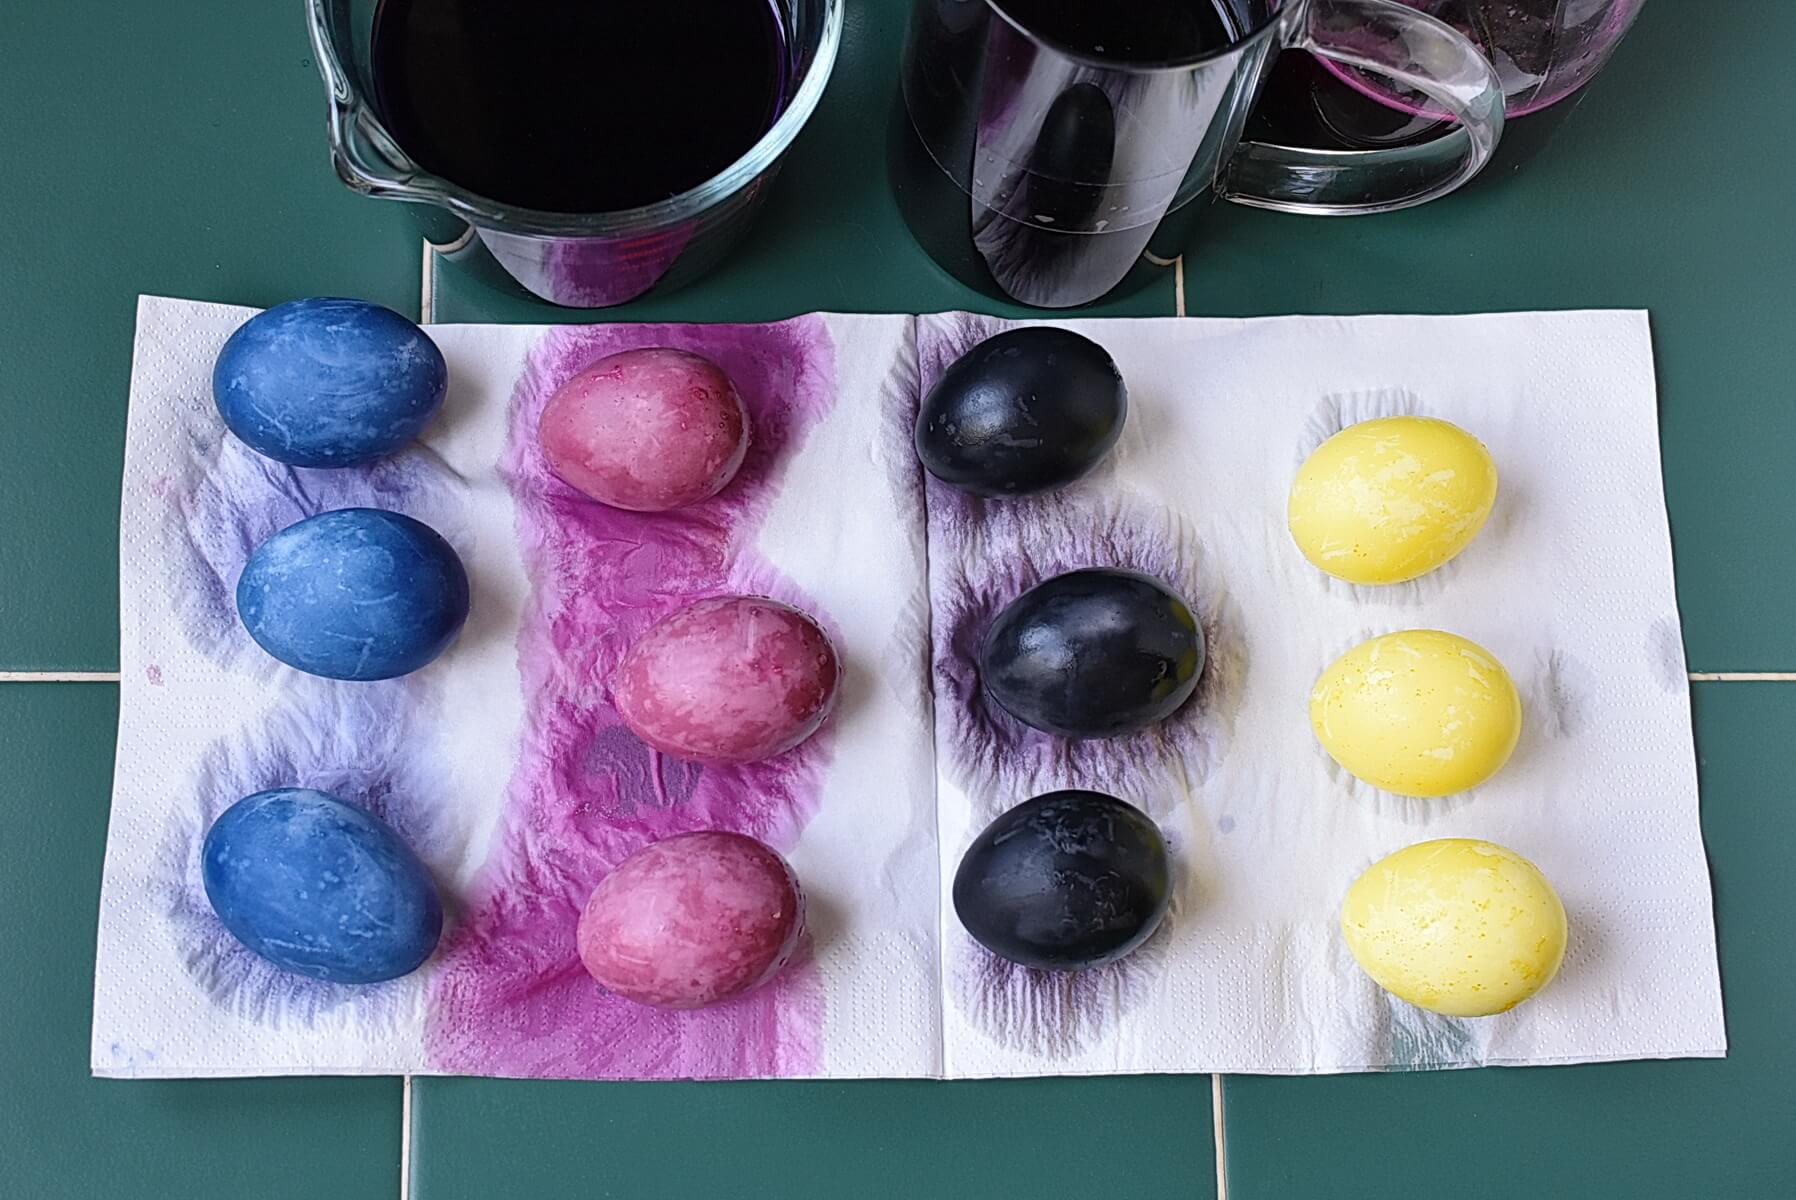
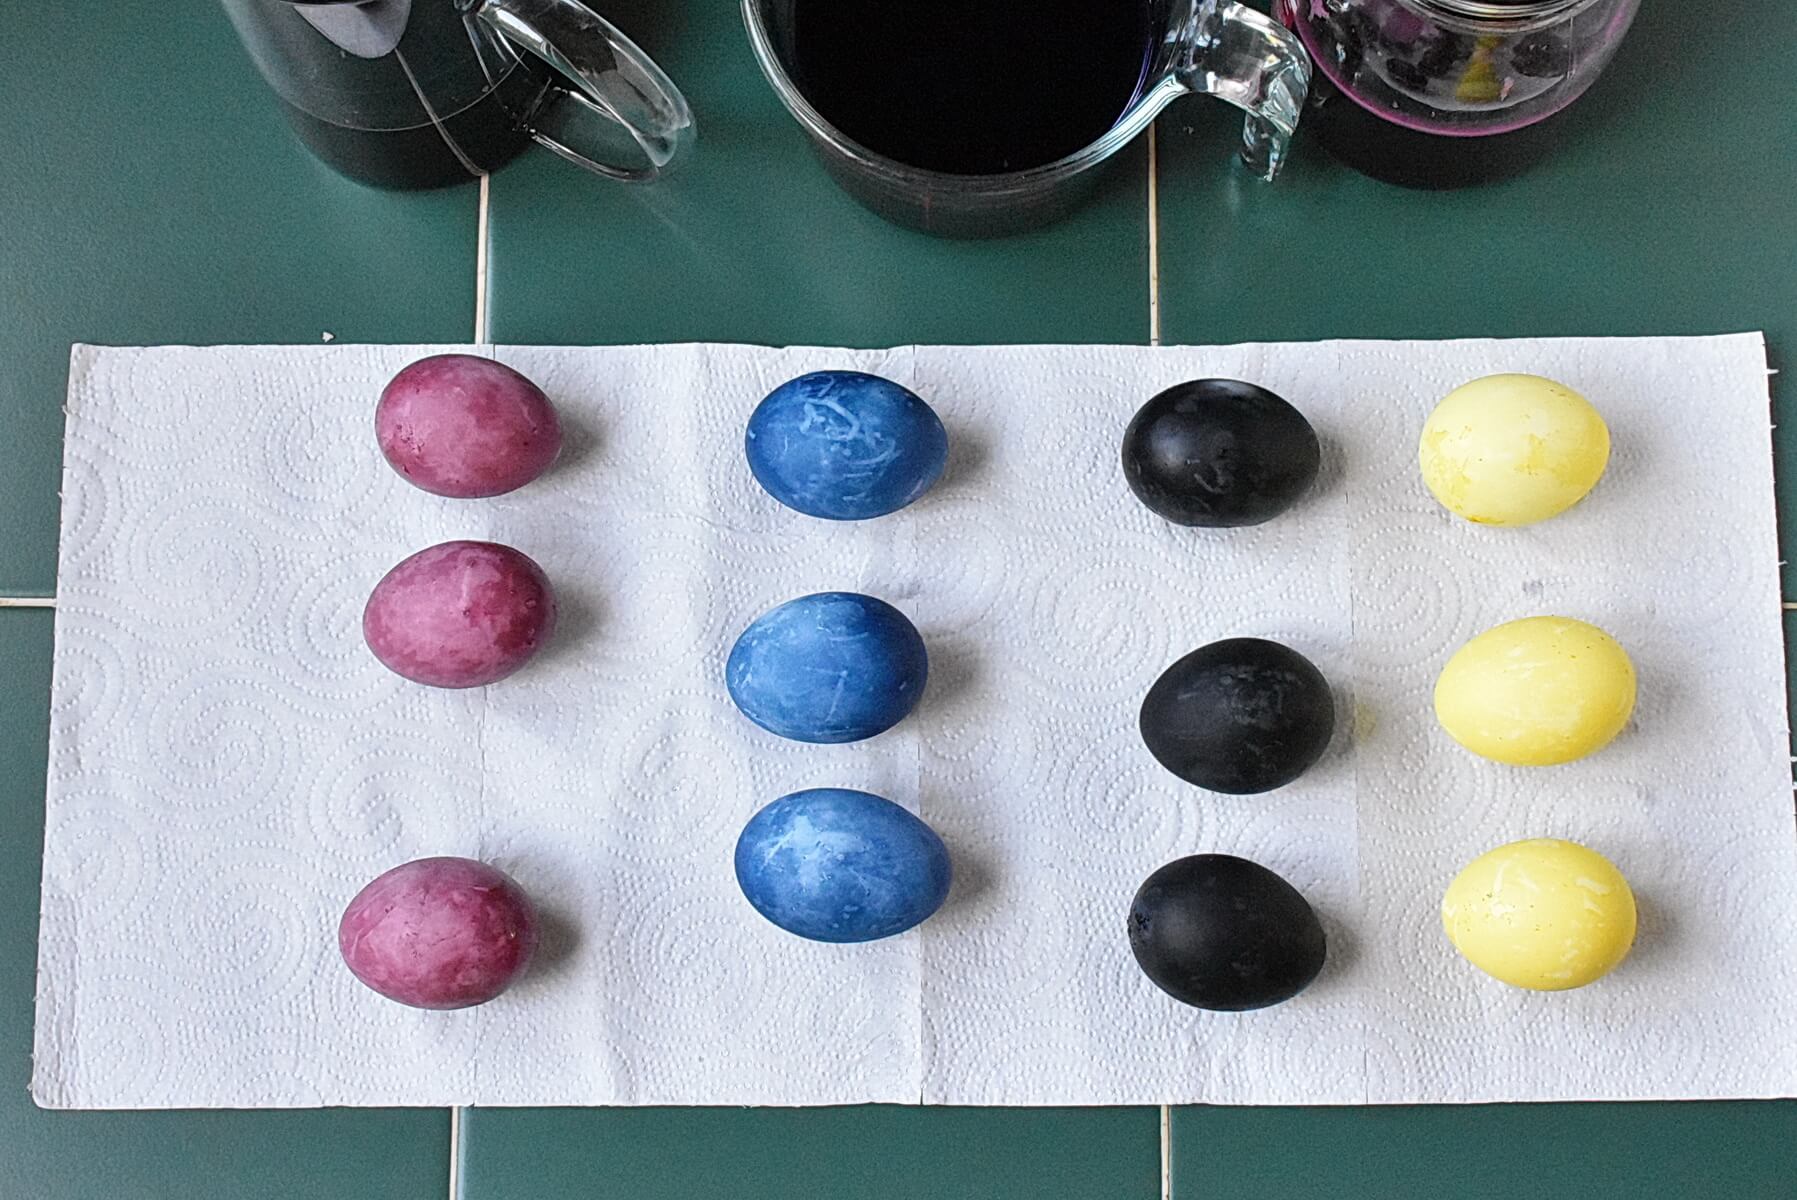
Remove the eggs and dry them with paper towels. For more vibrant colors, soak the eggs multiple times in the dye, drying them between soaks. After dyeing the eggs, dry each one with a paper towel.
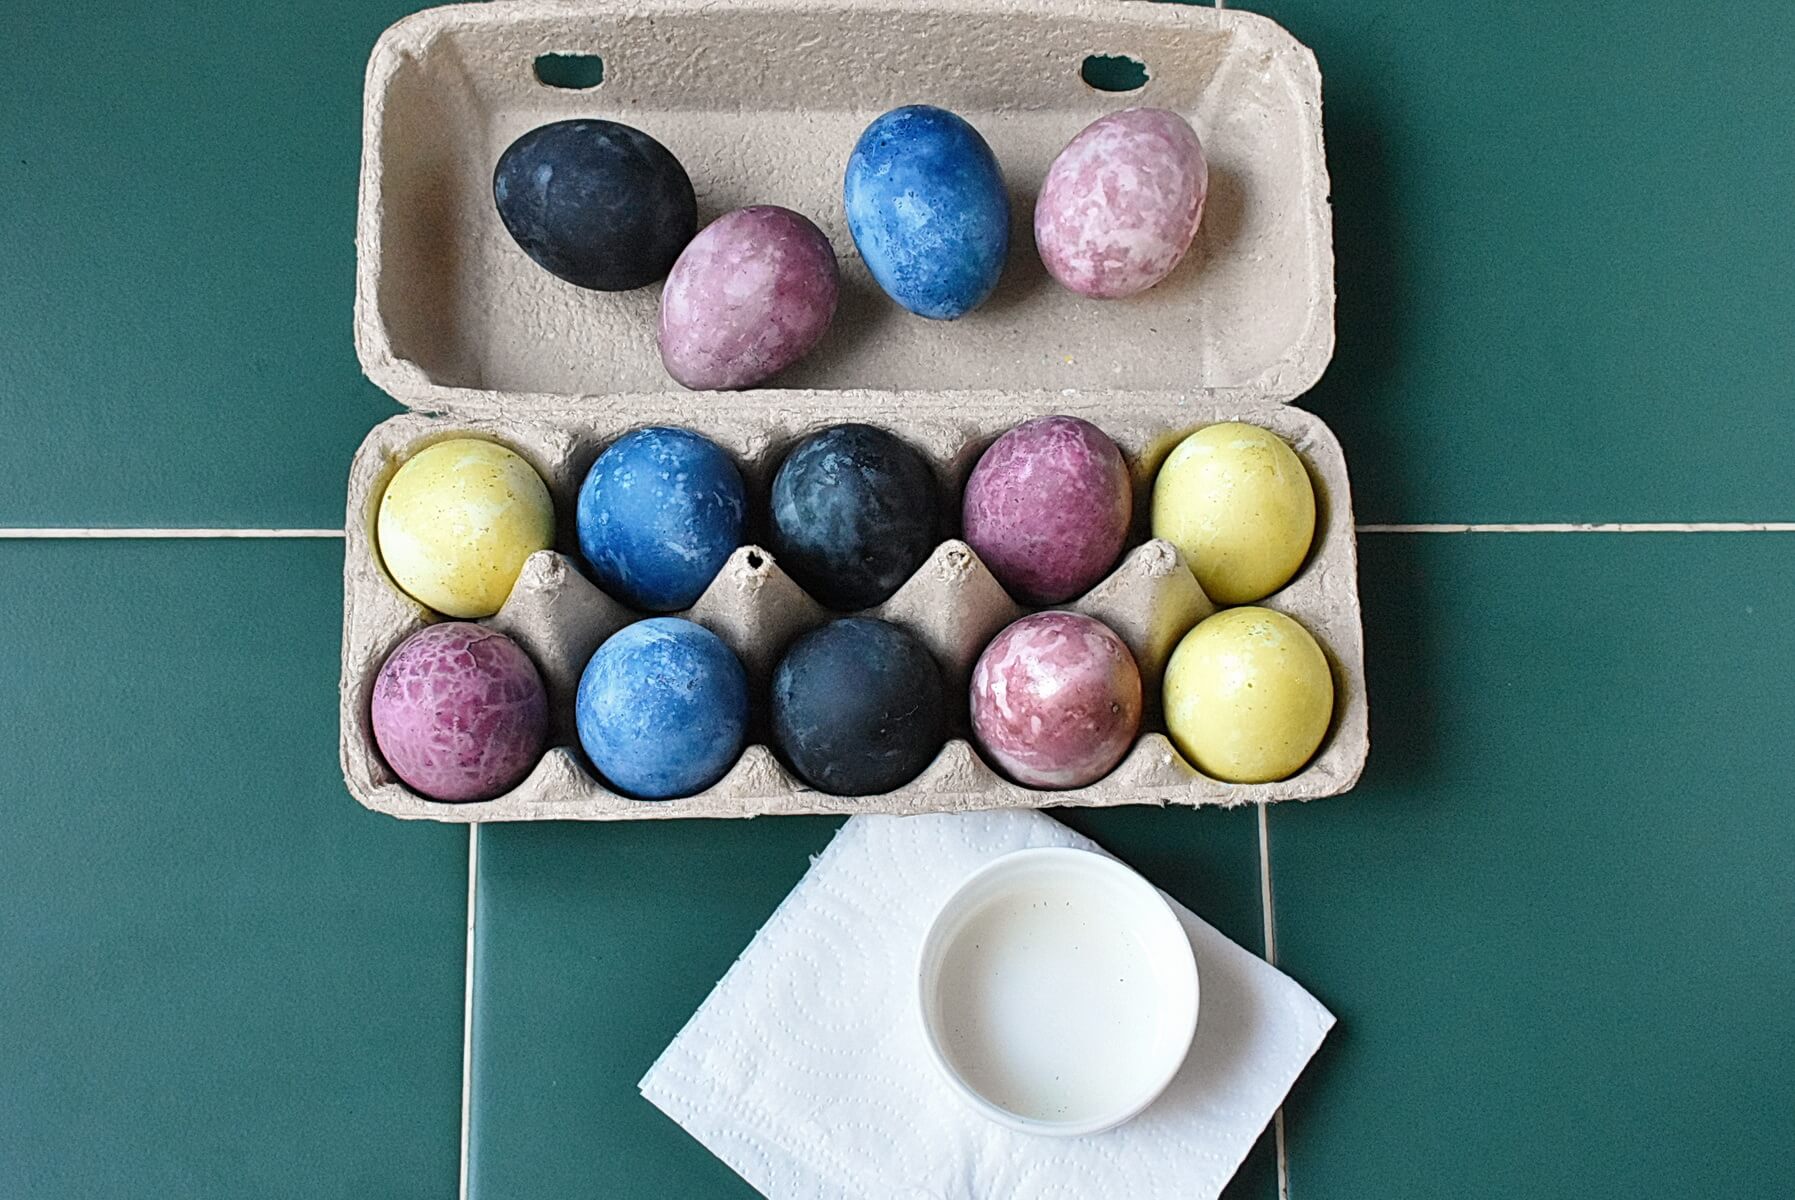
Rub a little oil into each egg and polish with a paper towel. Refrigerate the eggs until ready to use.

Serve and enjoy. Happy Easter!
You’ll need a small saucepan for simmering the dyes, something sturdy that will not fuss with the heat. A fine mesh strainer is really useful for separating the liquid from the solids; I press down on the boiled bits to squeeze every drop of colour out. Use medium sized bowls for submerging the eggs. Glass or ceramic works well and lets you watch the colour develop.
Measure the vinegar with measuring spoons. I use one tablespoon per cup of strained liquid because it helps the colour stick. A slotted spoon or tongs are handy for lifting eggs out without splashing. Paper towels for drying and a soft cloth or neutral oil like vegetable or grapeseed for polishing at the end. Oh, and a grater if you are shredding beets yourself. Clearing some fridge space beforehand saves a small panic later.
Actually, scratch that last bit. Fun starts when you pull everything out and Ellie turns prep into a game. It keeps the energy up and gets the job done faster.
Temperature matters. Use room temperature eggs and keep an eye on simmer times. I usually simmer the dye for 15 to 30 minutes. Too short and the colour is pale, too long and it can go muddy. Test a drop on a white dish; the liquid should be a bit darker than the shade you want because eggs lighten as they dry.
Vinegar is important. Pop in one tablespoon for every cup of strained liquid. It helps the colour stick to the shell so the shade lasts through hunts and display. I once used apple cider by mistake and the eggs came out a bit brownish. Lesson learnt, distilled white vinegar is my go to now.
For richer hues, soak multiple times, drying between dips. It builds layers of colour like coats of paint. Keep the eggs refrigerated during long soaks so everything stays safe. And at the end, rub a tiny bit of neutral oil into each egg and buff with a paper towel to add a lovely shine. It makes them look special, not just coloured.
If your goal is coloring eggs naturally, start with good produce. Old cabbage gives weak blues, tired beets give muddy pinks. Fresh ingredients usually give the best results. You will probably mess up the first batch, and that is fine. I have beet stained hands to prove it.
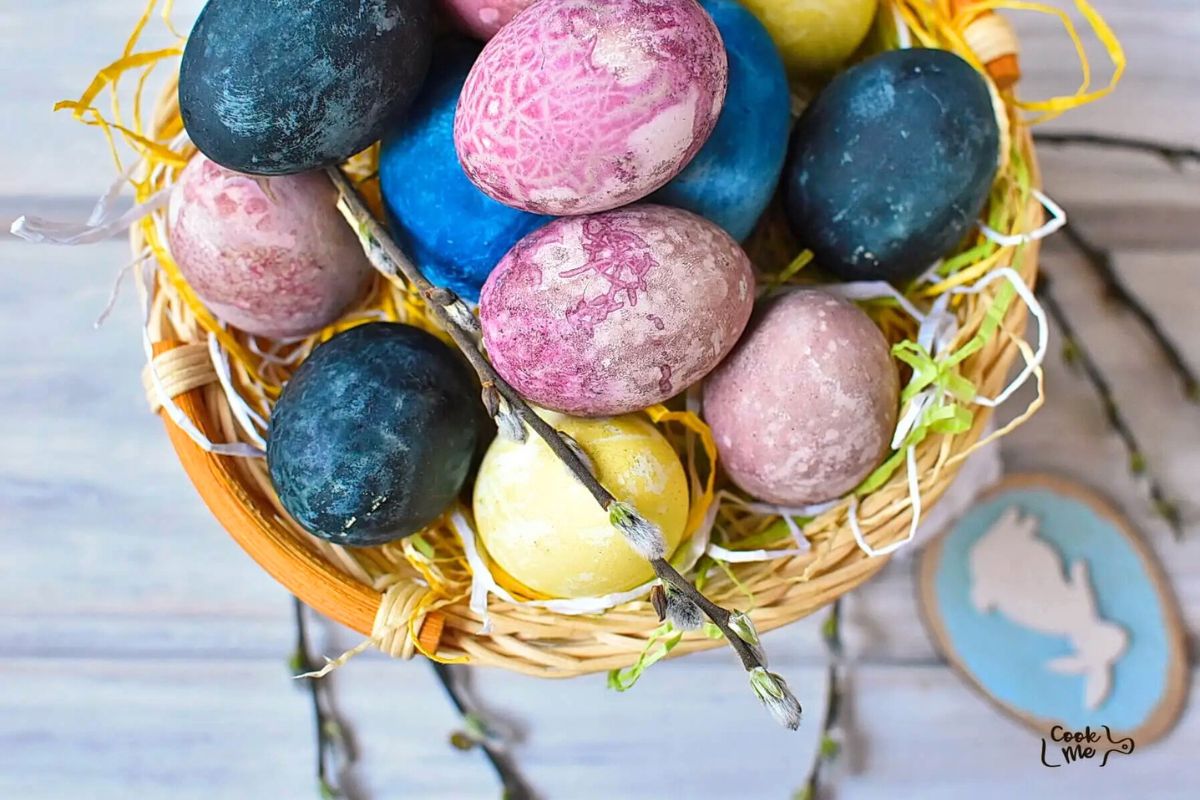
Try dried hibiscus flowers for soft indigo or lavender tones. Use two cups of dried blooms and simmer as usual. On white shells you get a gentle purple, on brown shells a deeper violet. I did this last Easter and Ellie called them princess eggs. Soak overnight for more intensity but be aware cheap hibiscus can fade, so source good stuff if you want lasting colour.
This natural dye with turmeric and beets is great, but try turmeric with a pinch of saffron for extra warmth. Use a quarter cup ground turmeric and a few saffron threads, simmer for 20 minutes and strain. White eggs come out sunny gold, brown eggs go more mustardy. Turmeric stains, so wear an apron. Multiple soaks take it to deeper amber shades.
What to do with purple cabbage? Turn it green on brown eggs or blue on white. Chop two cups and simmer about 25 minutes. Add a handful of spinach leaves for deeper greens. It smells strong while cooking, so open a window. The result is earthy, mossy colours that feel right for nature themed hunts.
These eggs brighten up brunch. Nestle them in a woven basket on faux grass for display. For eating, peel and slice into salads where the colours add whimsy like confetti. Pair with fresh bread and cheese or a light vinaigrette to balance the yolk richness.
Homemade food coloring from the strained dyes can be used for frostings or playdough for crafts. Ellie loves mixing a little into her playdough and it feels safe and fun. For savoury platters try devilled eggs piped with a herby yolk mix. Colours make everything more festive.
Can I use fresh beets instead of shredded? Absolutely. Fresh chunky beets work fine, but shredding releases colour faster. If chopping, simmer about 25 minutes and test the shade.
How long can these dyed eggs last in the fridge? About a week if refrigerated properly. Vinegar helps preserve them but eat sooner for best texture and flavour. If anything smells odd or feels slimy, throw it out.
What if my colours come out too pale? Resoak the eggs in fresh dye and dry between soaks. You can also reduce the dye liquid by simmering it down before adding vinegar to concentrate the pigment.
Is there a way to make this without vinegar? You can try lemon juice but vinegar is the most reliable. Lemon gives a faint citrus tang that worked okay when I was out of vinegar once.
Can I dye eggs that are not hard boiled? I would not recommend it. Hard boiled eggs hold colour more evenly and are safer for handling with kids around.
what to do with purple cabbage Turn it into blue or green dye and experiment with spinach to deepen greens. It is messy but worth the surprise colours.
Natural Egg Dye is a fun and creative way to add color to your Easter celebration without relying on artificial ingredients. Using everyday items from your kitchen, you can transform plain eggs into vibrant works of art. This method not only brings a lovely touch to your festivities but also embraces the beauty of natural ingredients. Have you tried this recipe? Snap a photo and tag us on social with @CookMeRecipes and #cookmerecipes. We love seeing your creations!

Great! now I know how to dye Easter eggs.