This is my secret weapon recipe for when the kids want something sweet and I need a win that does not involve the blender exploding or me reinventing the pantry. Last week my fridge was full of cream about to expire and that was the perfect excuse to make something everyone would actually eat. It is a simple, reliable homemade vanilla ice cream without eggs that I reach for when time is short and drama is high.
It turns out so creamy and smooth it feels like a proper hug in a bowl. It melts on the tongue, no funny textures, just pure vanilla happiness. Trust me. I prefer it to the tubs from the shop because it tastes fresher and less fake, and you can whisper to yourself that you made this while also folding laundry. Small victories.
I am not pretending this is fancy. It is honest, quick, and forgiving. Perfect for a chaotic kitchen where a toddler may demand a parade and the dog is judging snack choices. Really.

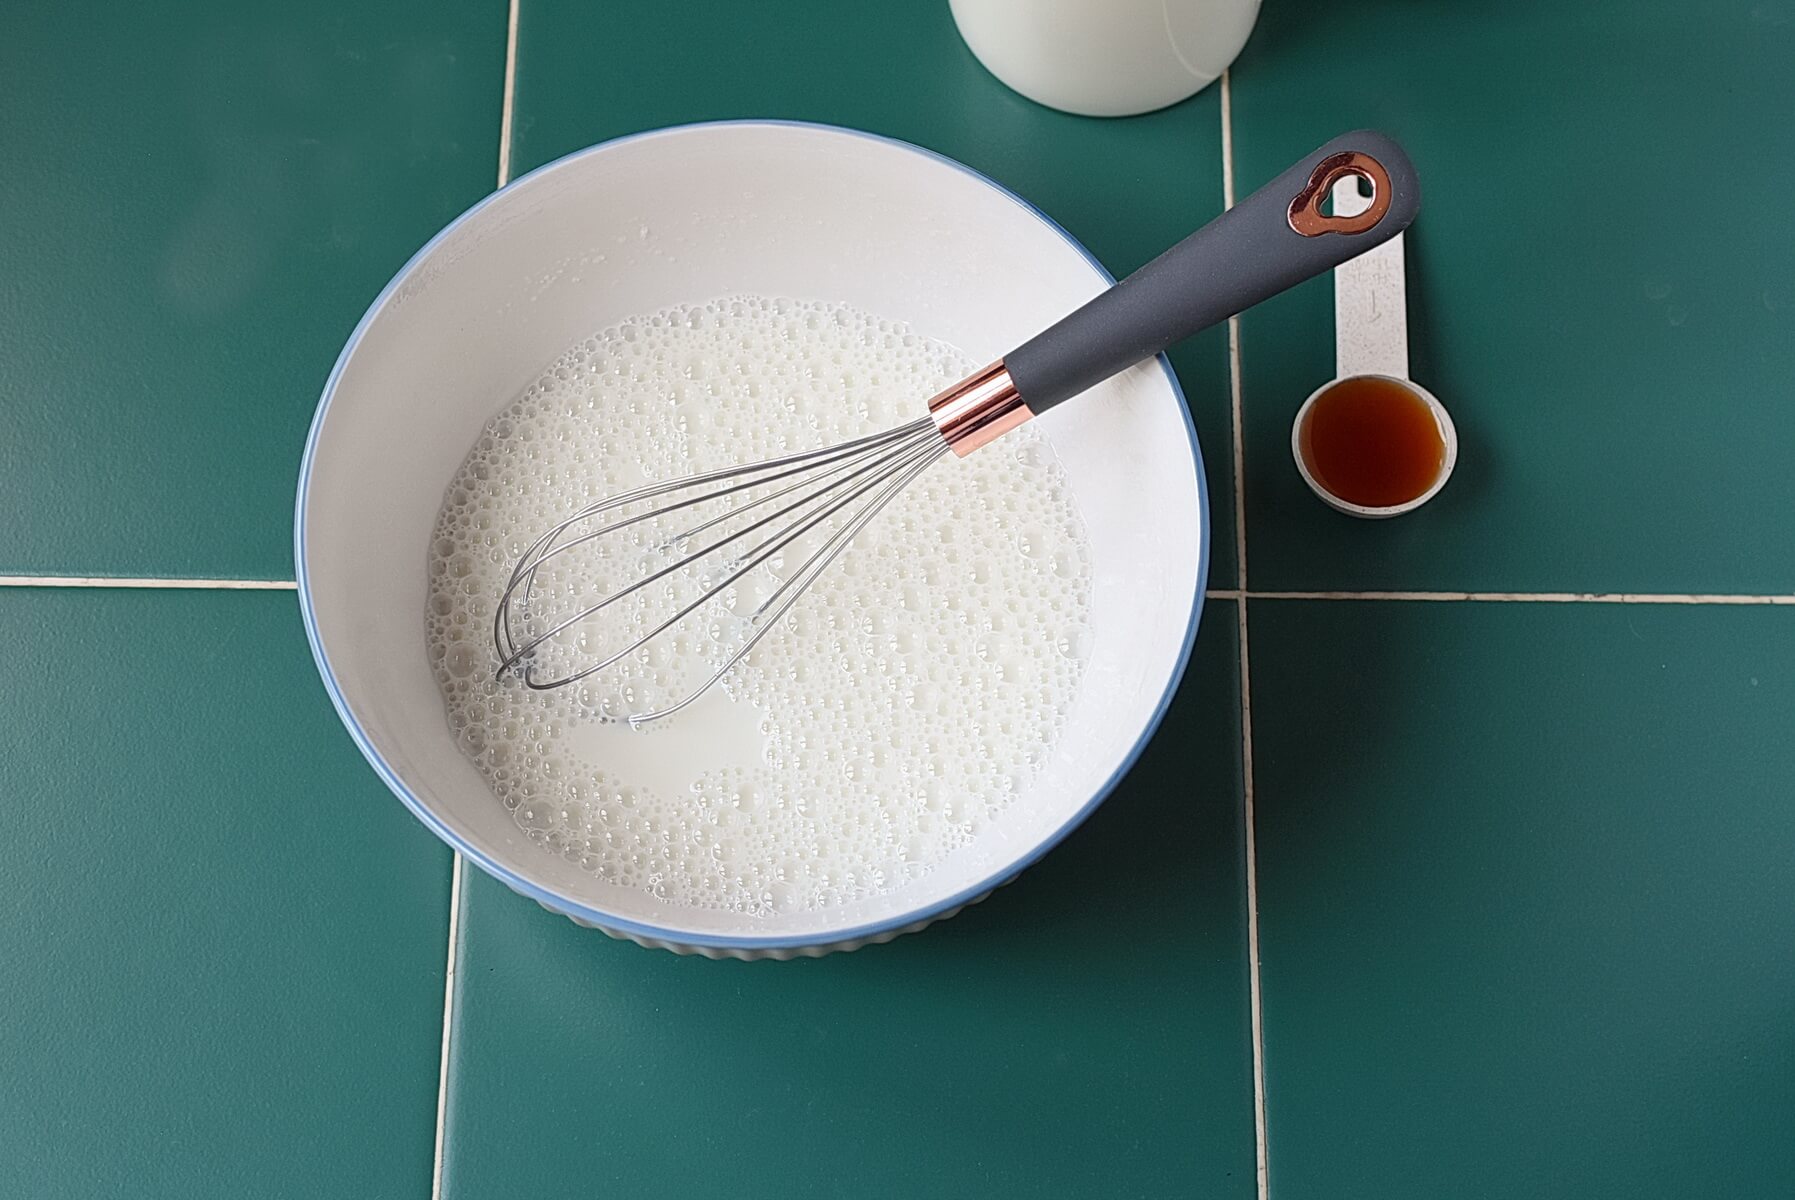
In a medium bowl, combine 1 cup chilled milk and ¾ cup sugar. Whisk until the sugar dissolves.
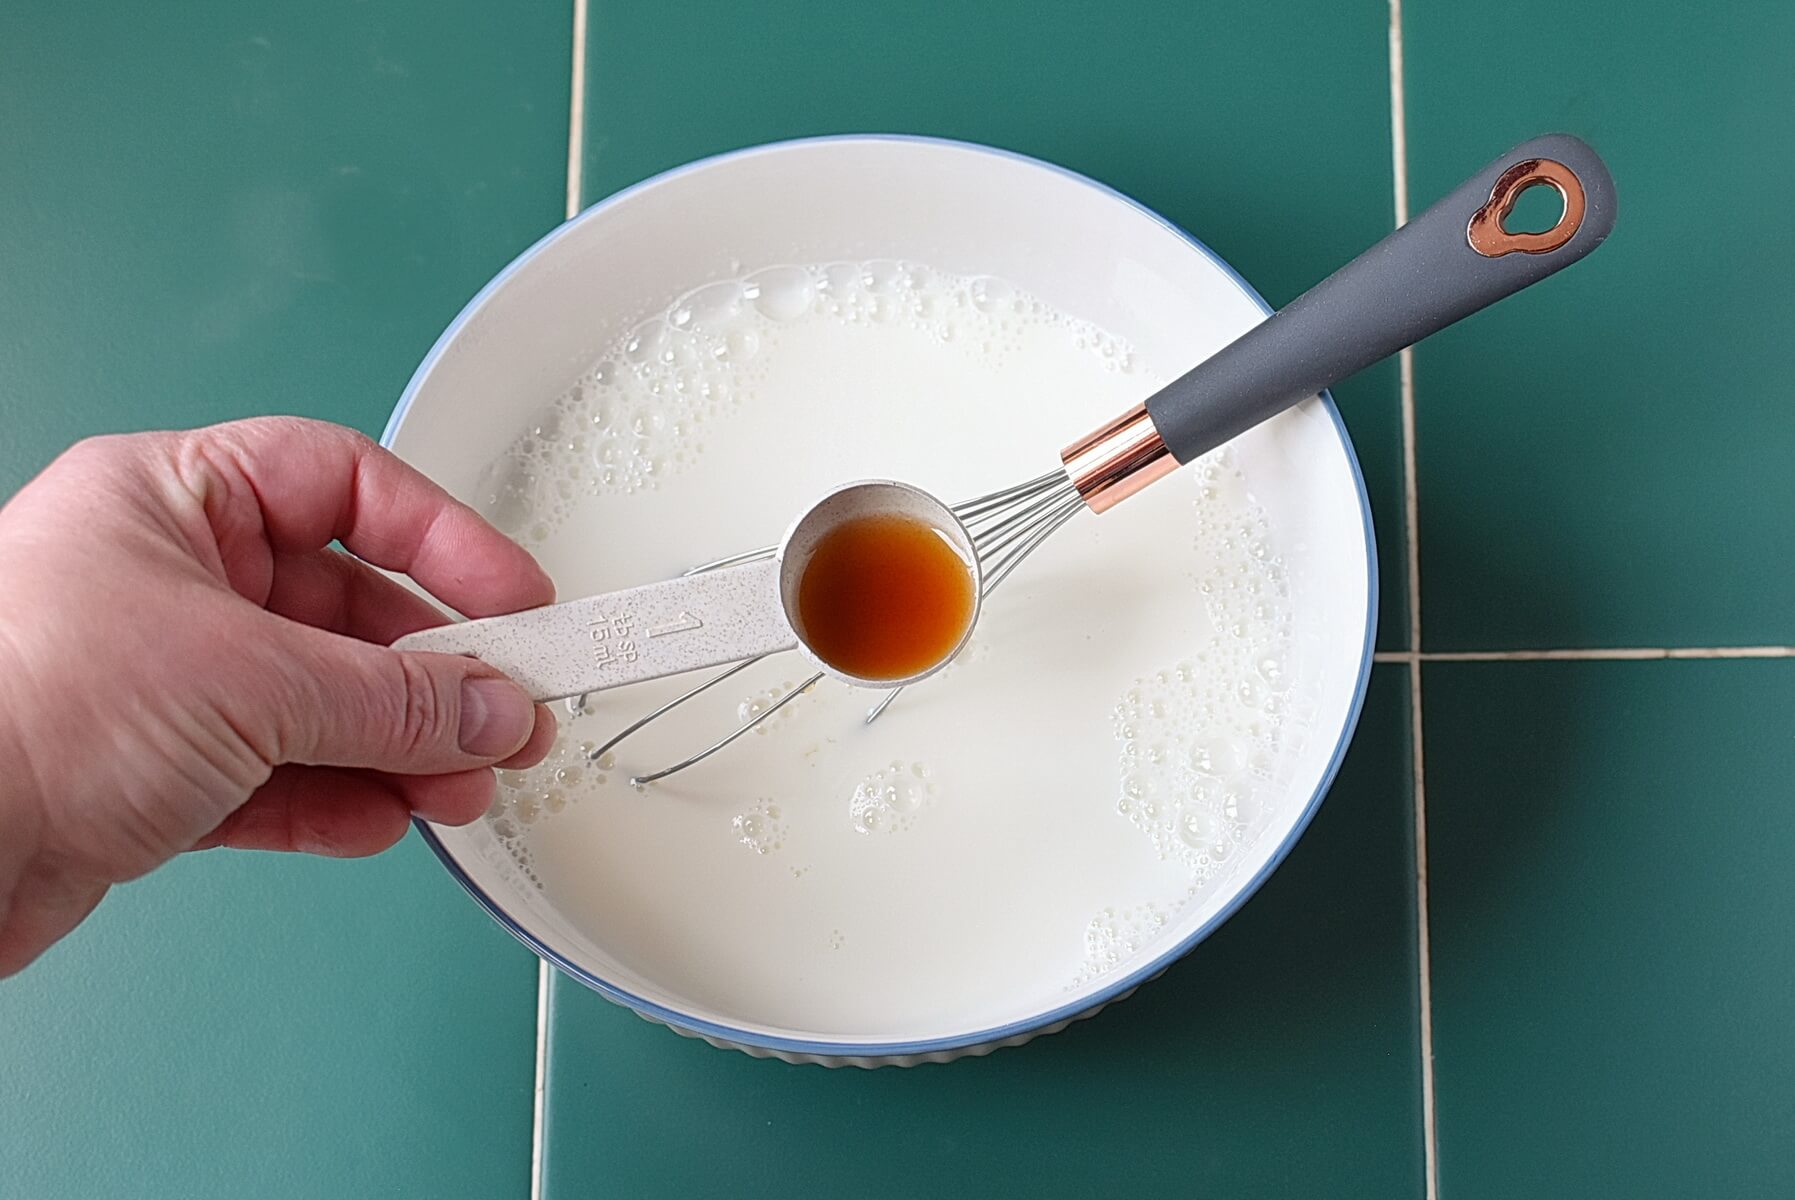
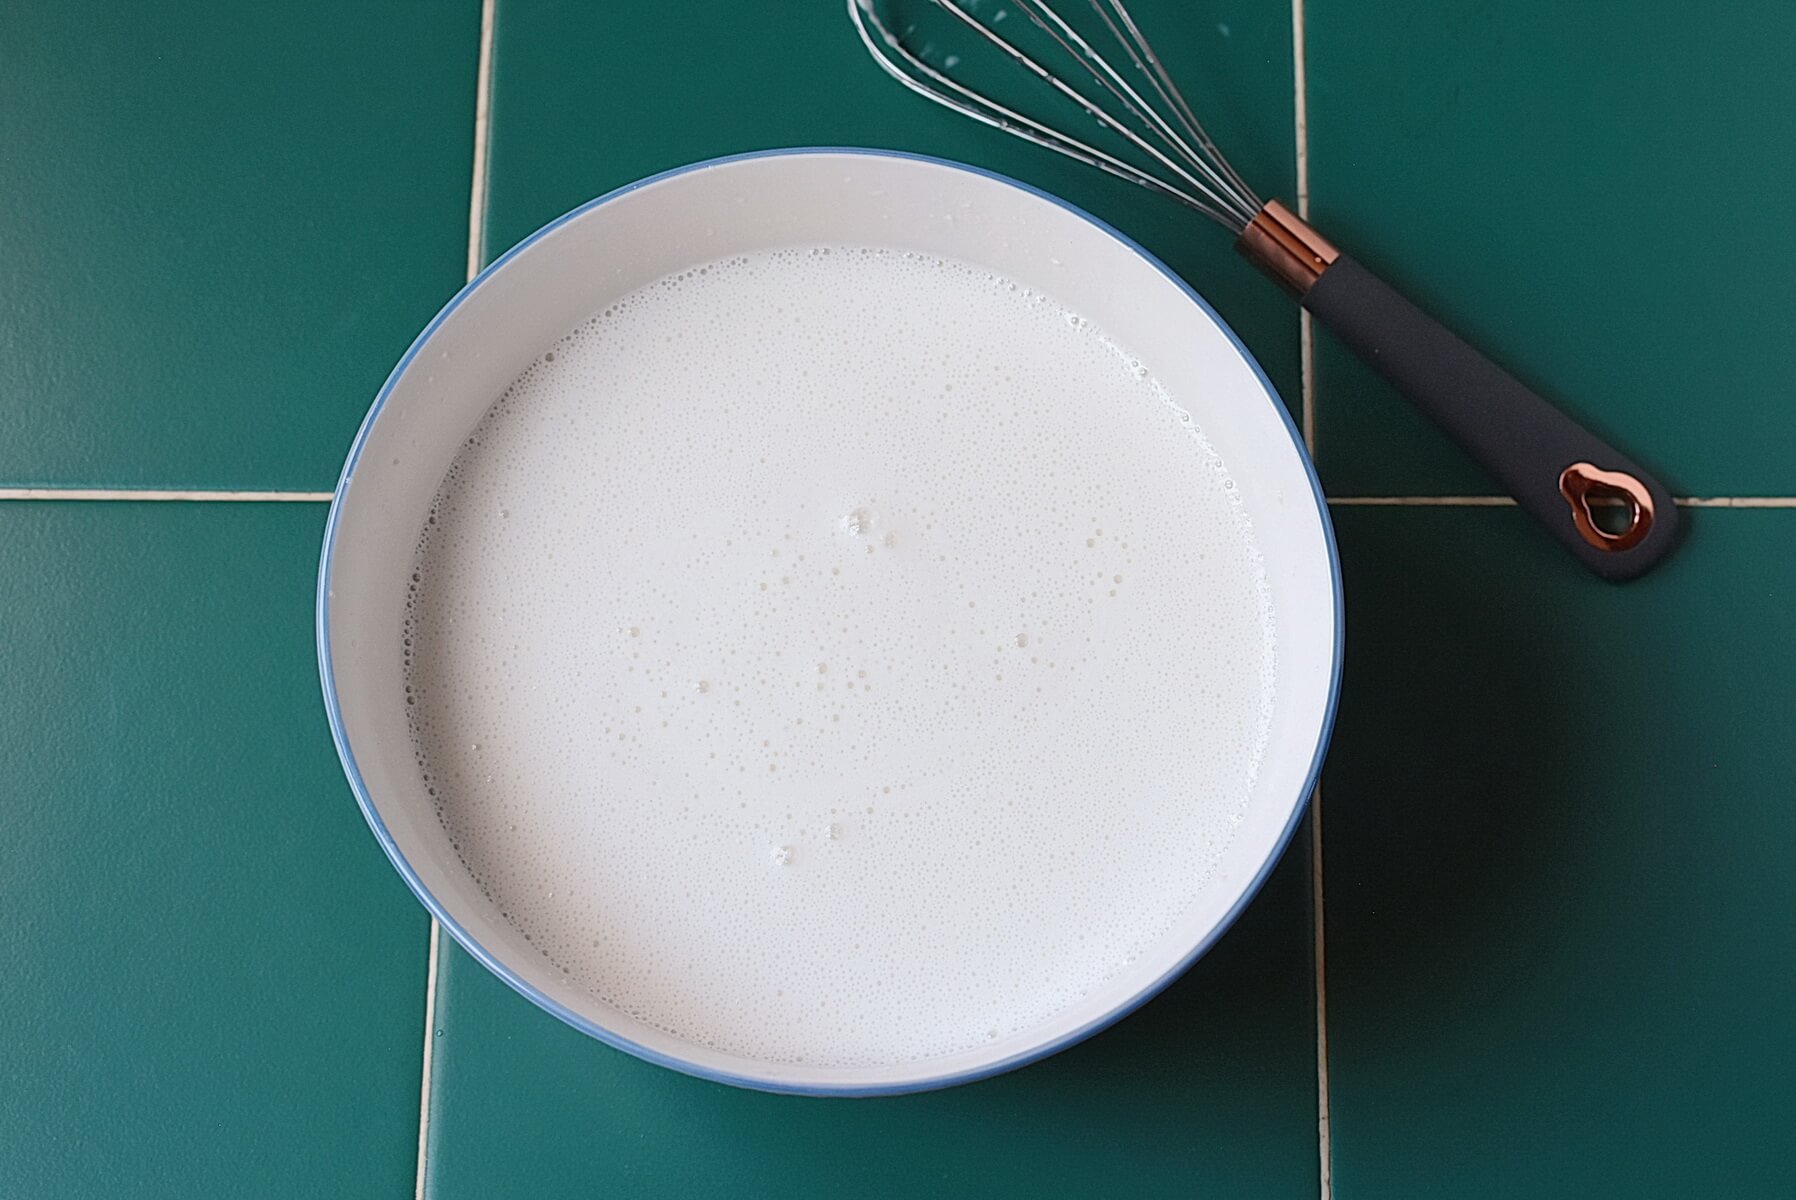
Add heavy cream and vanilla extract, stirring until combined. Freeze the mixture for about 15 minutes to chill.

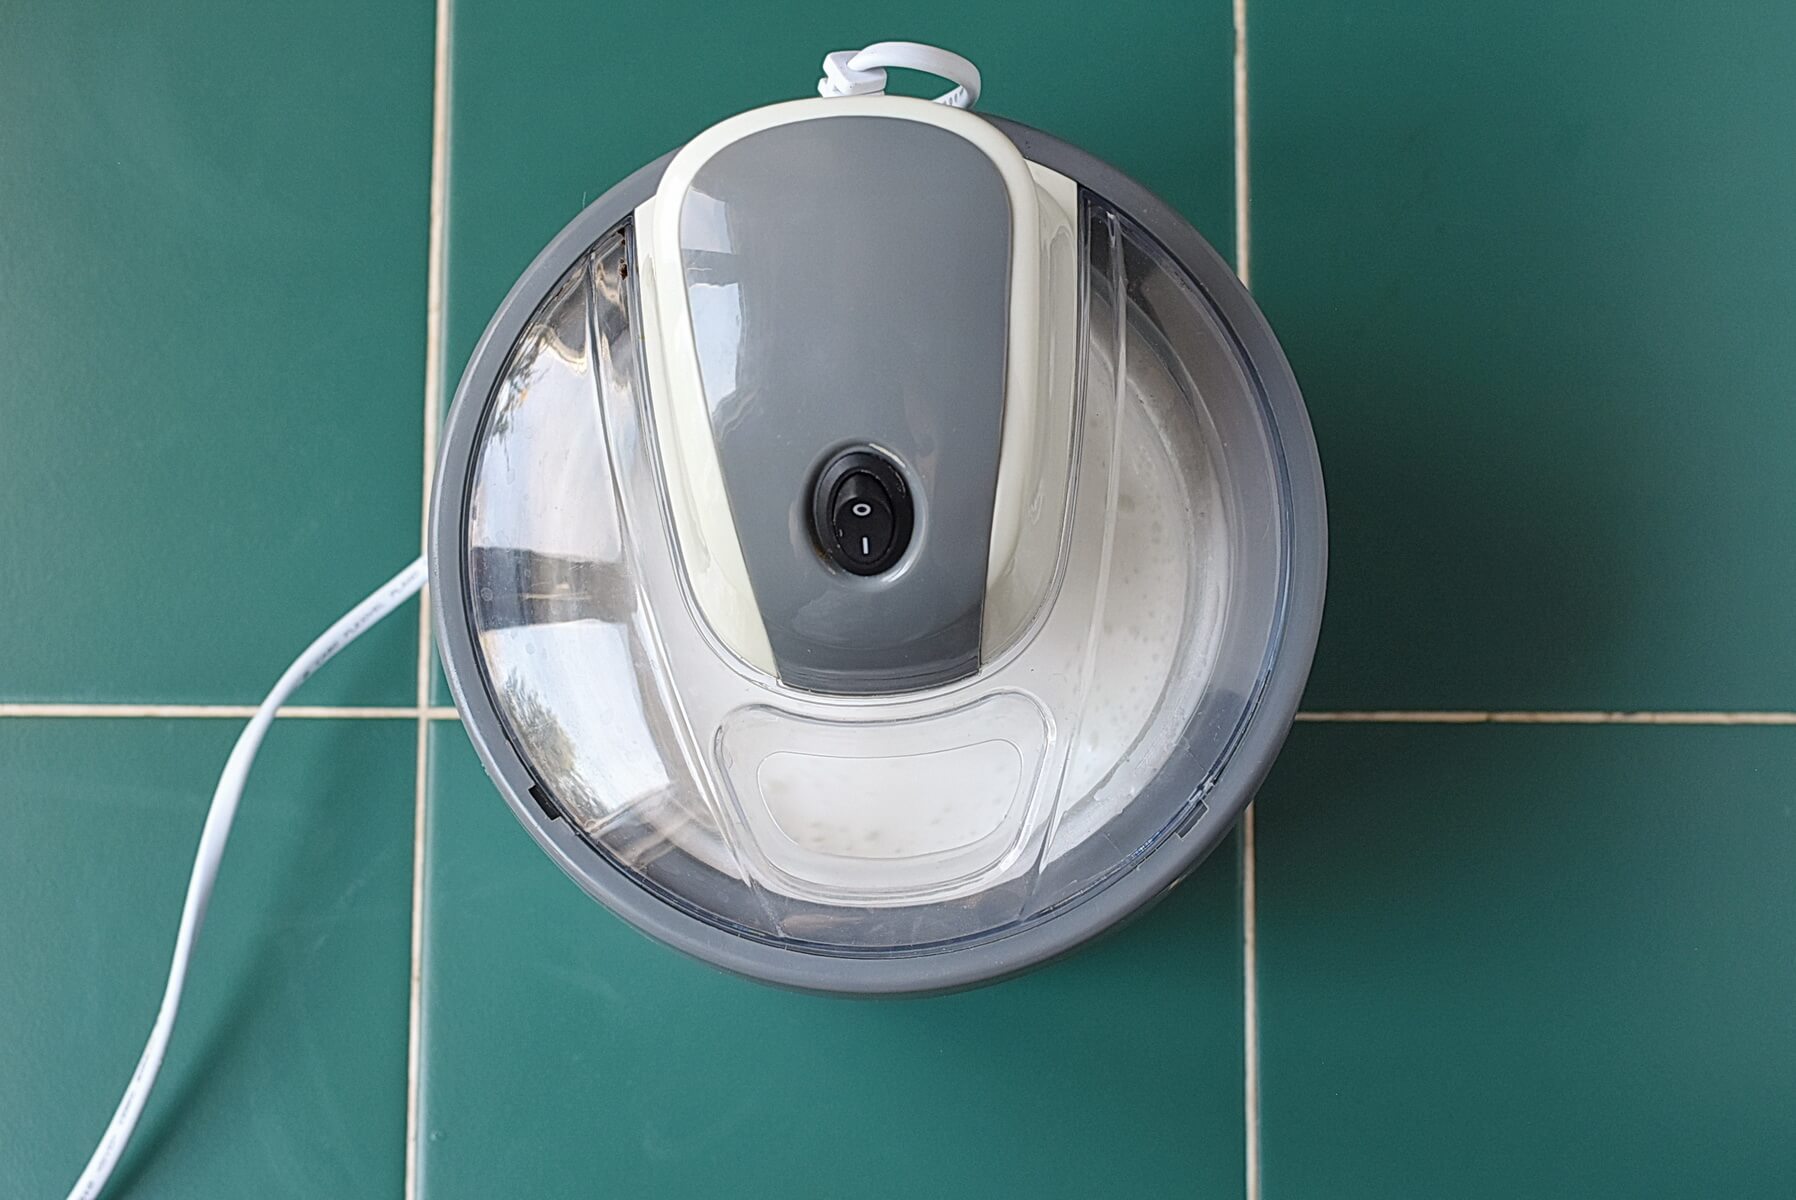
Turn on your ice cream maker and transfer the mixture into the frozen freezer bowl. Churn for 20 to 25 minutes until it reaches a creamy, soft-serve consistency.
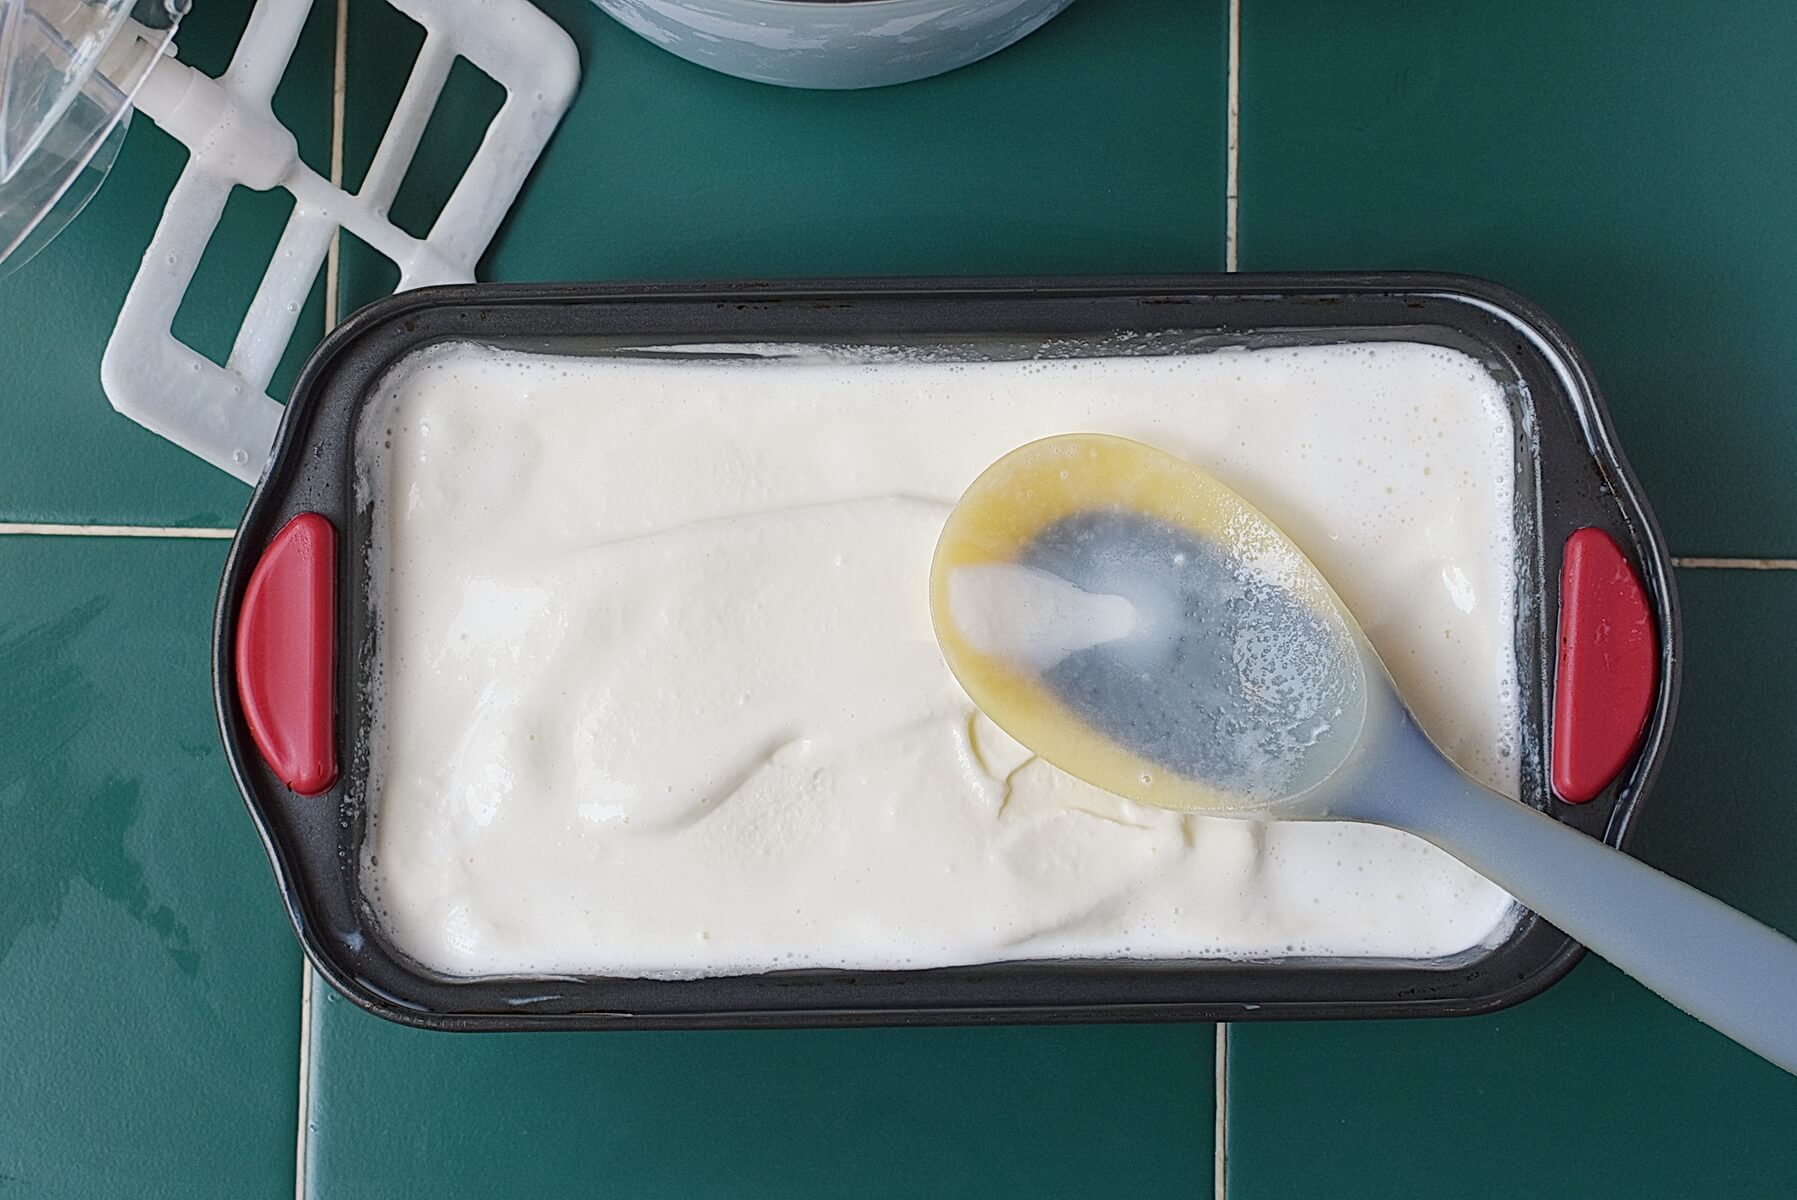
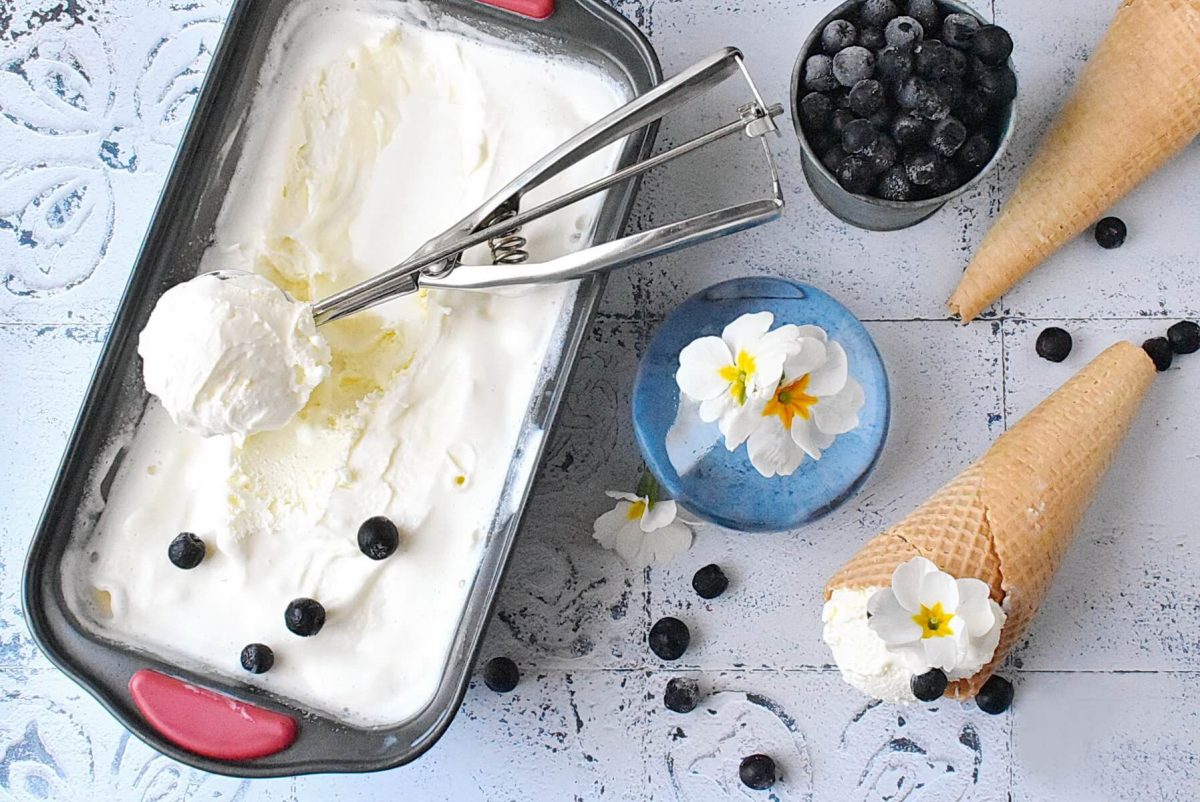
Using a rubber spatula, transfer the ice cream into a freezer-safe container. Cover it and freeze for at least 2 hours or until firm.
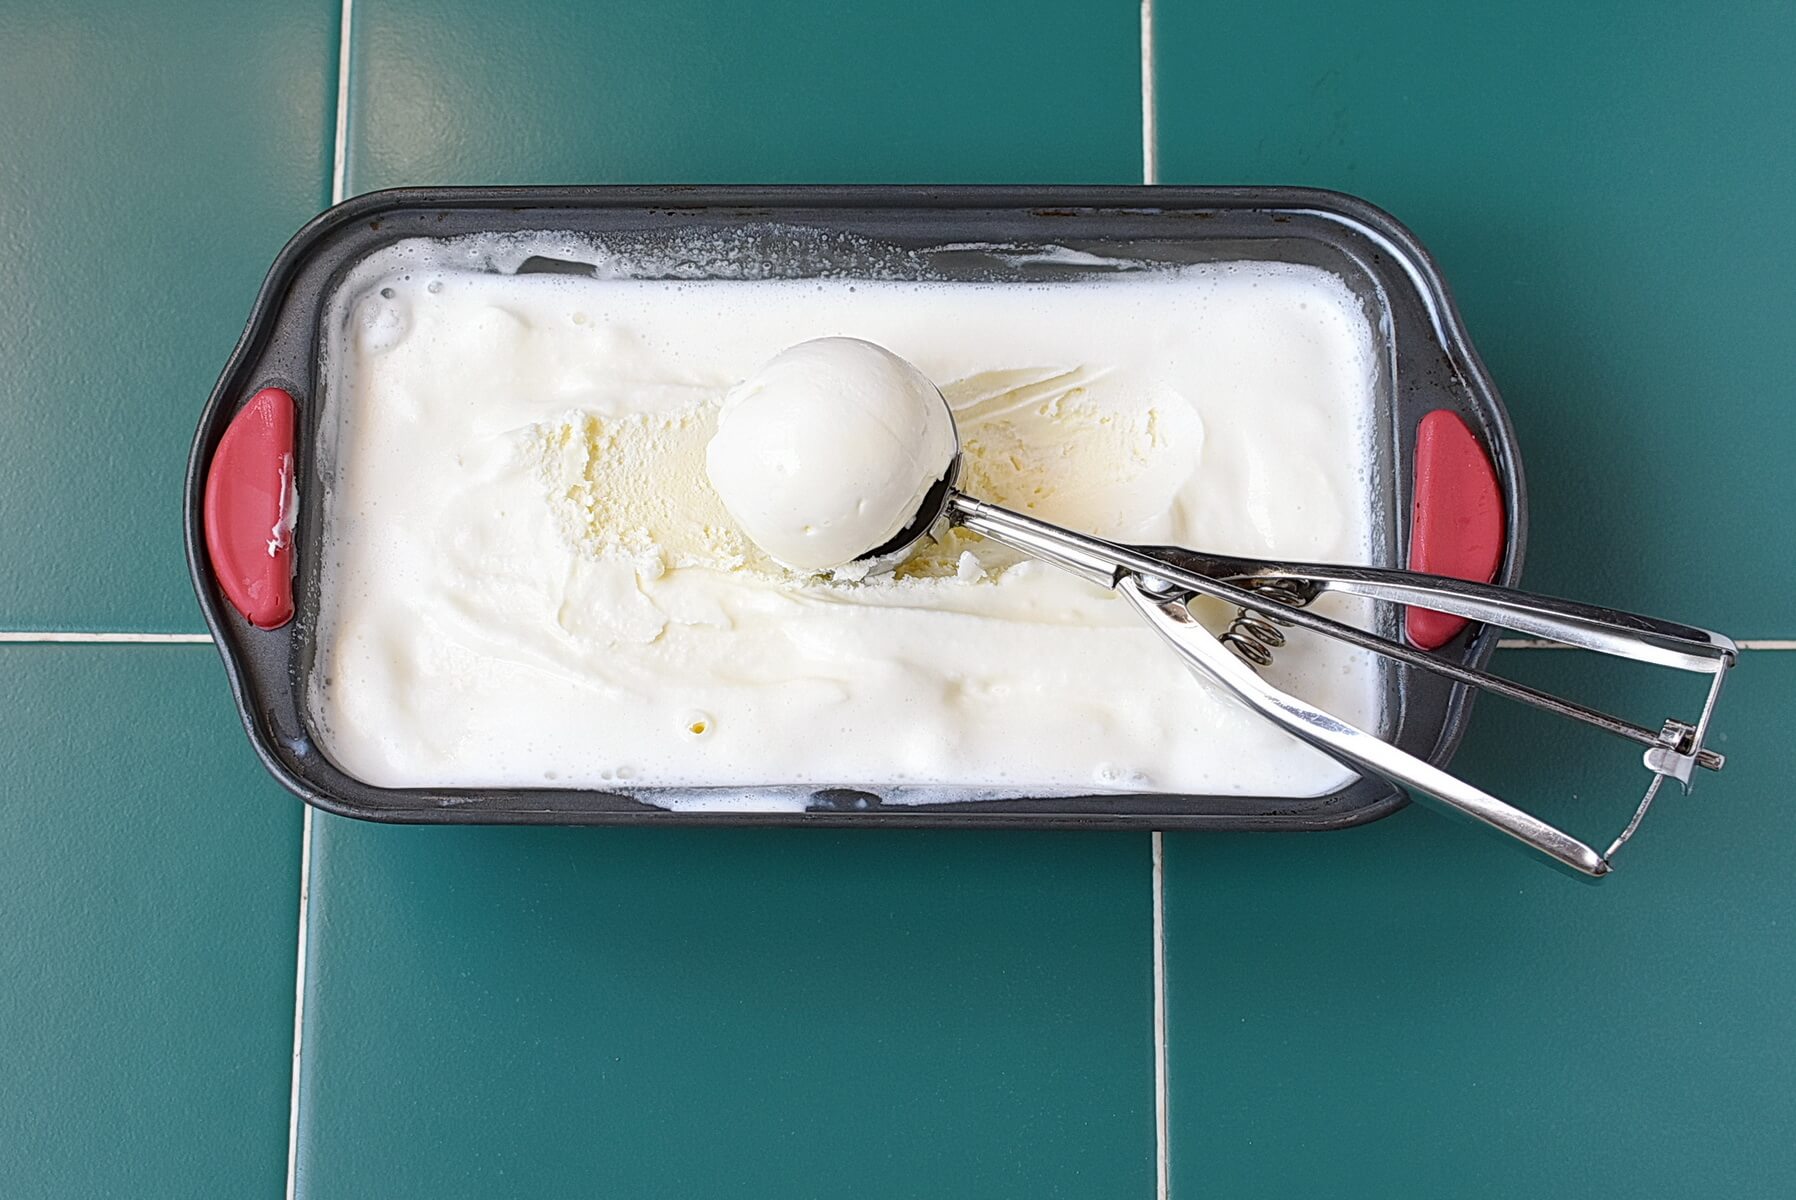
Serve as is or with your toppings of choice.
You do not need a tower of gadgets for this. A medium bowl, a whisk, and measuring spoons will see you right. If you have an ice cream maker, great. This ice cream maker recipe shines with a frozen bowl model. Make sure that bowl is properly frozen, ideally overnight, so it can do its thing.
You will also want a rubber spatula to get every last bit into your container, and a freezer friendly container for the final chill. I use a loaf pan lined with parchment sometimes, or a plastic tub with a tight lid. A tablespoon for vanilla helps keep the flavour steady. Oh, and a clean cloth for spills because there will be spills.
If your kitchen gets warm in summer, chill everything first. Cold ingredients mean a better texture, so pop the bowl in the fridge for an extra 15 minutes if you have time. I have made this with Ellie helping and it still comes out lovely even with tiny hands involved. Actually, scratch that. She mostly licked the spatula, but the end result was still good.
Chilling is everything. Cold milk and cold cream = smaller ice crystals, which means silkier scoops. Whisk the sugar into the milk until it is completely dissolved so you do not get any sandy bits in the final product. I learned that the crunchy way once. Never again.
If you want an extra creamy texture, chill the mixed base for about 15 minutes before churning. It gives the machine a head start and helps the mixture thicken sooner. Aim for roughly 20 to 25 minutes of churning until it looks like soft serve. Stop there. Over churning can make it too airy and less melt in the mouth.
Use pure vanilla extract if you can. The real stuff gives depth and warmth that fake extract cannot match. I sometimes nudge the vanilla up a little for boldness, but start with the recipe amount and taste as you go. Press plastic wrap directly on the surface of the ice cream before sealing the lid to cut down on freezer burn. It keeps the flavour bright for days, not weeks, but days are what matter in my house.
Puree about a cup of strawberries or raspberries with a touch of sugar, strain if they are watery, and fold the puree into the churned base right before the final freeze. The fruit cuts through the cream and gives a pretty pink streak the kids adore. I tried this at a market in Berlin once and it felt very grown up. It was also pink, which sealed the deal for Ellie.
For chocolate chips, sneak in about half a cup of mini chips during the last five minutes of churning. Add them late so they keep their bite and do not sink to the bottom. I like dark chips for a grown up edge, though milk chocolate wins with the children.
Toast a handful of almonds or pecans until they smell warm, chop them fine, and stir into the mixture just before transferring to the container. Toasting brings the oils alive and gives a lovely contrast to the smooth base.
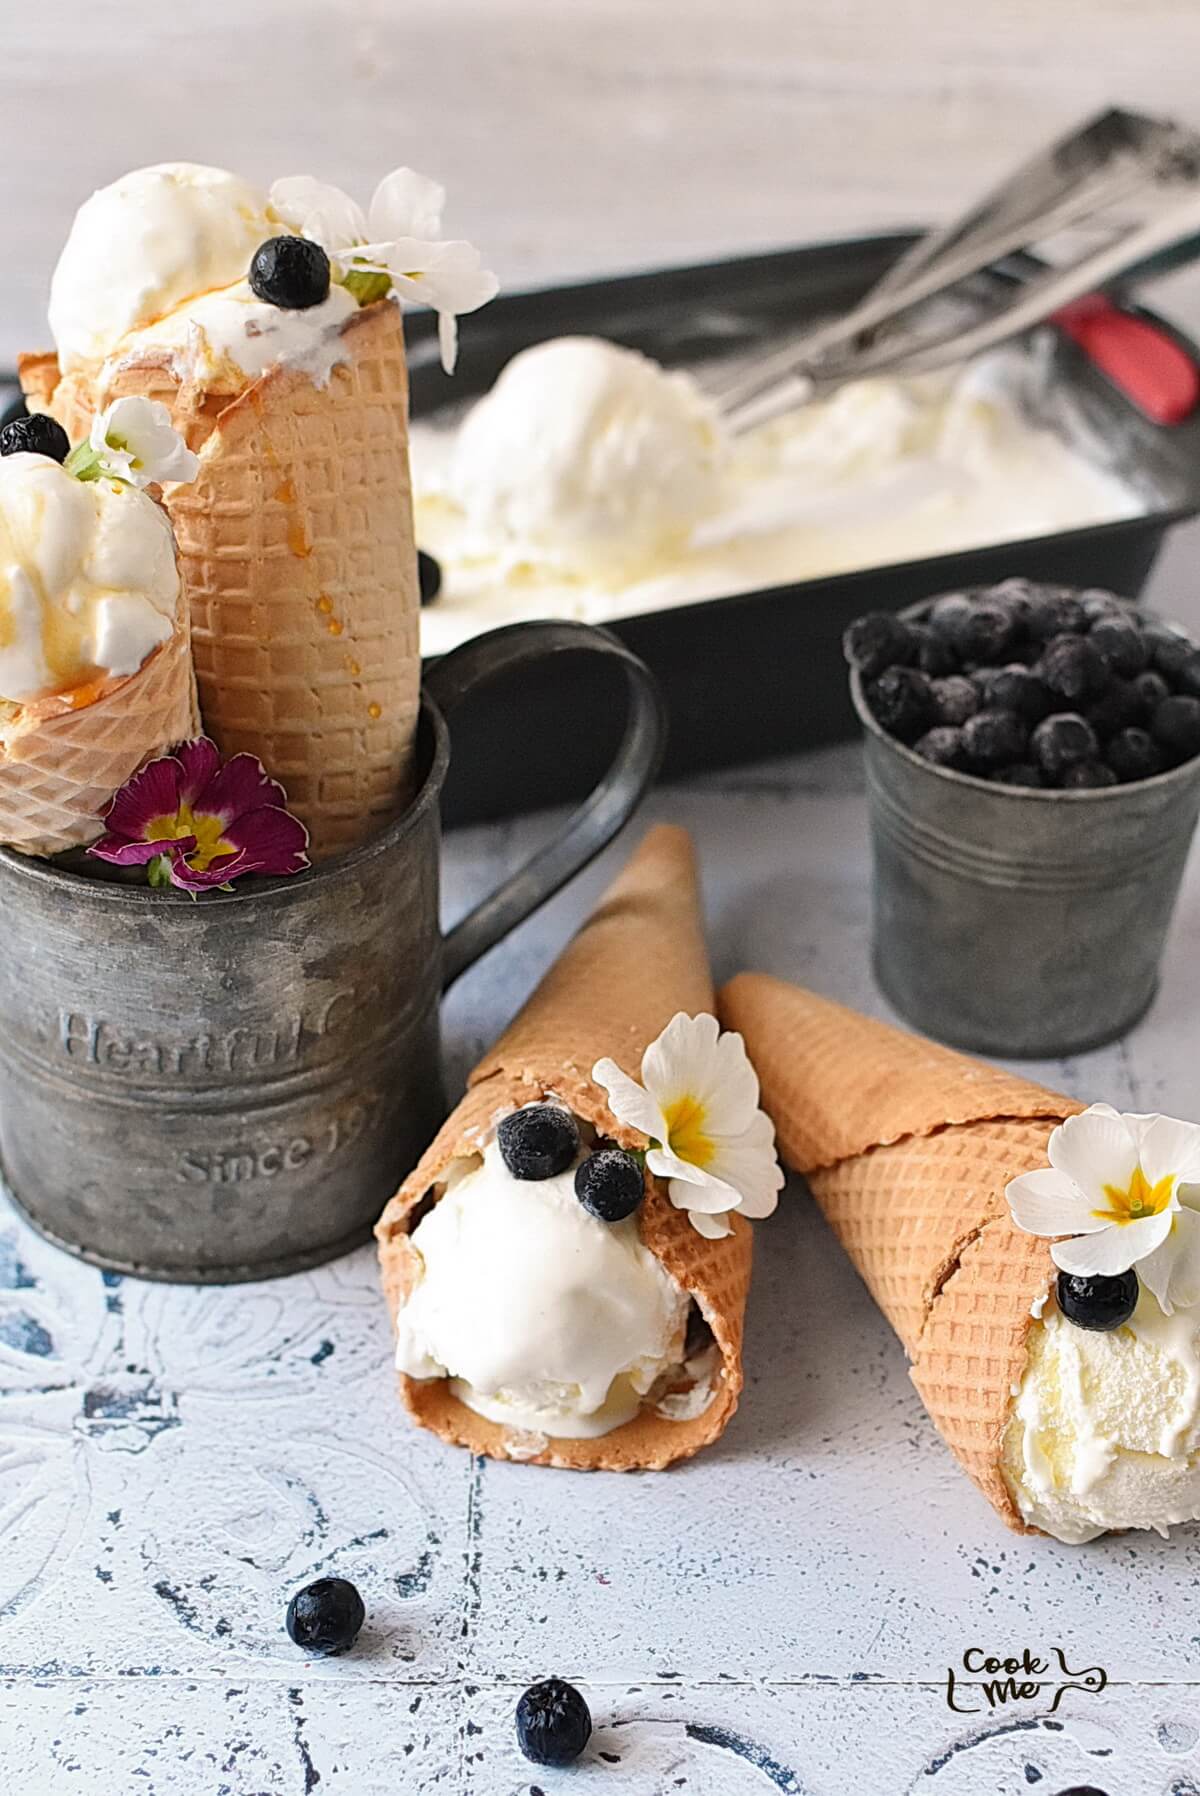
Scoop into waffle cones for the classic crunch. Pair with warm brownies for that hush that falls over the room when everyone tastes the first bite. Fresh fruit like peaches or strawberries brightens the bowl and keeps things feeling light. Drizzle with caramel or a little honey for a tiny grown up touch.
Use it for floats with root beer, or sandwich it between cookies for easy portable treats. Sometimes I just hand over a bowl and call it a day. No fancy plating required.
You can do a no churn version by whipping the heavy cream to stiff peaks and folding in the milk sugar mixture and vanilla. Pour into a container and freeze, stirring every 30 minutes for the first couple of hours to break up crystals. It is a decent work around, though not quite as smooth as churning. I once did this when my machine was out of action and it saved snack time.
Yes. Use heavy cream, sugar, and vanilla only. Mix and churn or whip and freeze. It will be richer and a bit denser, so you may want to dial the sugar back a touch if you prefer less sweet.
Philadelphia style ice cream means no cooked custard and no egg yolks. The base is just milk and cream for quick, clean flavour that lets the vanilla sing. It is lighter and faster to make than custard style, which is great when life is busy.
Prep the base the night before and chill it thoroughly. That way the churning starts from a cold point and finishes faster. Using superfine sugar helps it dissolve quicker too. Small tweaks, big payoff.
If it is too soft, pop it into the freezer for an extra hour or two, covered tightly. Check that your ice cream maker bowl was fully frozen before starting. If softness is a repeat offender, try chilling the base a little longer before churning. I have rescued a few squishy batches this way.
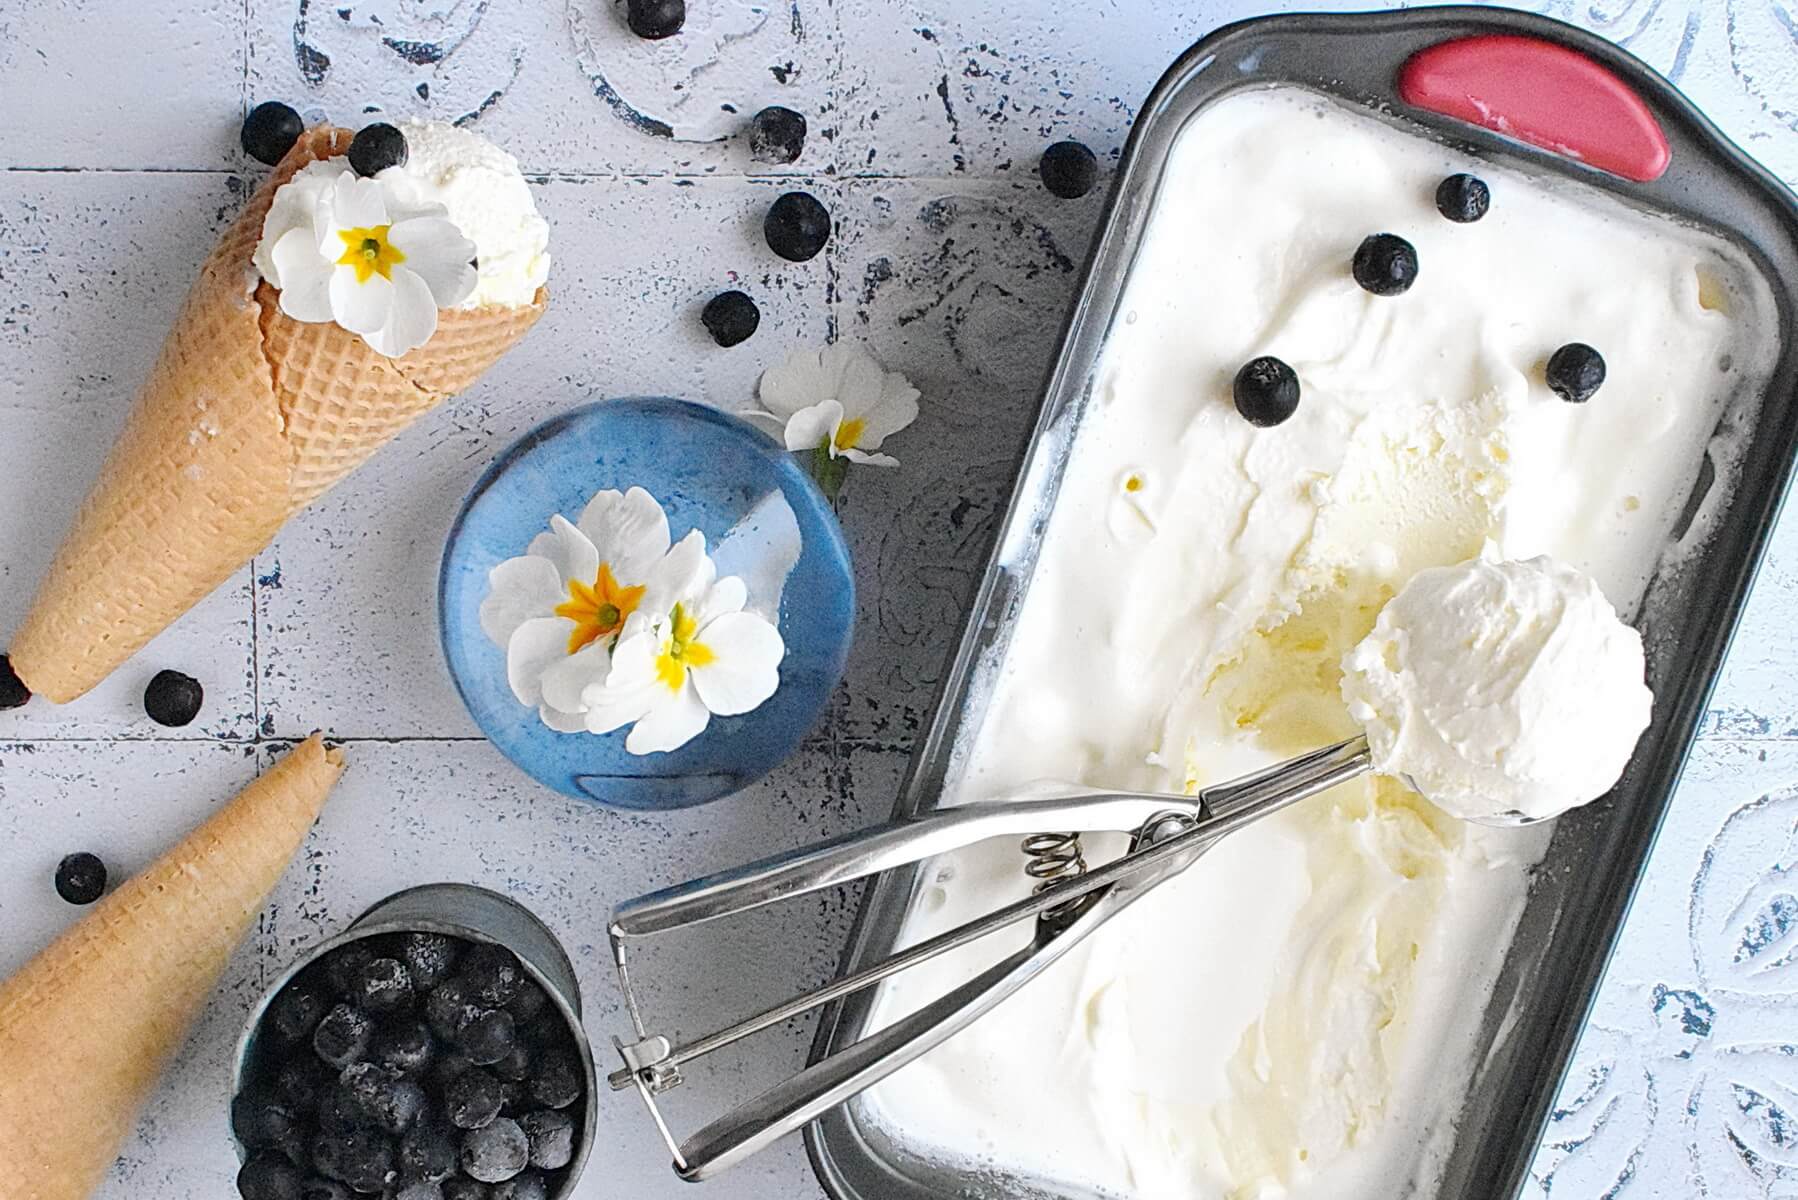
No Egg Vanilla Ice Cream Recipe - If you’re in the mood for a sweet treat, this Philadelphia-style or American-style ice cream is a fantastic choice. Known for its creamy texture and rich flavor, it’s made without eggs, letting the simple ingredients shine through. Perfect for a hot day or any time you want to indulge, this ice cream is all about taste and enjoyment. Have you tried this recipe? Snap a photo and tag us on social with @CookMeRecipes and #cookmerecipes. We love seeing your creations!

Yummy! healthy ice cream!