Quick Pear Pastries

Quick Pear Pastries

a perfect dessert

Recipe by
Reviewed by Arturs Arnicans
Prep Time: 15m
Cook Time: 30m
Total Time: 45m
Temp.: 350 ºF
Servings: 4
Difficulty: Easy
5.0 (22 Reviews)
Cooking Mode
Prevents your screen from turning off while cooking

Ingredients

Adjust servings:

For dusting:

Nutritional Information

179
calories
11.4g
fat
18g
carbohydrates
2.6g
protein
56mg
cholesterol
9776mg
sodium
Quick Pear Pastries

Recipe Description

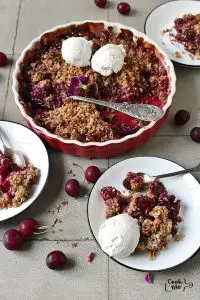
You will love these oven-baked Quick Pear Pastries made with just a few simple ingredients and a sheet of store-bought puff pastry. Each tender-crispy pastry is filled with sweet and flavorful pear filling and dusted with powdered sugar for a finishing touch. This recipe makes 4 perfect pear pastries, but you can easily double the ingredients if you are serving for a crowd! 

This recipe is super simple and easy to make. A few tips for best results: Completely thaw the puff pastry until pliable but still cold. To do so, leave the frozen puff pastry in the fridge overnight rather than leaving it at room temperature. To ensure a good puff, place the formed pastries in the fridge for 20 minutes before baking. 

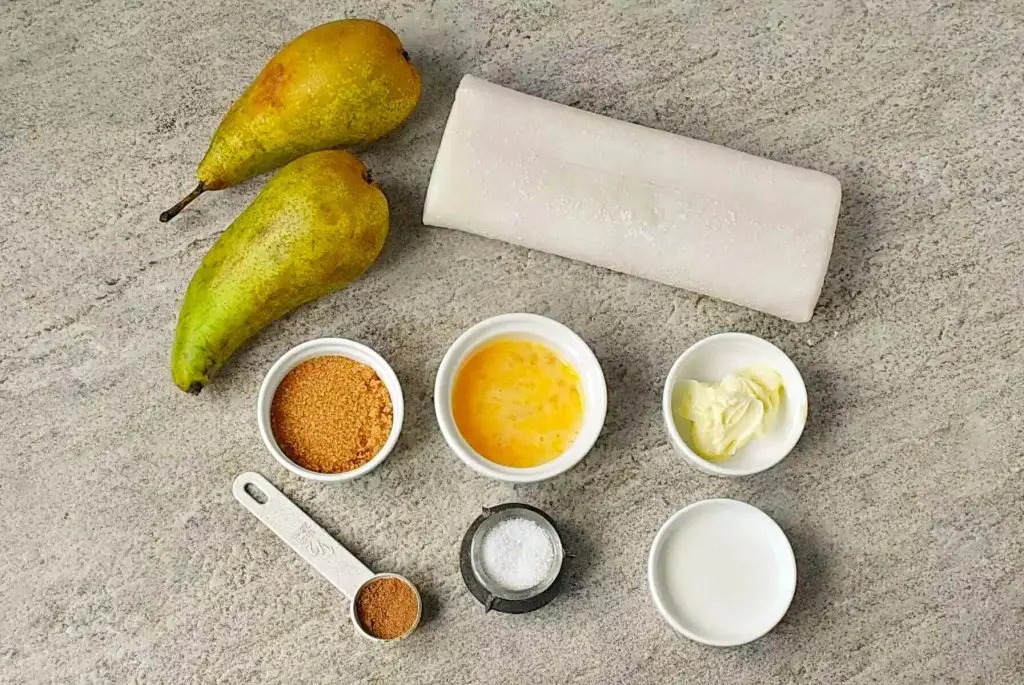
To make the Quick Pear Pastries, you will need the following ingredients:

Ingredients for Quick Pear Pastries

Recipe Features

Cuisine

No specific cuisine for this recipe

Steps to make

  1. 1

    Make pear filling

    5 min
    Step 1 - Quick Pear PastriesStep 1 - Quick Pear Pastries

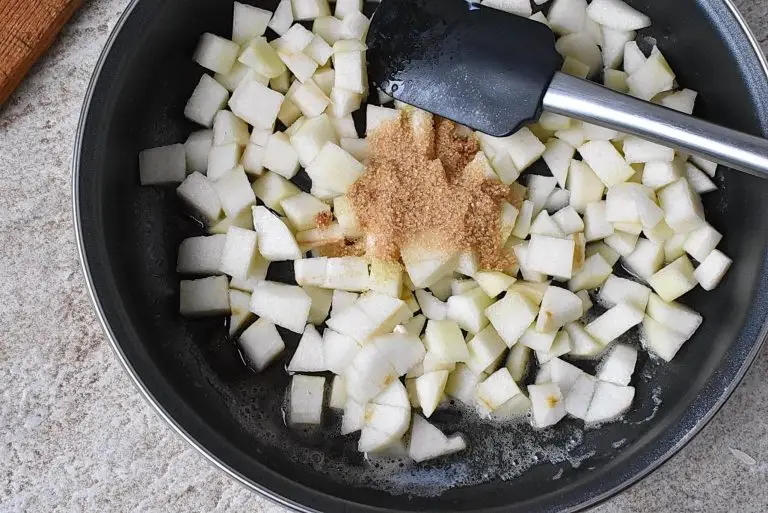
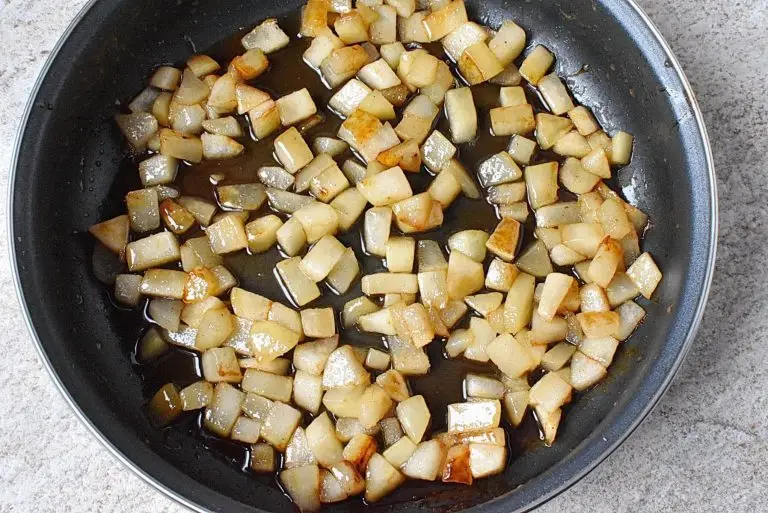
    In a pan over medium heat, melt 30 grams butter and add the chopped pears, 2 tablespoons brown sugar, 1 teaspoon cinnamon, and a pinch of salt and stir to combine. Cook until the pears are tender.

  2. 2

    Preheat oven

    5 min

    Preheat the oven to 350 ºF.

  3. 3

    Prepare pastry rectangles

    2 min
    Step 3 - Quick Pear Pastries

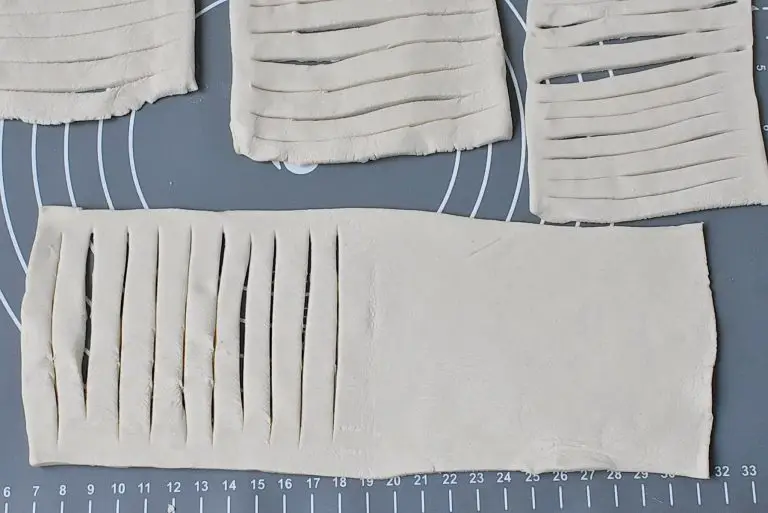
    Cut the puff pastry sheet into four equal rectangles. Using a pizza or pastry cutter, make thin cuts in one half of each pastry rectangle, leaving a border.

  4. 4

    Brush with milk and fold

    2 min
    Step 4 - Quick Pear Pastries

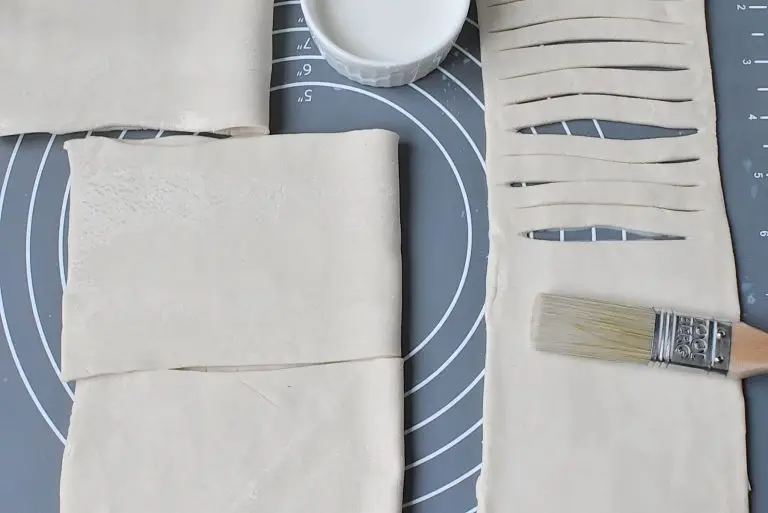
    Brush the uncut part of the pastry with milk. Fold the pastry, leaving the cuts facing downwards.

  5. 5

    Add pear filling

    1 min
    Step 5 - Quick Pear Pastries

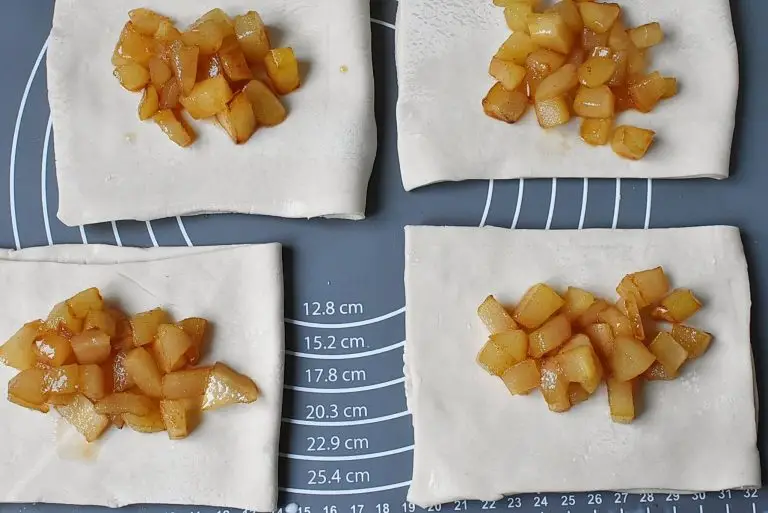
    To assemble the pastries, place a spoonful of the pear filling onto the center of each folded pastry.

  6. 6

    Fold pastry

    2 min
    Step 6 - Quick Pear Pastries

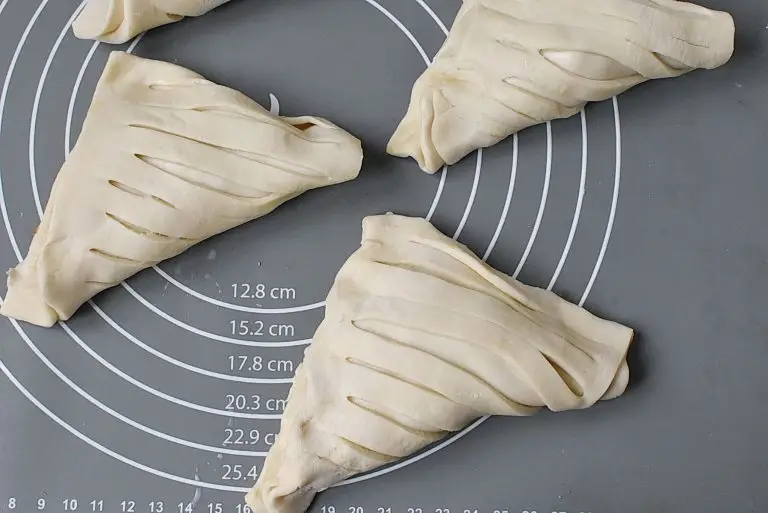
    Fold the top corners of the pastry over the filling towards the center, forming a triangle.

  7. 7

    Brush with egg

    1 min
    Step 7 - Quick Pear Pastries

    Place the pastries on a baking sheet and brush each with beaten egg.

  8. 8

    Bake

    30 min
    Step 8 - Quick Pear Pastries

    Bake for 30 minutes or until golden.

  9. 9

    Serve

    Step 9 - Quick Pear PastriesStep 9 - Quick Pear Pastries

    Dust the pear pastries with powdered sugar just before serving. Enjoy!

These Quick Pear Pastries are incredibly easy to make, yet taste and look like they came from a bakery or coffee shop. Made this recipe? Let us know what you think in the comments below!

About the author

Lilly Mathuse

Lilly is an enthusiastic and cheerful young mom. She knows as well as any parent that children can be really picky when it comes to food. And she’s had plenty of experience trying to cook meals that are both tasty and nutritious, and able to satisfy the tastes of a fussy kid right away! To save you some precious time, Lilly's going to share with you all the tricks she learned the hard way, so you don’t have to! She has a wealth of recipes for quick and easy meals for kids and families on a budget.

Recipe Reviews

Have you made this recipe? Share your experience and help other cooks!

★★★★★
★★★★★
5.0 out of 5 (22 reviews)

Be the first to leave a review!

Have you made this recipe? Share your opinion. Your review will help others learn about the quality of this recipe!

Taste of the dish
Accuracy of stated difficulty
Instruction accuracy
Would you recommend this recipe to others?
0/1000
Add photos
Upload photos of your result. This will help others see how the dish should look.

Author Information

Email will not be displayed publicly