This recipe saved my sanity more than once. It is quick, forgiving, and somehow still looks like you bothered. I make it when Ellie is bouncing off the walls and Muffin is nosing around the counter. Ten minutes of hands on time. Then the fridge takes over. Simple as that.
I just love a good key lime pie with graham cracker crust because the crust gives that buttery, slightly toasty base while the filling stays bright and tangy. The brown sugar in the crumbs adds a little depth that makes the pie feel homemade not fussy. It hits that sweet spot where it is super easy to make but looks dead impressive on a dessert table.
The filling is zingy and creamy at the same time. It will wake you up after a long day, and it is perfect as a dessert for summer when you want something chilled and light. Actually, scratch that. It is not just for summer. We once served it at Ellie’s birthday and the kids inhaled it.
Set an oven rack in the middle of the oven and heat the oven to 375 °F.
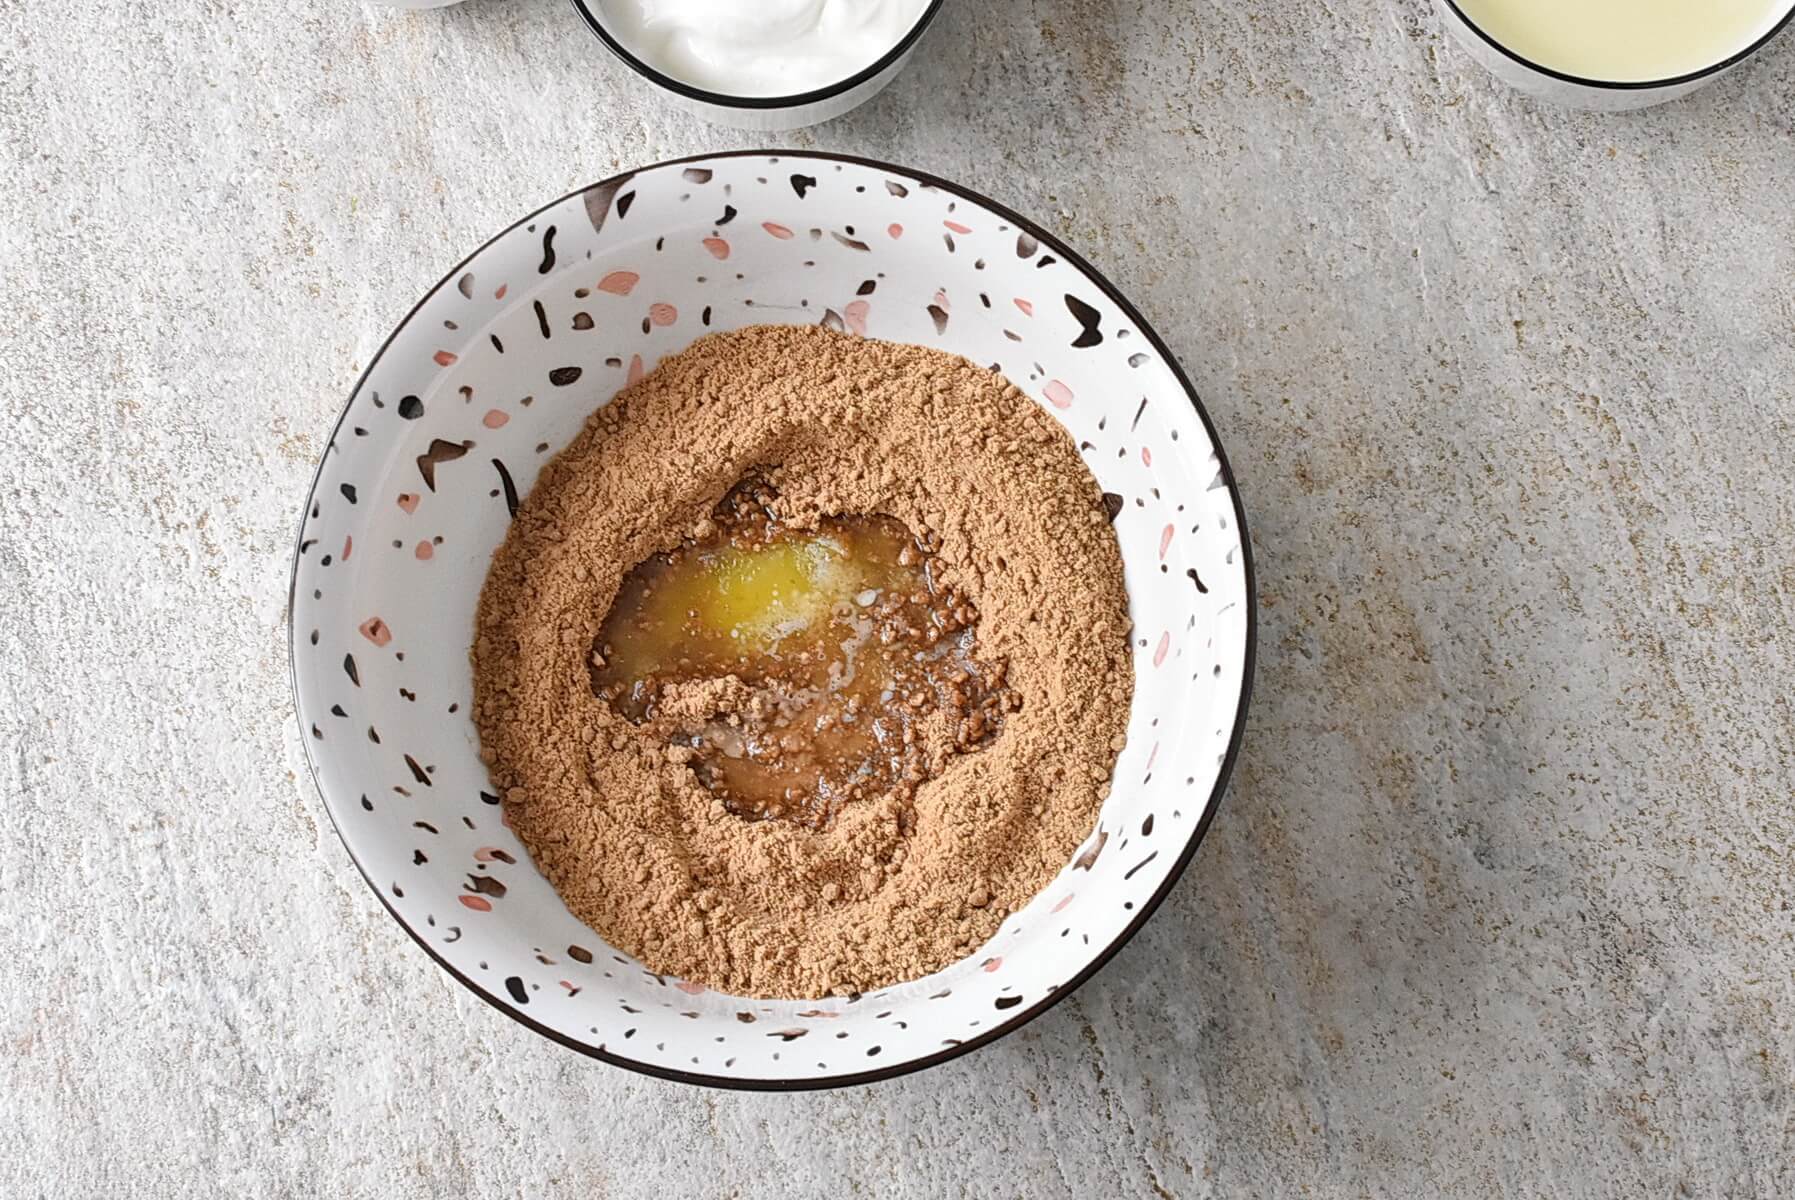
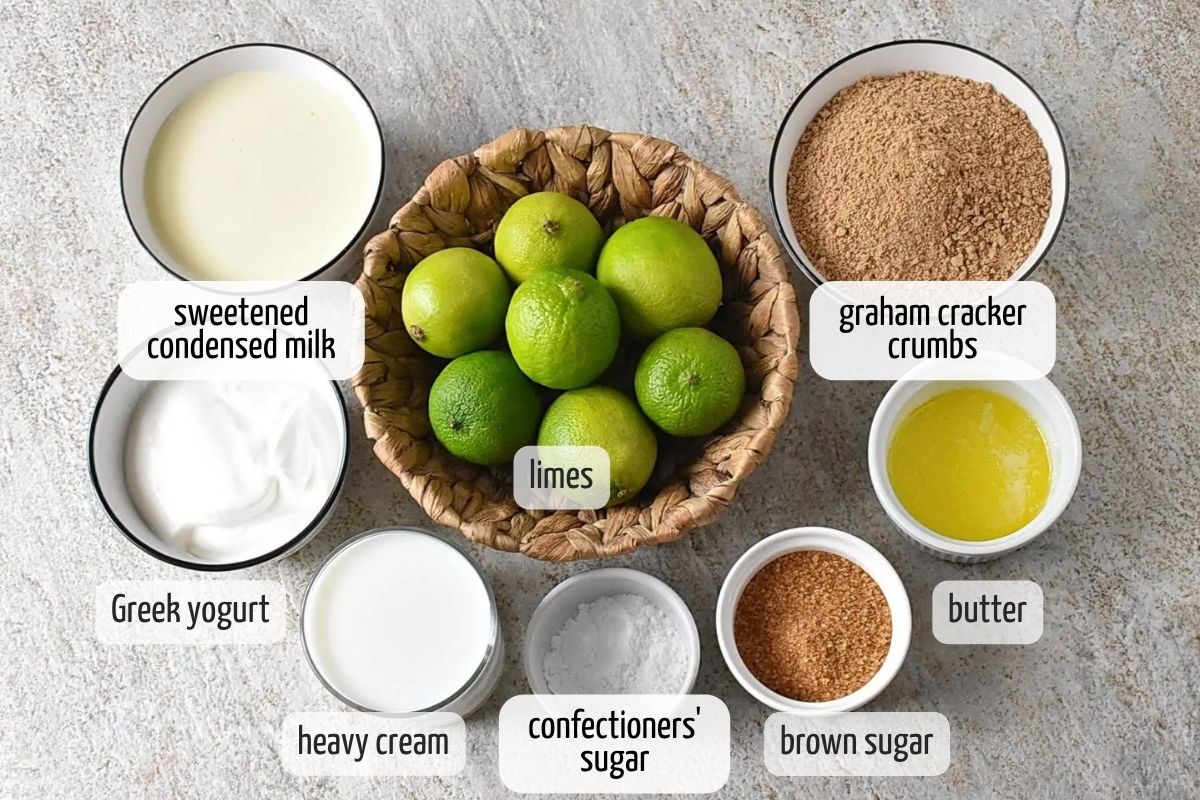
In a medium bowl, combine 1 ½ cups finely crushed graham cracker crumbs, ⅓ cup packed light brown sugar, and 4 tablespoons unsalted melted butter. First, stir with a fork, and then with your hands until the mixture is well combined.
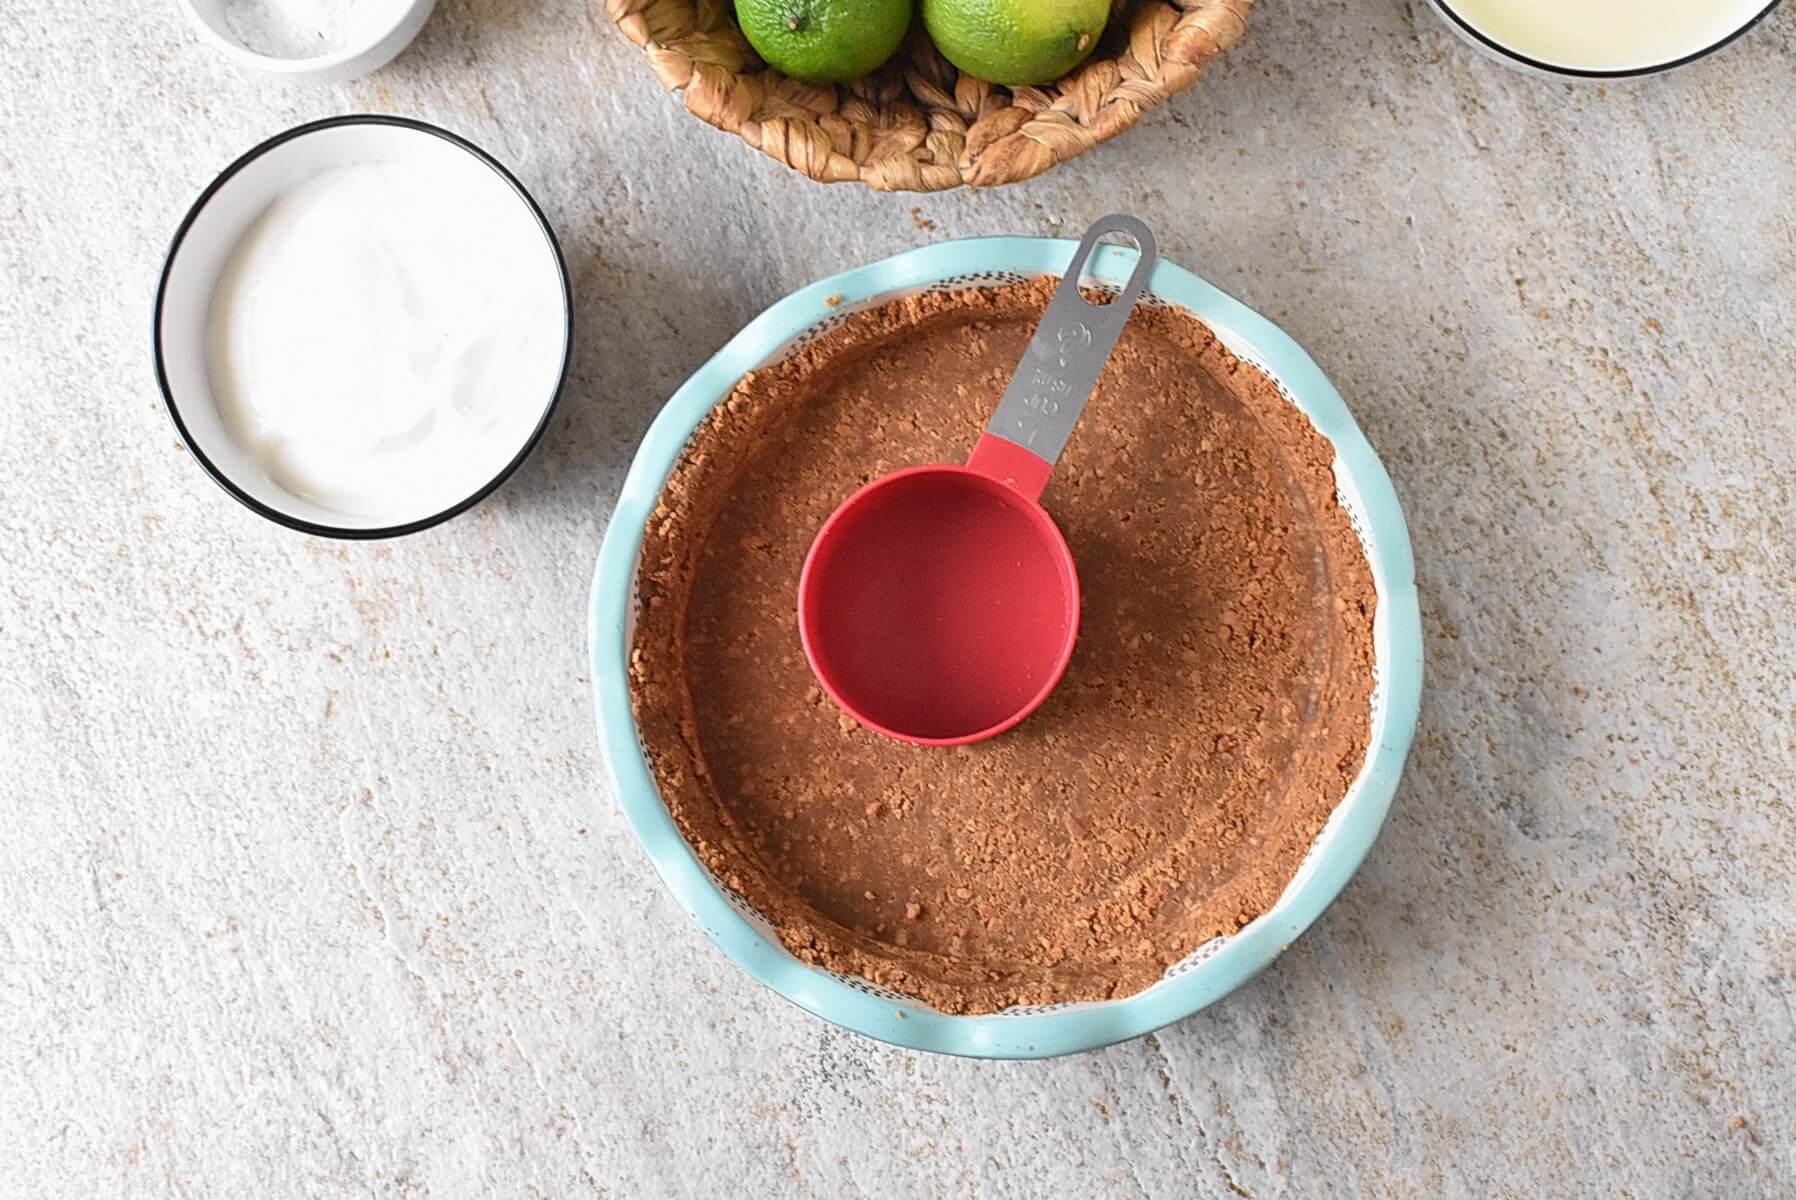
Use your fingers and the bottom of a glass or measuring cup to press the crumbs firmly into the bottom and up the sides of a 9 x 1.5-inch deep-dish pie pan to form the crust. Aim for a thickness of about ¼ inch. A helpful tip: start with the sides first.
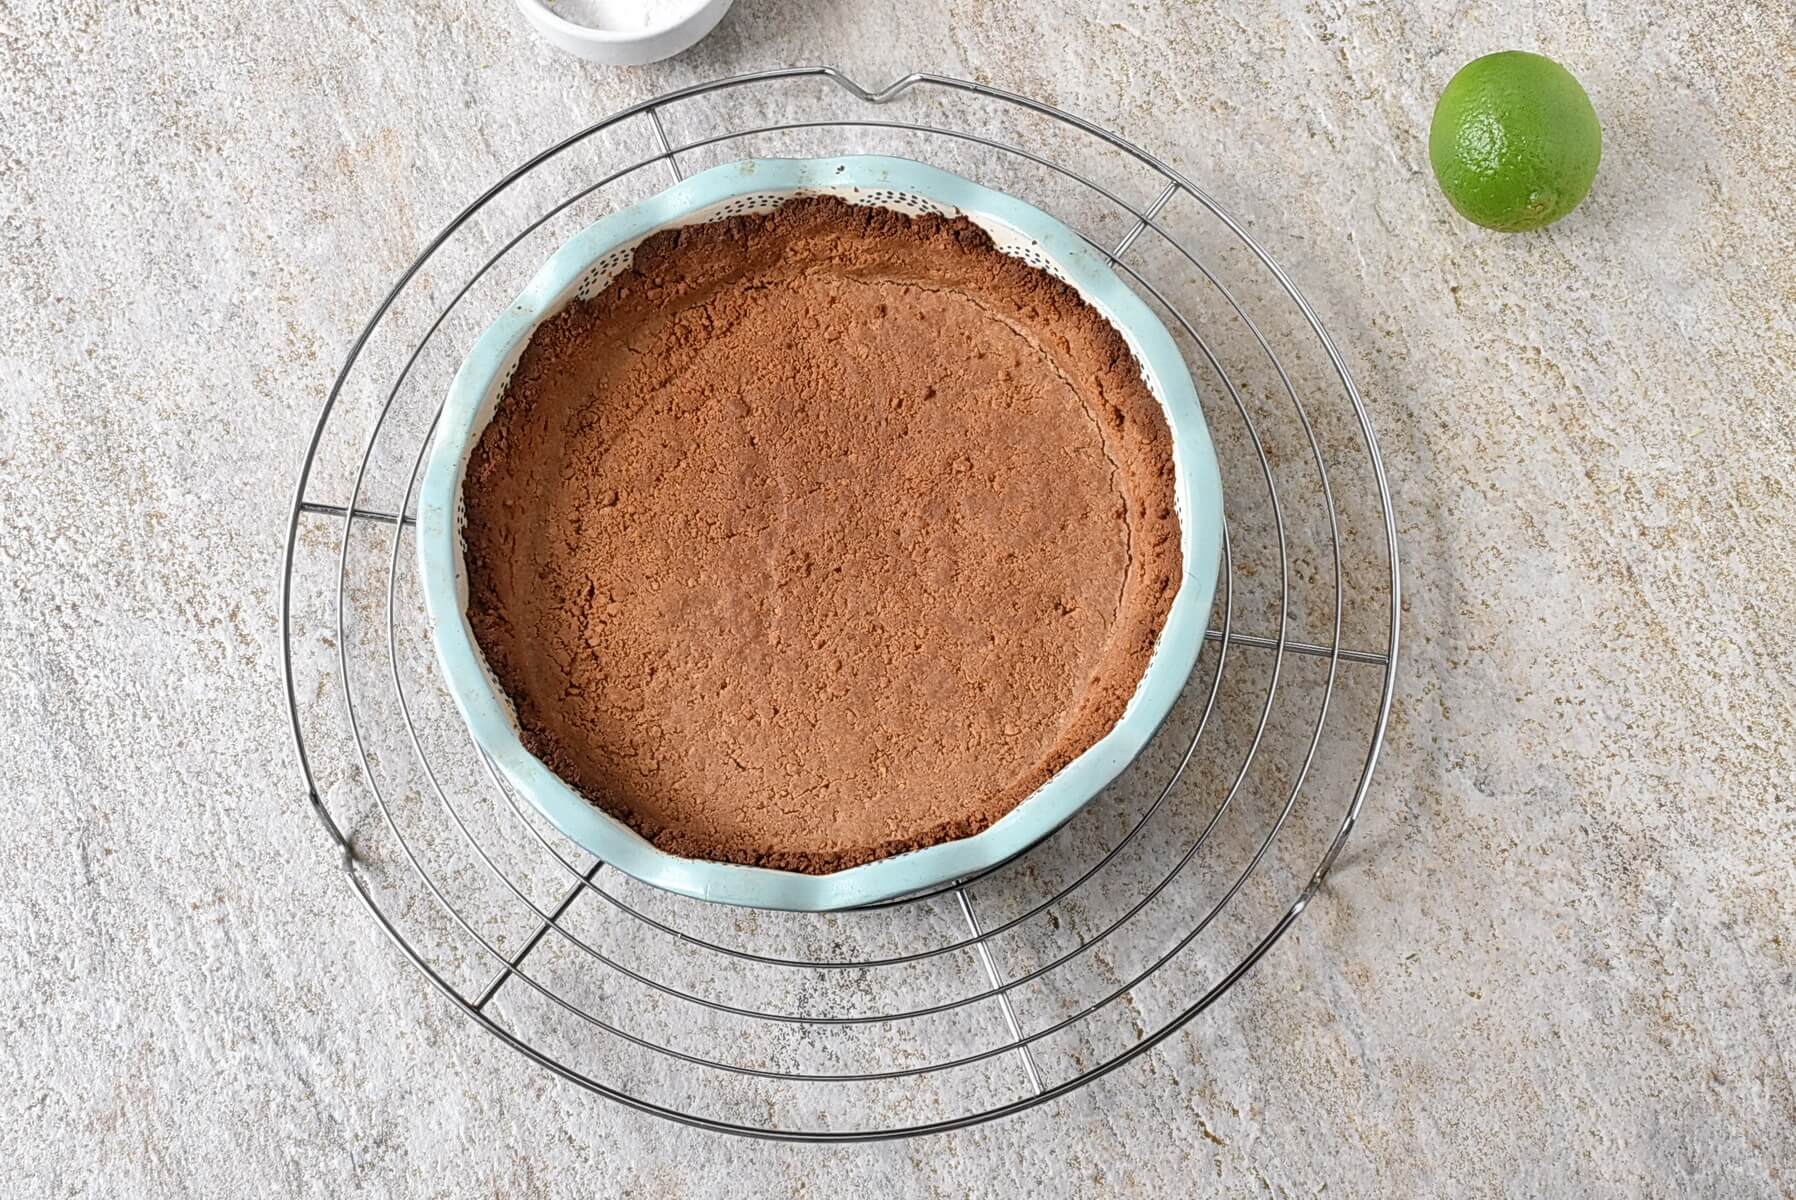
Bake until the crust is just slightly browned, for 10 minutes. Cool the crust on a wire rack.
Reduce the oven temperature to 350 °F.
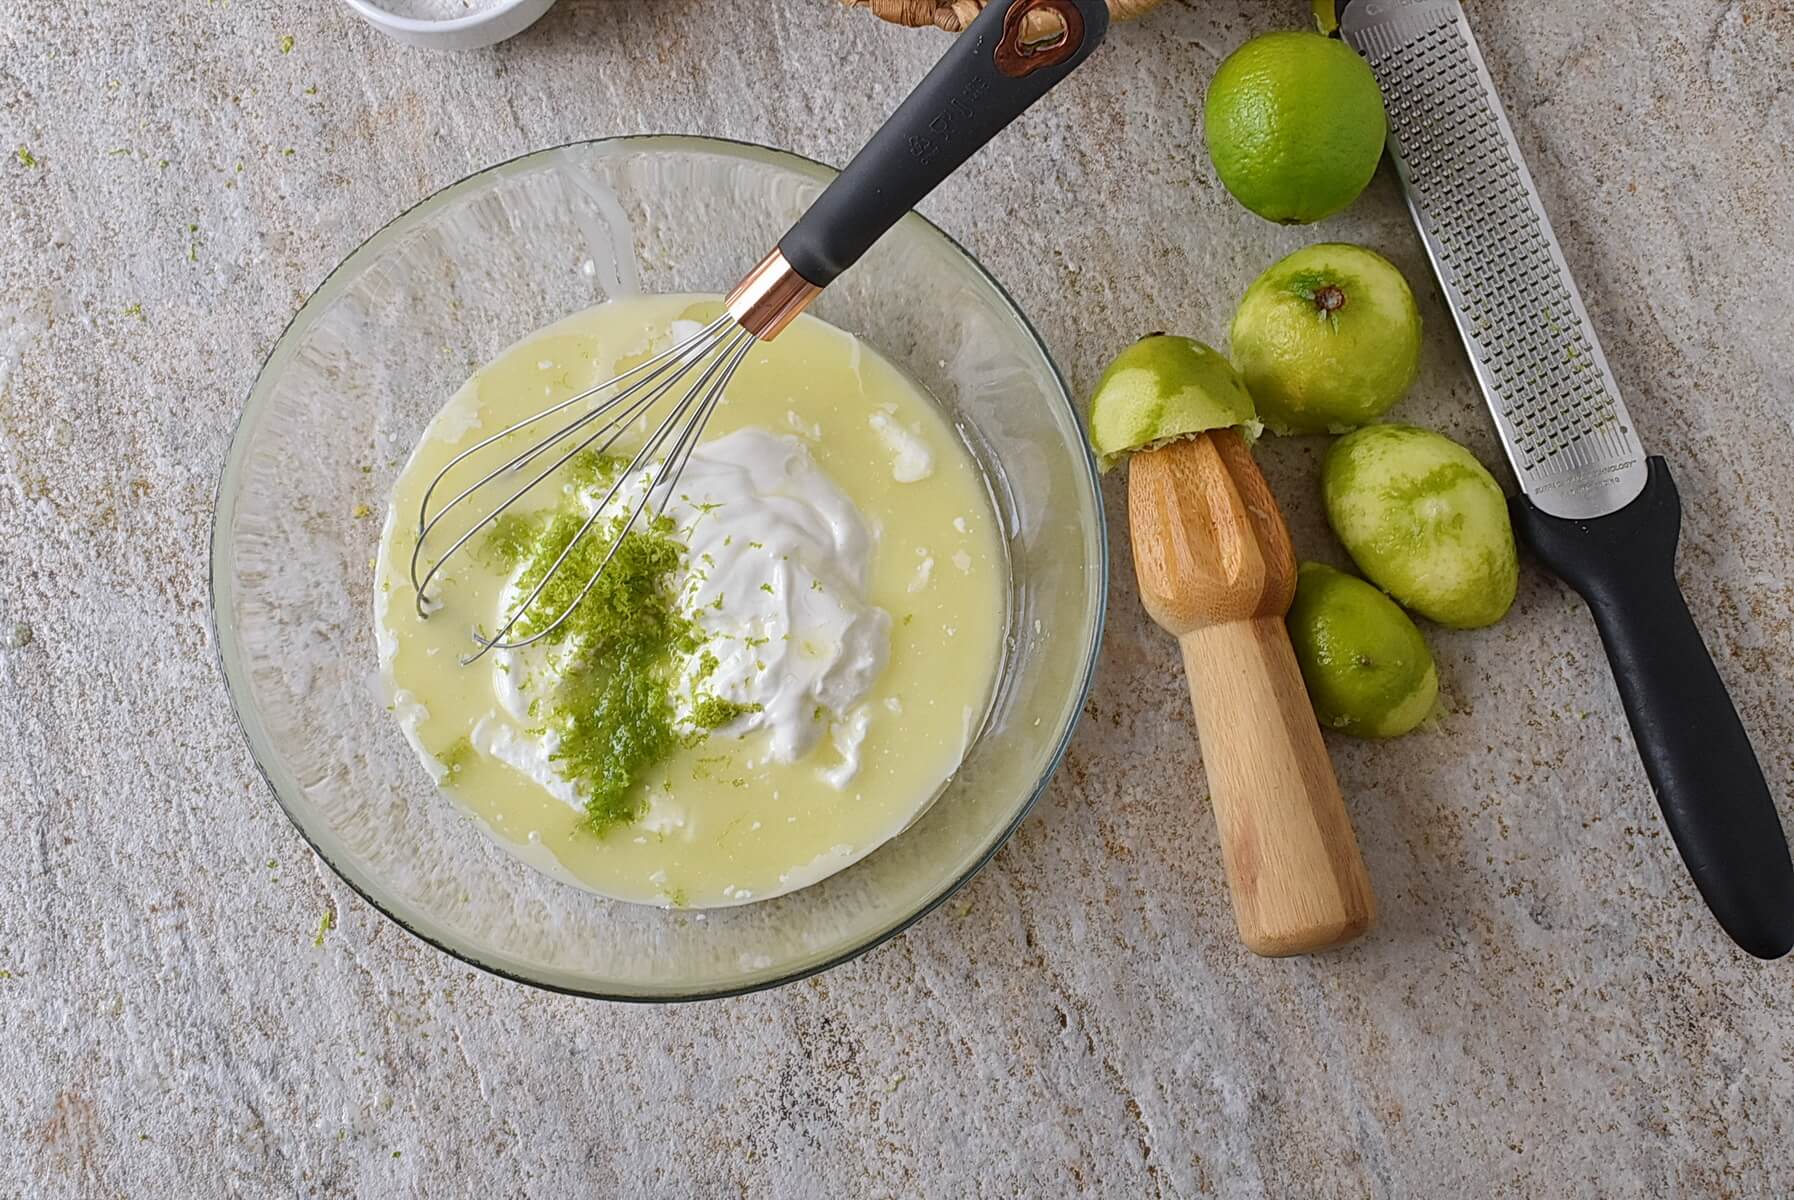
In a large bowl, whisk together 2 (14-oz) cans sweetened condensed milk, 1 cup plain Greek yogurt, 1 tablespoon grated lime zest, and ¾ cup fresh lime juice.
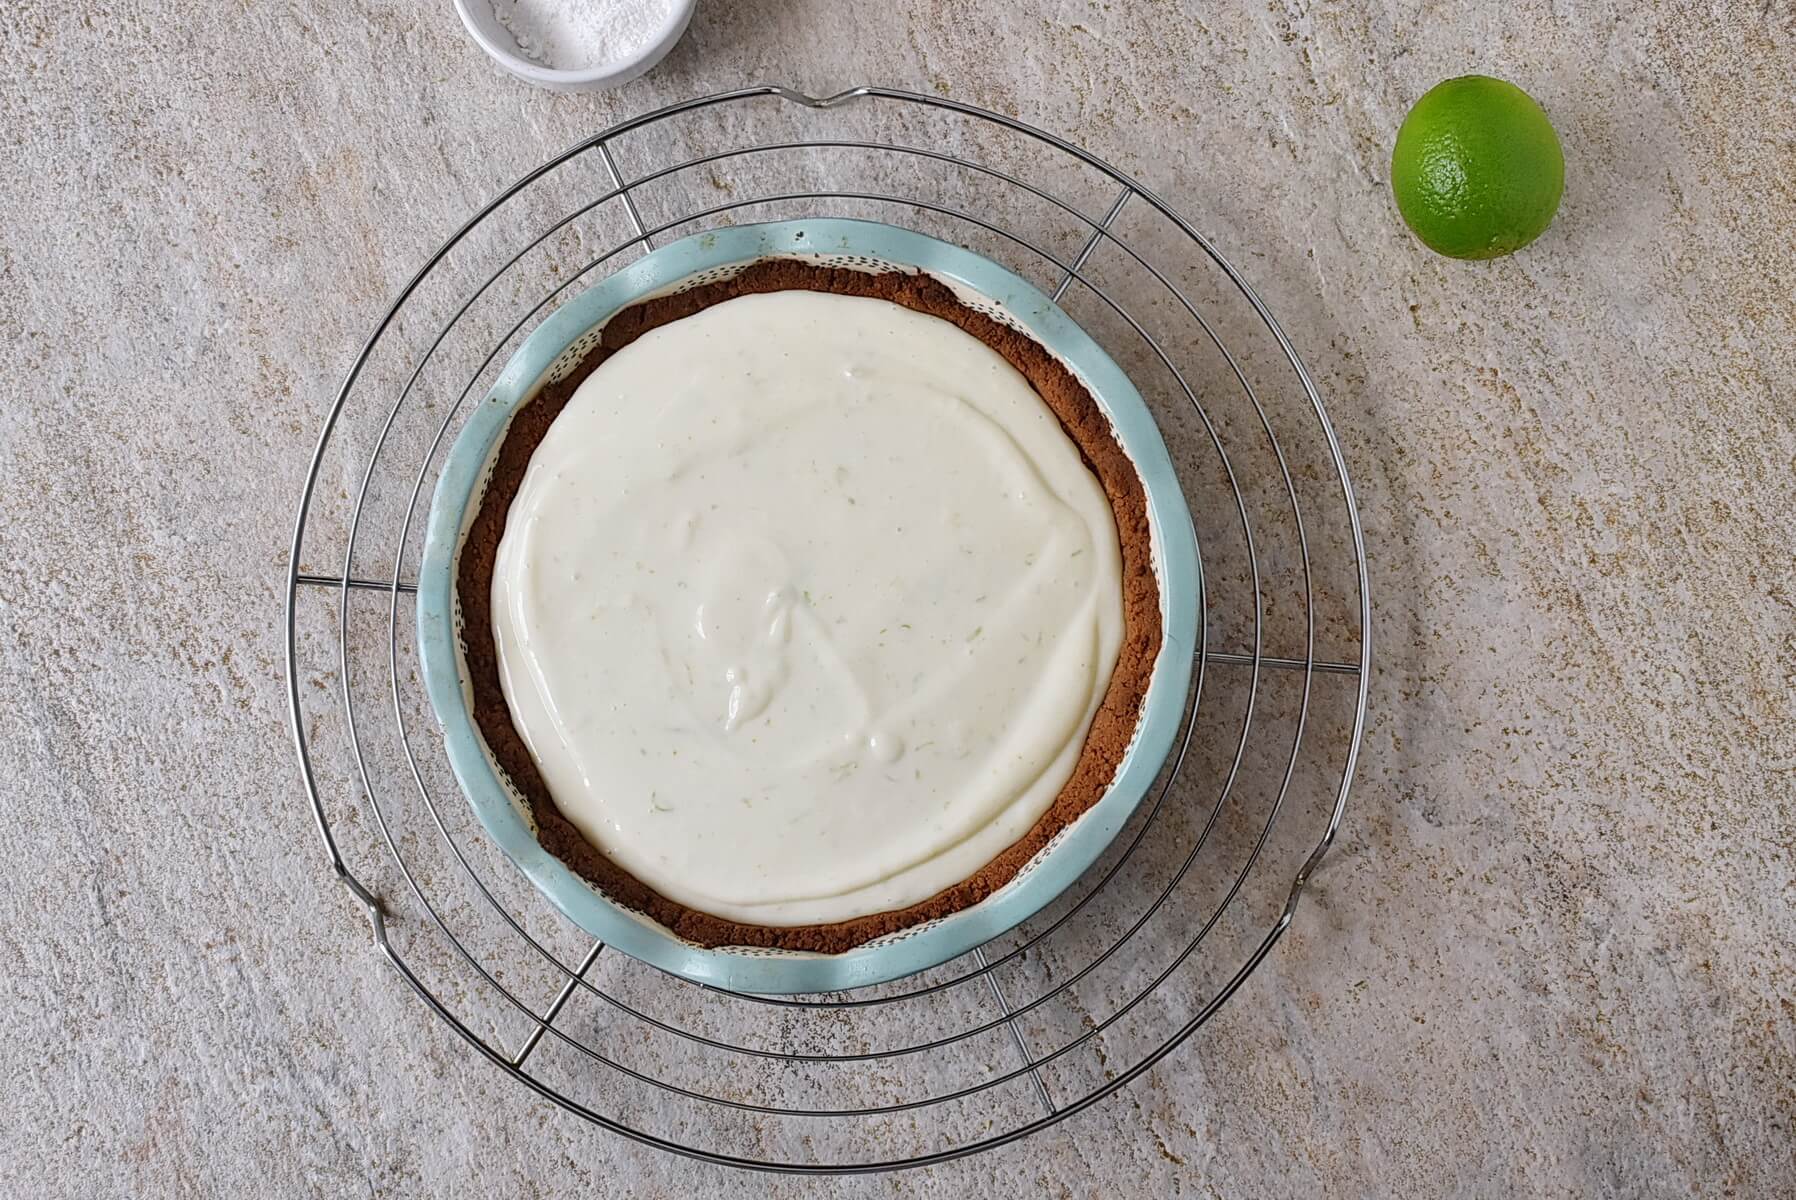
Pour the filling mixture into the warm graham cracker crust.
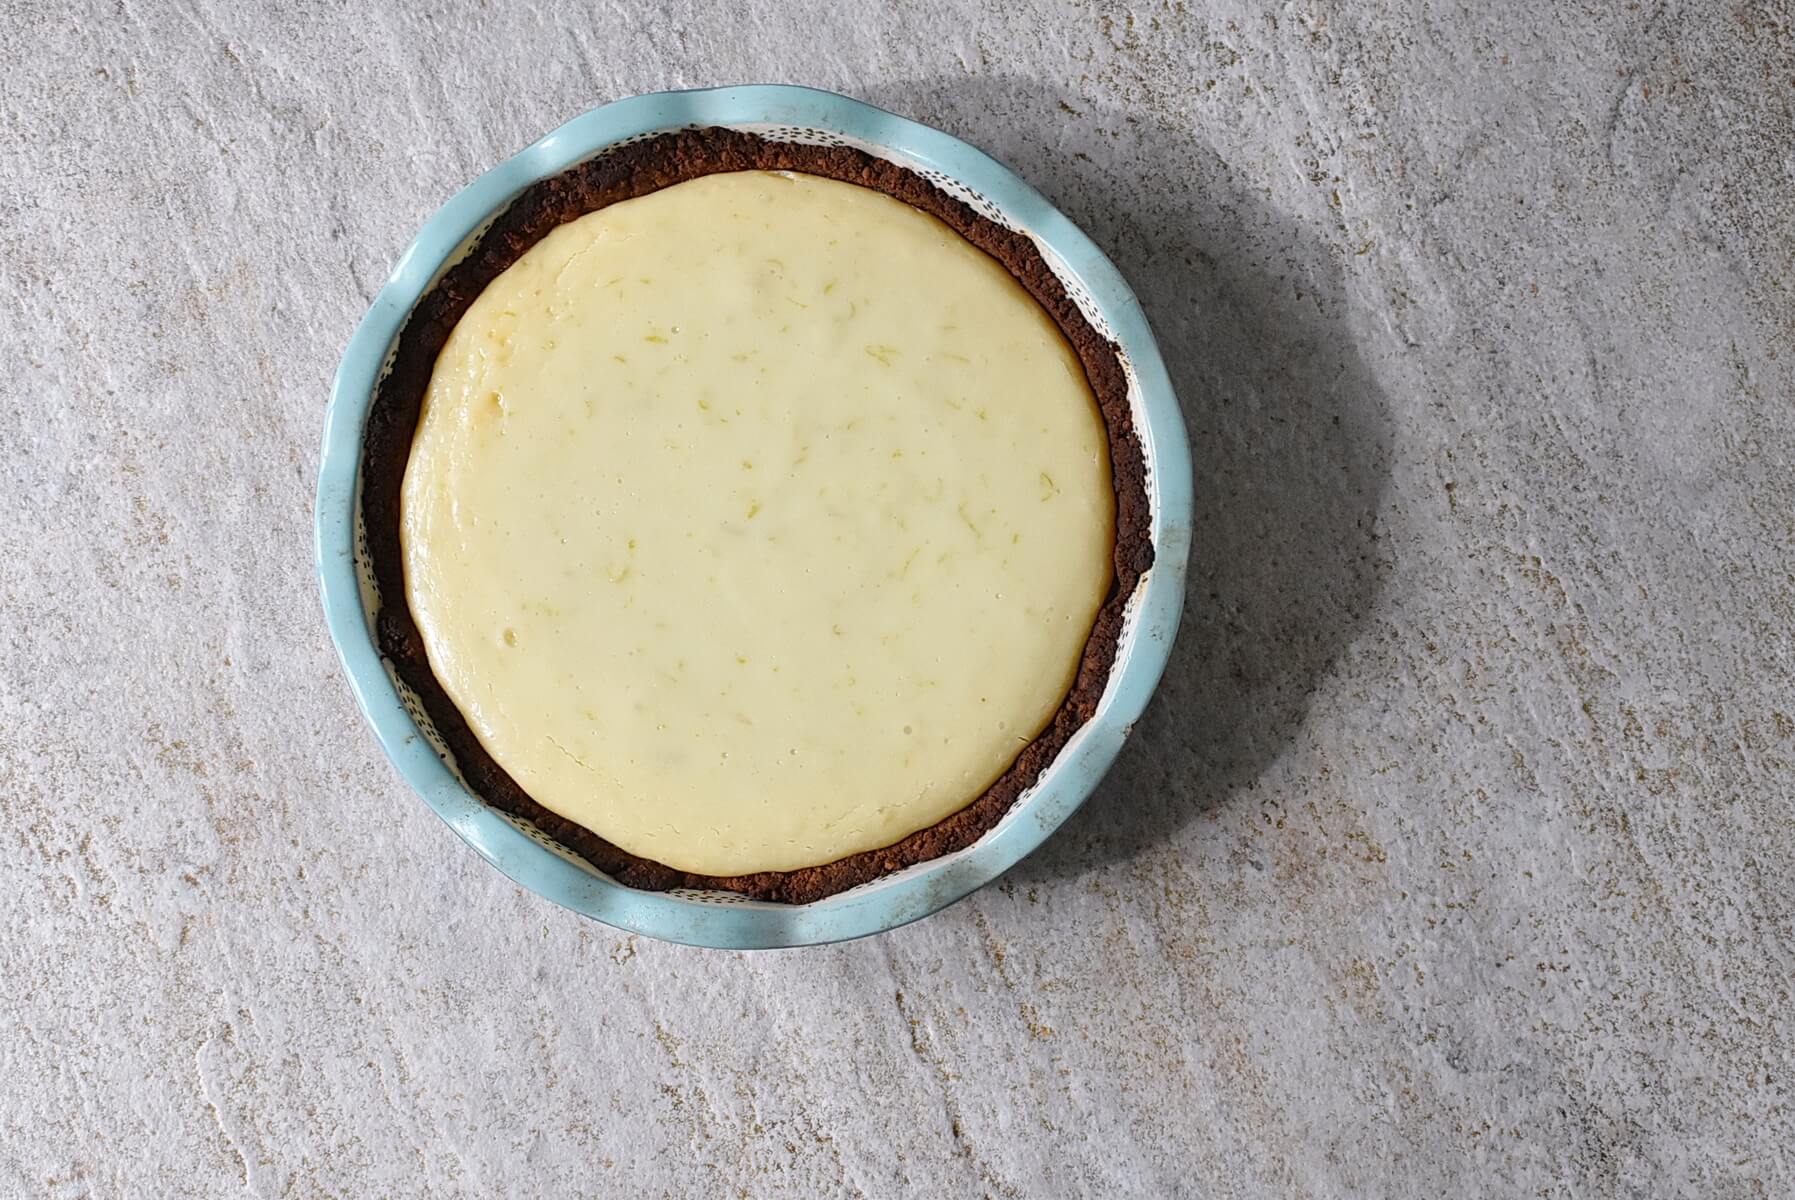
Bake for 15 minutes until the filling is nearly set; it should still wobble slightly in the center.
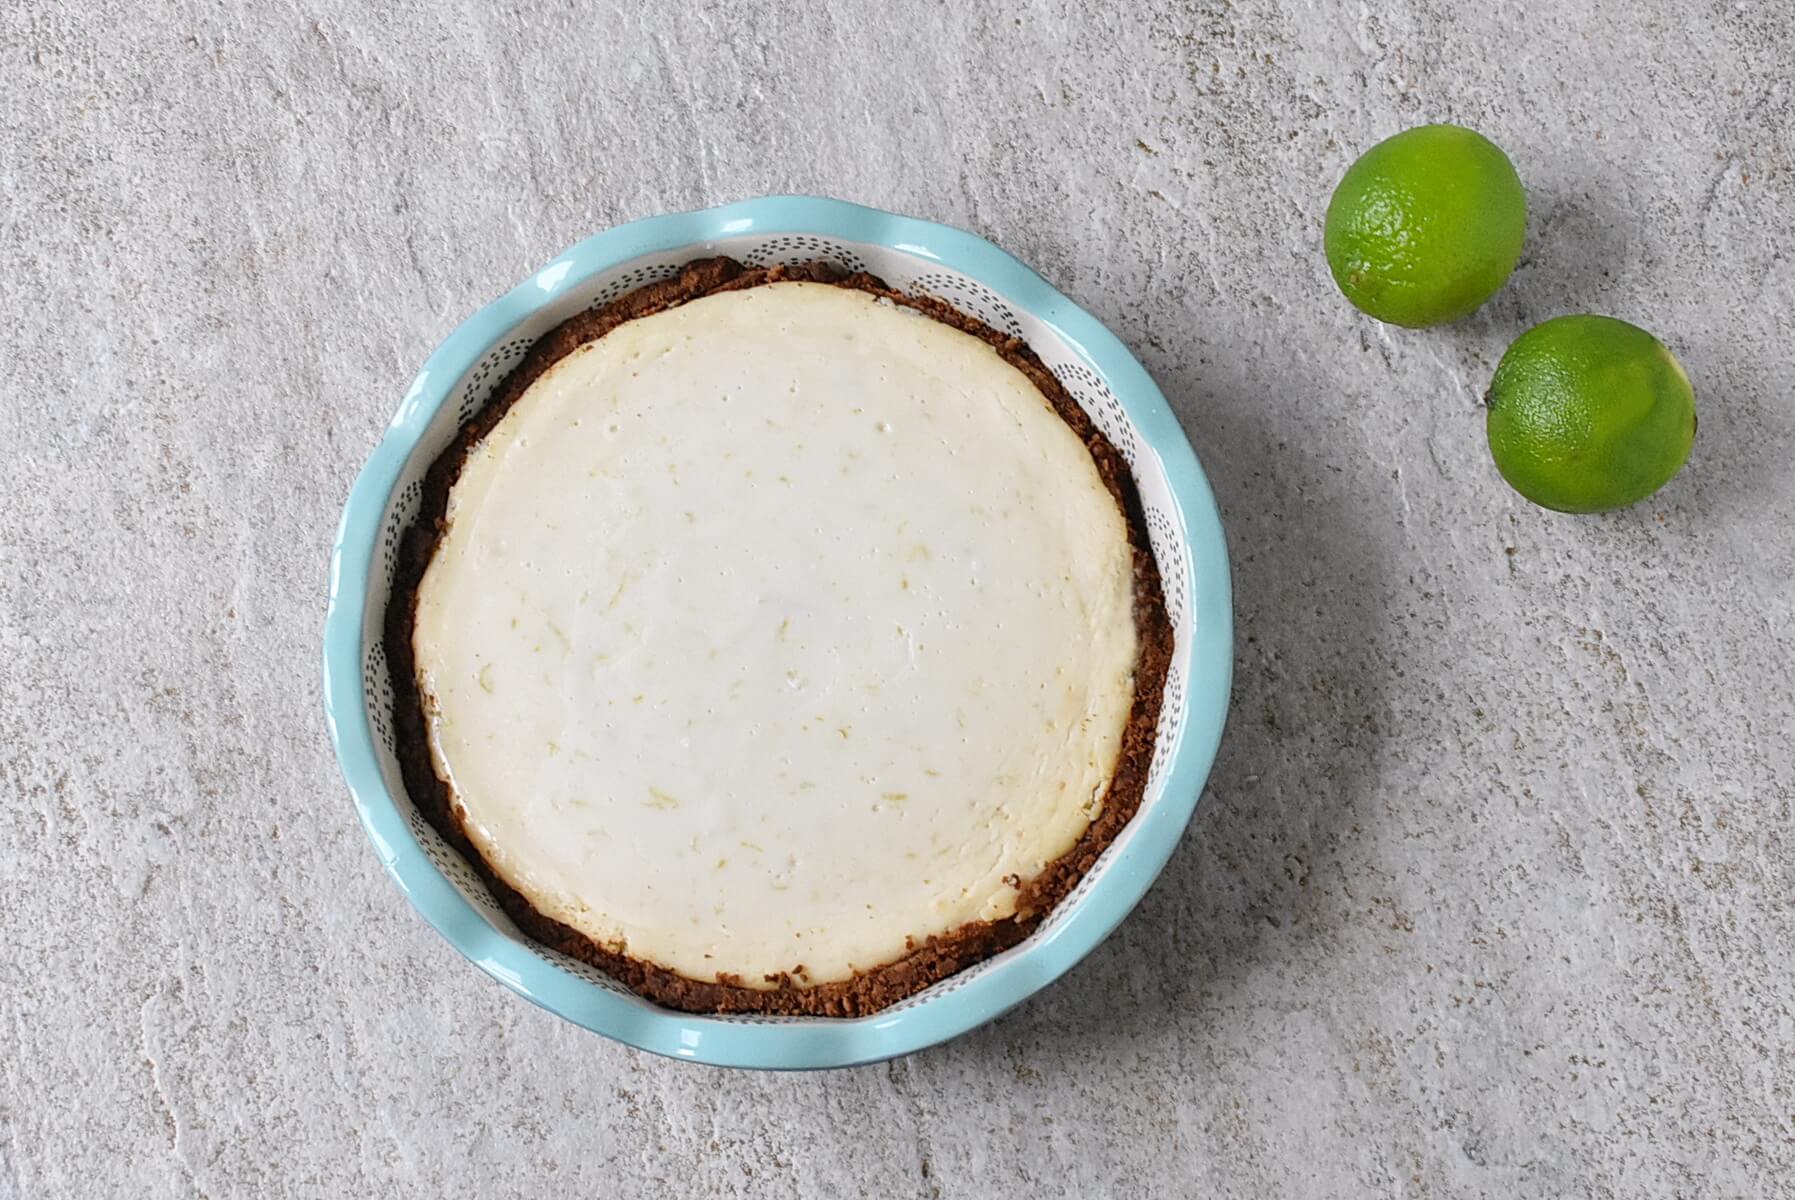
Allow the pie to cool at room temperature for 30 minutes, then refrigerate it to chill completely, about 3 hours.
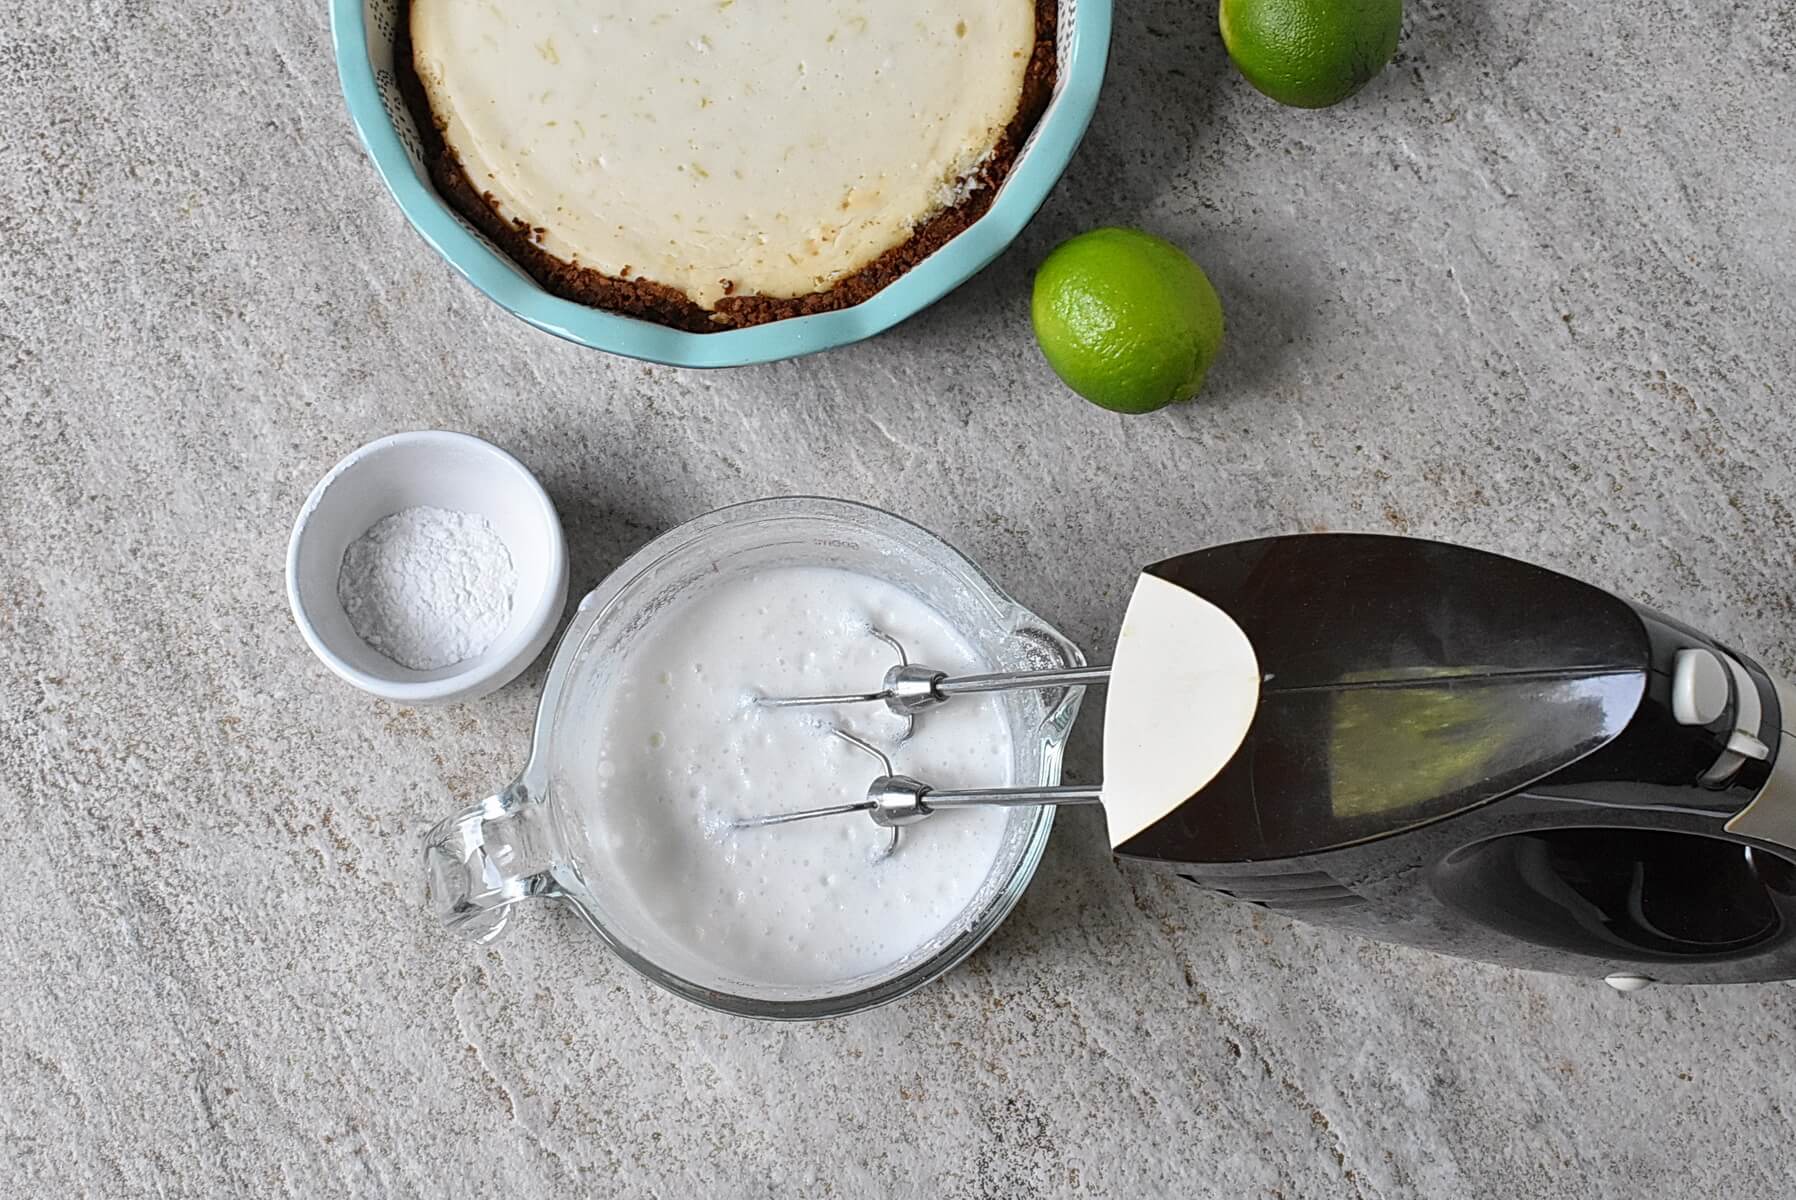
In the bowl of an electric mixer, beat 1 cup cold heavy cream until soft peaks form.
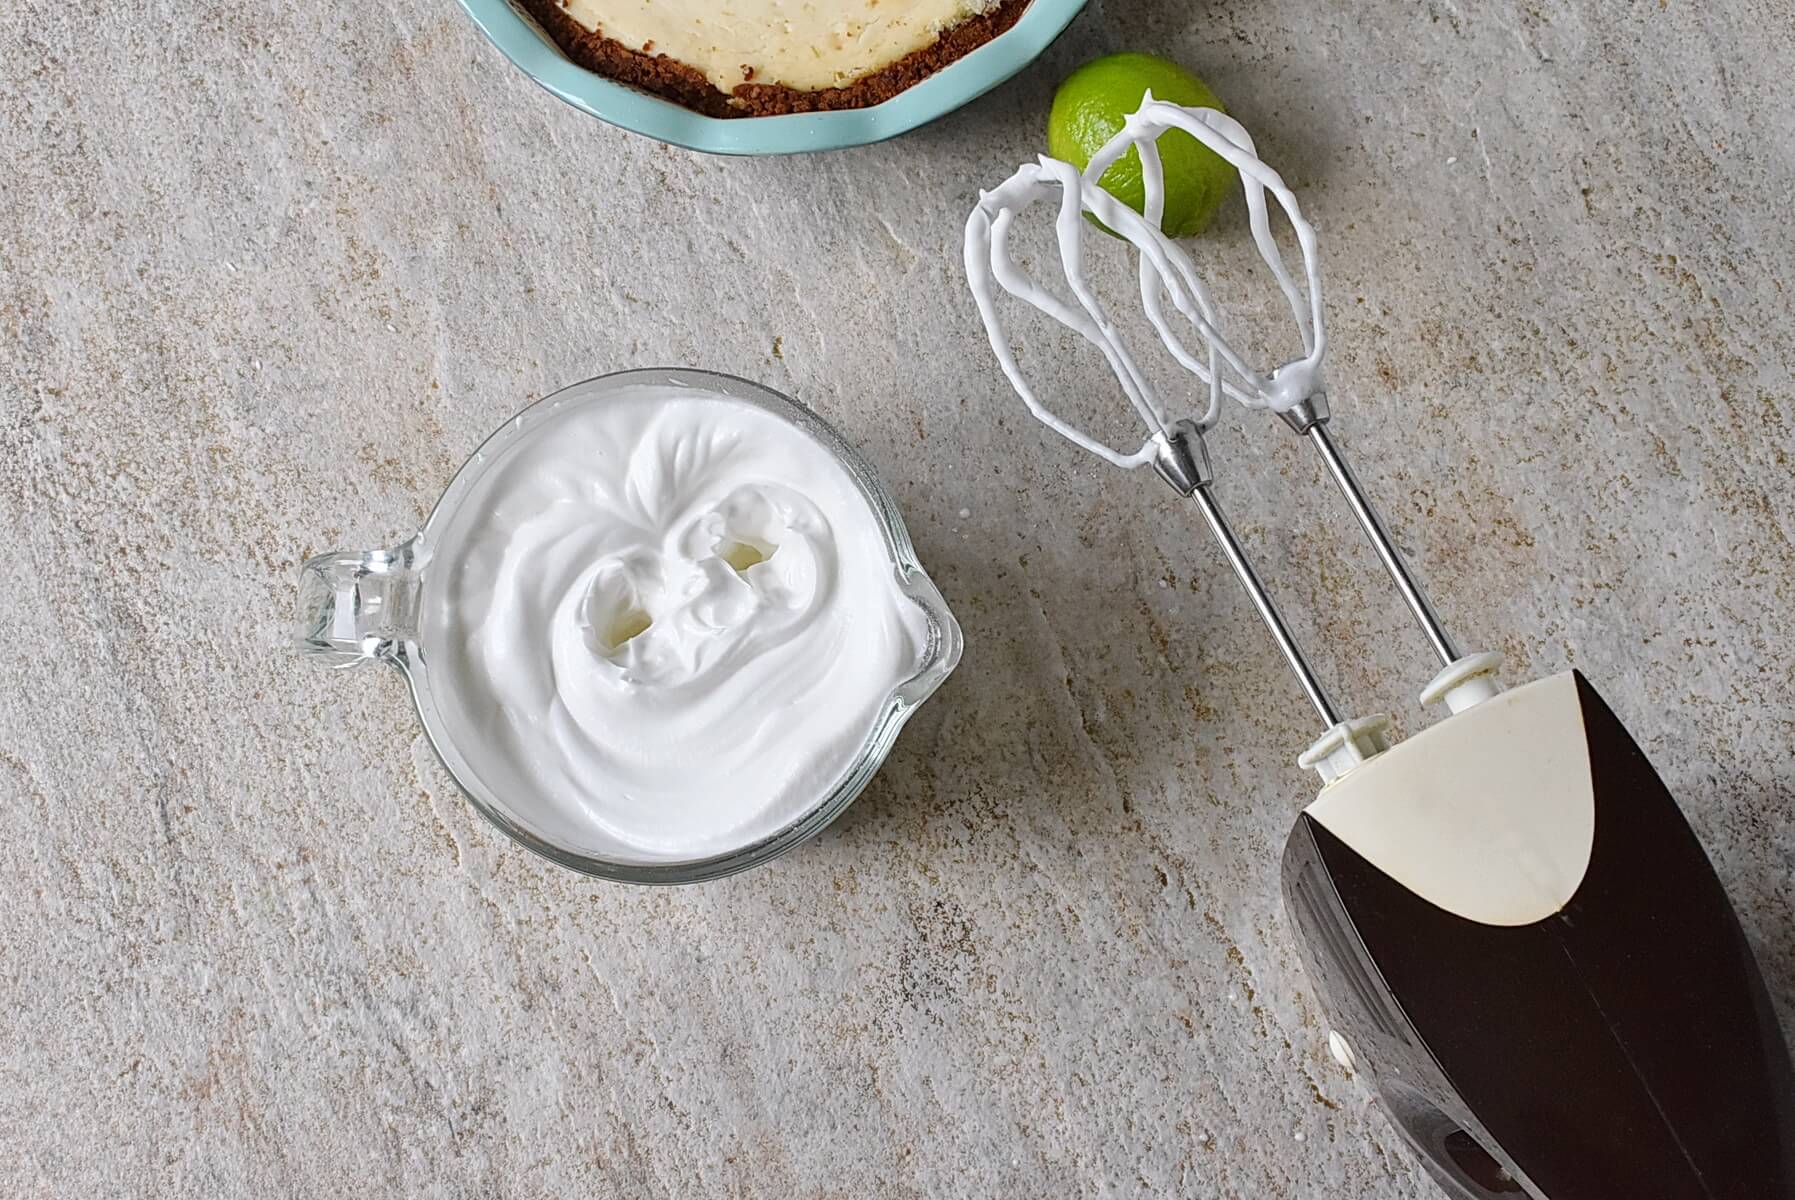
Add in 2 tablespoons confectioners' sugar and beat until medium peaks form.
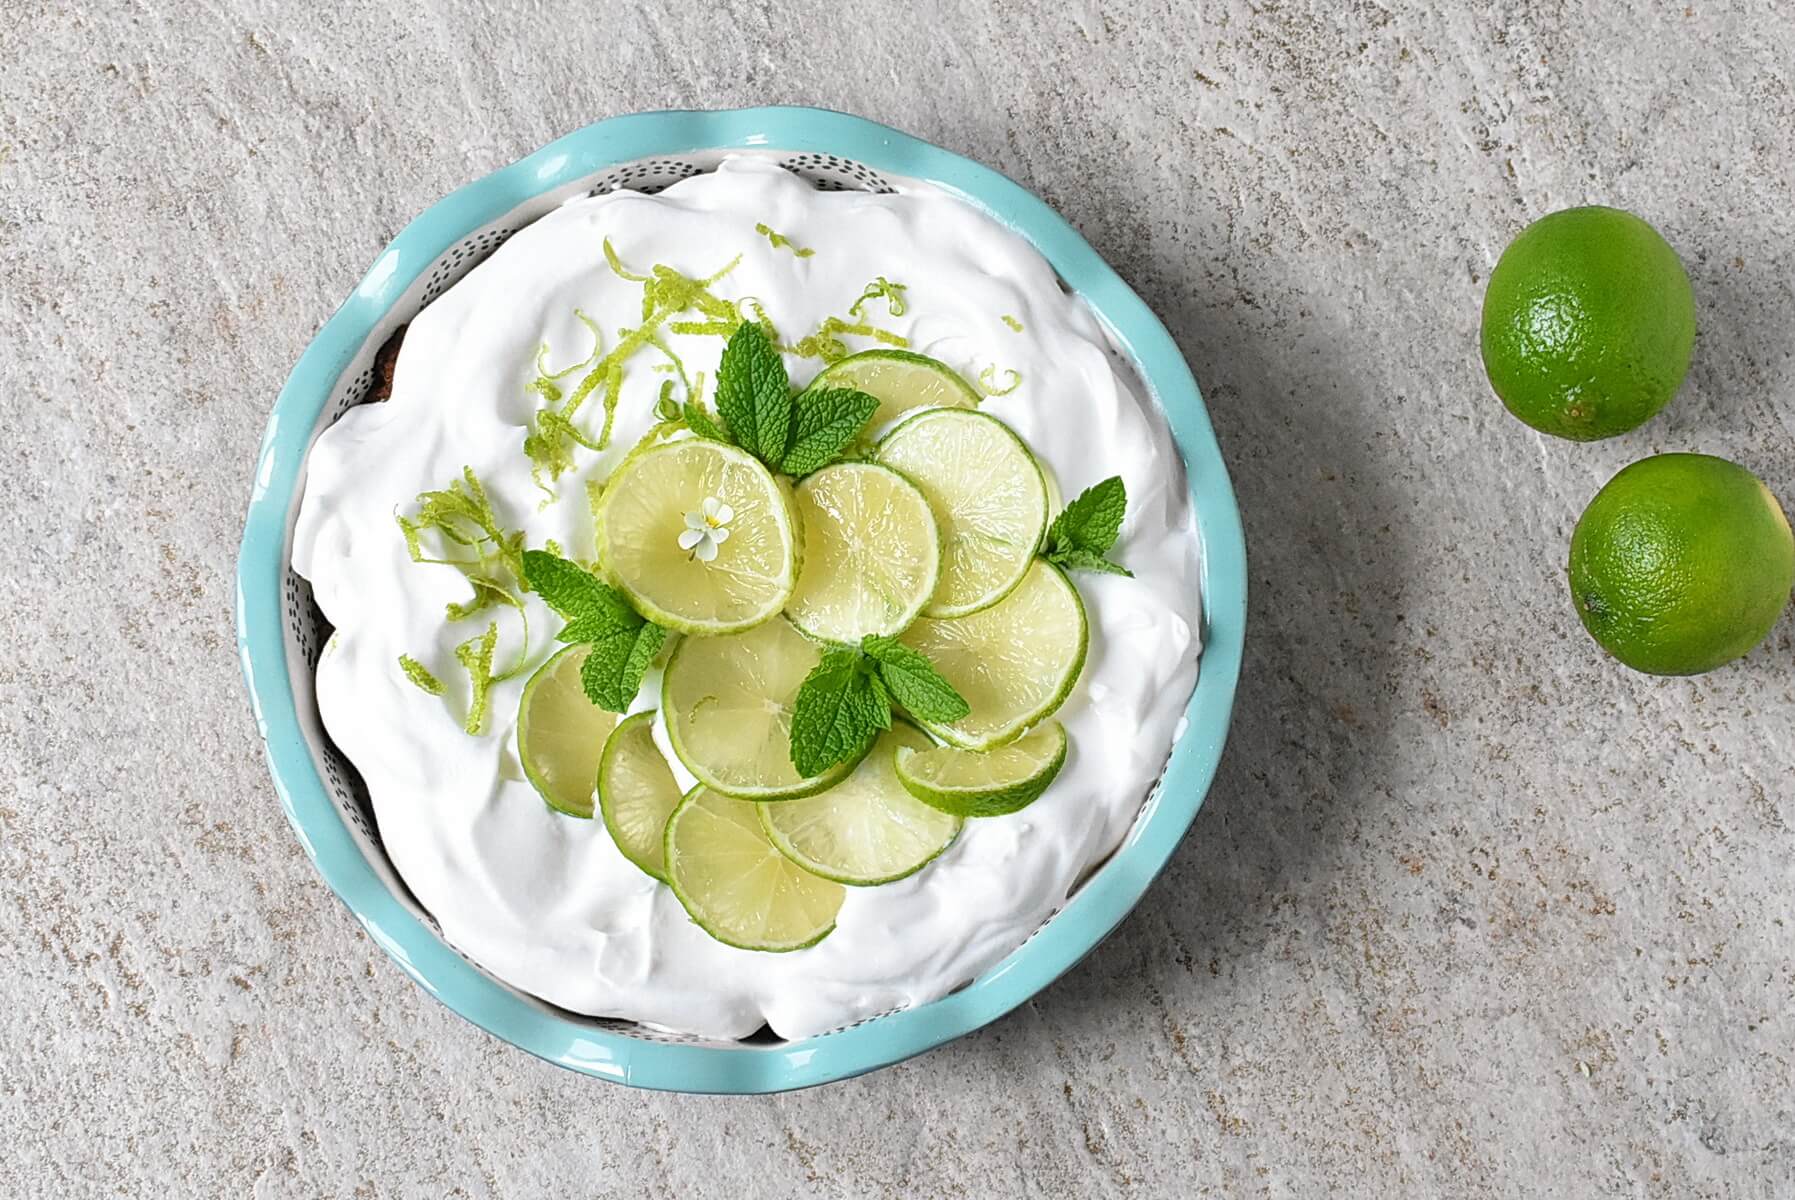
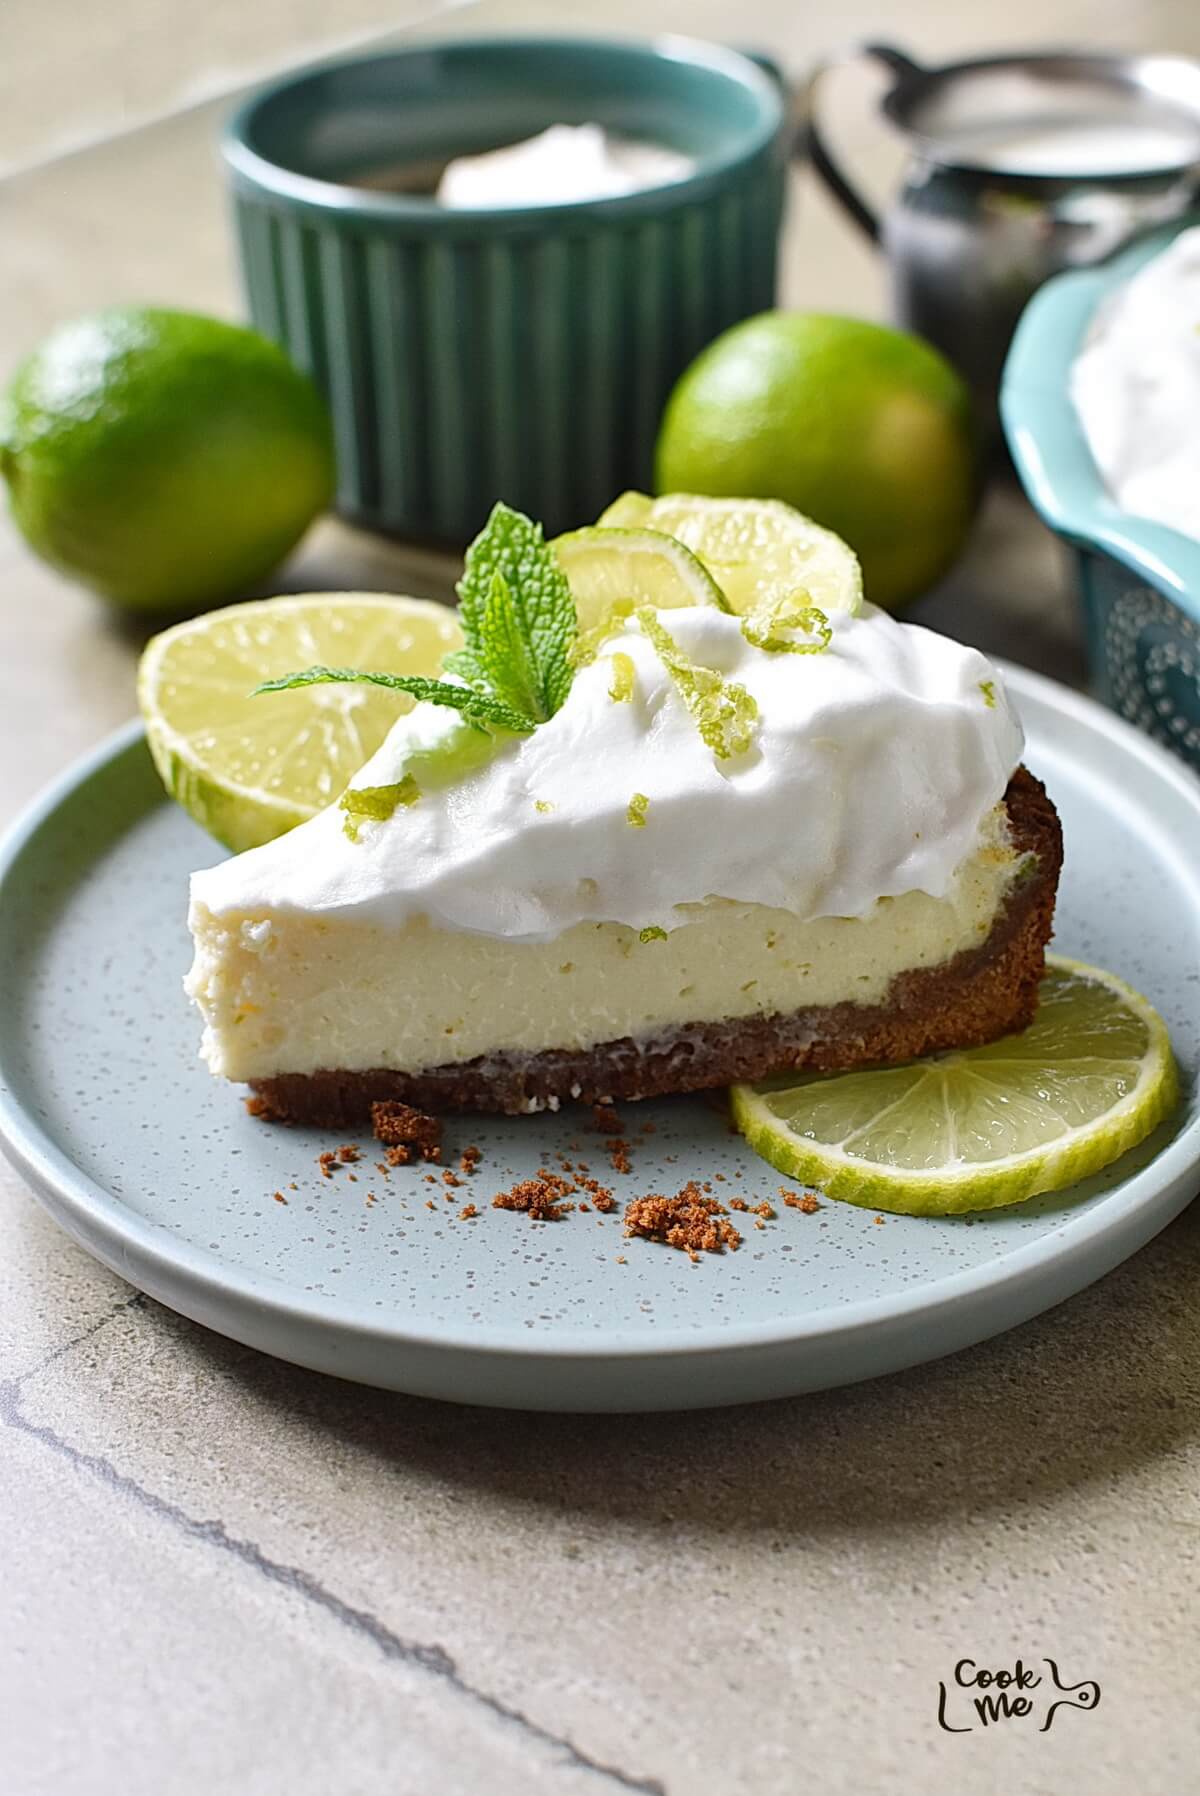
Top the pie with whipped heavy cream. Decorate the top with fresh lime zest and thin lime slices. Store the pie in the refrigerator until you are ready to serve.
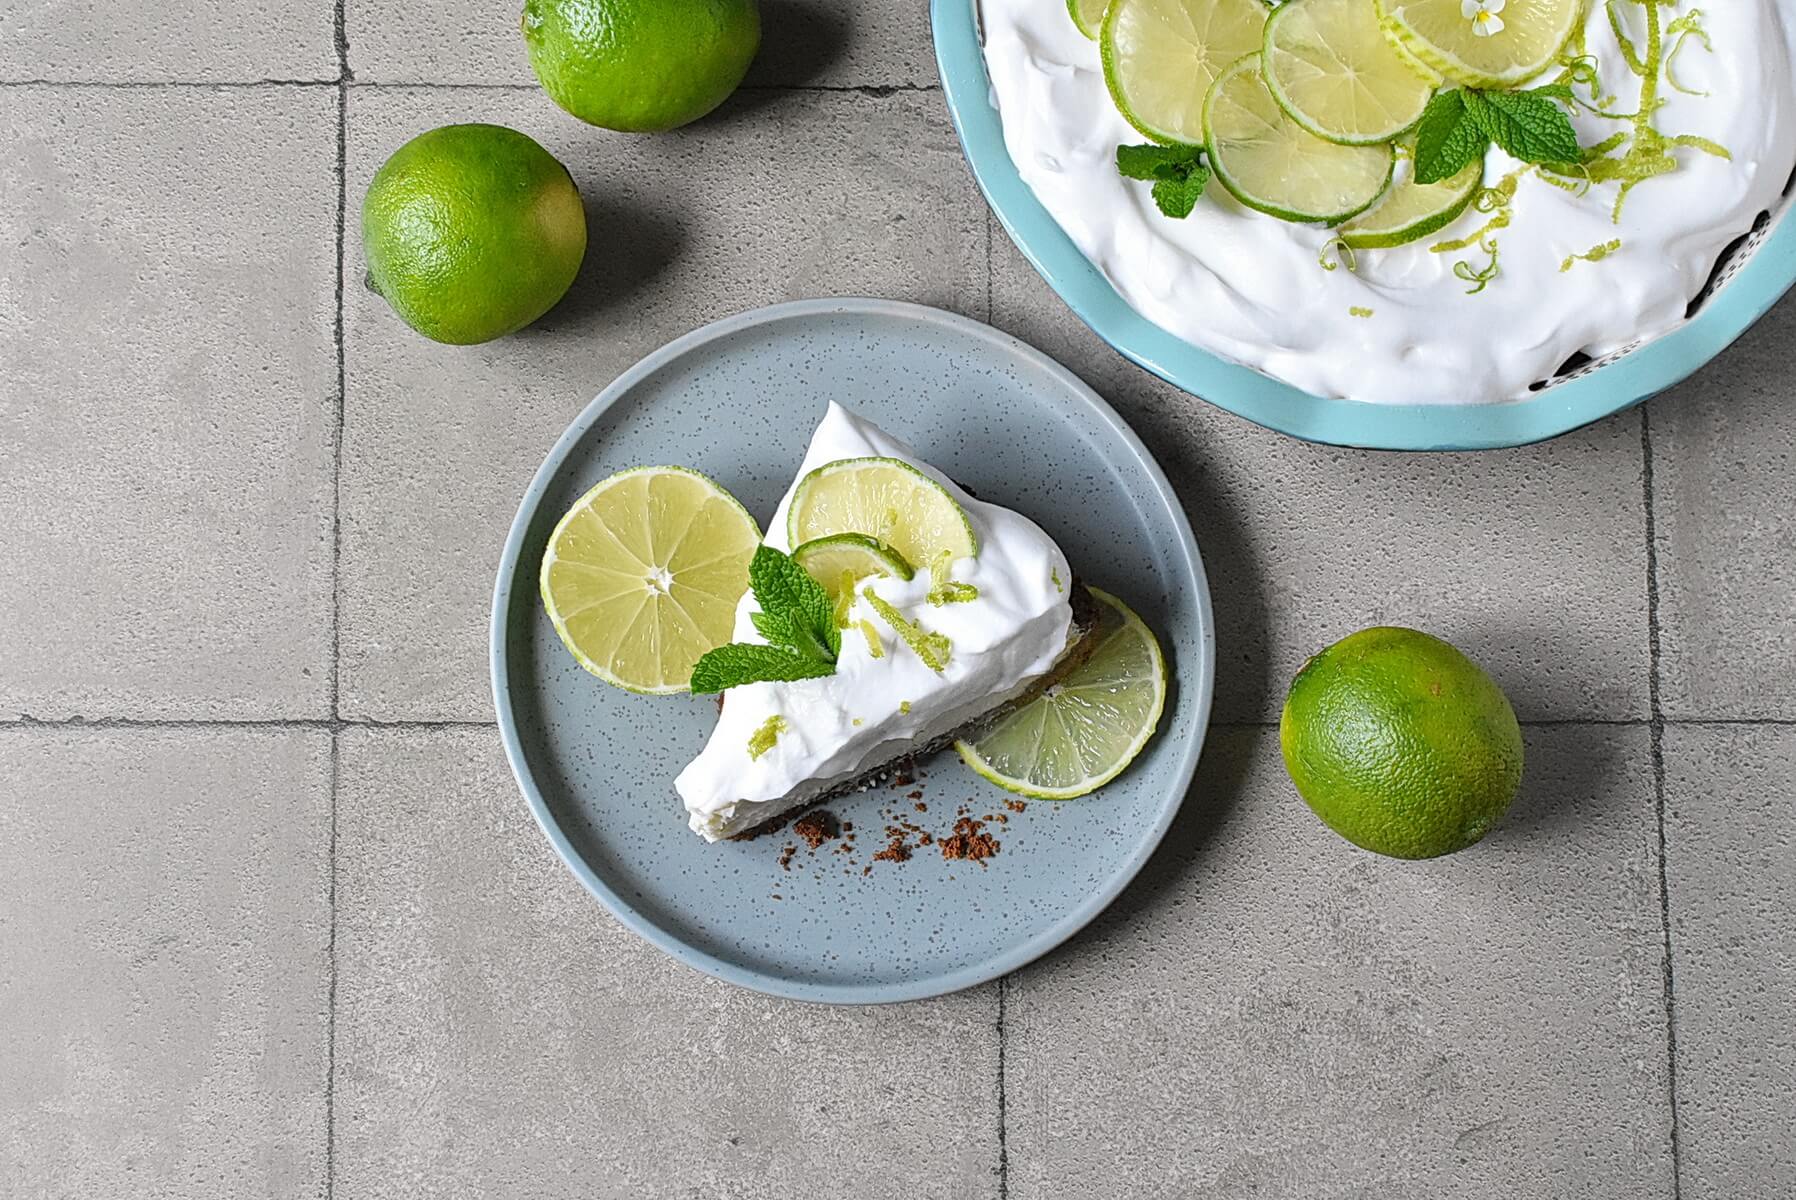
Cut the pie into wedges, making sure to wipe your knife clean between each slice. Serve the pie cold.
You do not need fancy gear. A medium bowl for the crumbs, a large bowl for the filling, a whisk, and a nine inch pie pan will do. I use a glass pan so I can peek at the crust. A fork works for mixing the crust if you have no pastry cutter. The bottom of a glass or a measuring cup is great for pressing the crust evenly into the pan.
For the topping, chill your bowl and beaters first so the cream whips faster. A rubber spatula saves the day for scraping every last bit of filling out of the bowl. A wire rack for cooling is handy, and a handheld citrus squeezer makes juicing limes less sticky. Simple tools, easy cleanup. If something is missing, improvise. I once used a fork instead of a whisk and it was fine.
Crust tip first: mix the graham crumbs with the brown sugar and melted butter until it looks like damp sand. Press firmly up the sides first, then the base, about a quarter inch thick. That way slices hold together and you do not get crumbly mess on the plate. Pressing with a measuring cup gives a smooth finish fast.
For the filling, whisk together the condensed milk, Greek yogurt, lime zest, and lime juice until smooth. The yogurt is my little secret. It adds creaminess and a gentle tang so the pie never feels too sweet. Bake until the center still wobbles a bit, about fifteen minutes at 350 F, then let it cool. Overbaking makes cracks and nobody needs that stress.
Gotta chill it. Cool on the counter for thirty minutes, then refrigerate for three to four hours so the filling firms up and the flavours settle. Fresh limes matter. When you grate zest you get those oils that bottled stuff cannot give you. Roll the limes on the counter first to loosen more juice. If the crust is browning too fast, tent it with foil to shield it from heat.
If the oven is not an option on hot days, try a no bake key lime pie. Make the crust the same and chill it instead of baking. Add an extra half cup of yogurt in the filling to help it set, then leave it in the fridge overnight. It firms up nicely and tastes fresher the next day. I did this during a Berlin heatwave and everyone loved it.
Want something a bit tropical? Use half condensed milk and half canned coconut milk and you get a creamy key lime pie recipe with a subtle coconut note. Toasted coconut on top is lovely. It changes the profile but in a good way, like a small holiday on a plate.
Add fresh raspberries or blueberries folded in after mixing the filling. Reduce the lime juice just a touch so the berries do not get lost. It makes slices colourful and fun for picnics. I once added strawberries for a playdate and it was a hit, though half ended up on the floor so true to life.
Serve the pie well chilled with a spoon of whipped cream on top. Fresh berries, a few mint leaves, or thin lime slices make it feel special. For casual events, put portions in jars layered with crust, filling, and cream so guests can grab and go. I like it with iced tea or a light white wine for grown ups.
If you need something different on the plate try grilled pineapple or a simple green salad with citrus dressing to balance the richness. Little touches like crushed graham on top or toasted coconut make it feel homemade and thoughtful.
Do not overbake. The centre should still jiggle a little when you take it out. Let it cool at room temperature before chilling so it does not shock and split. If a crack appears, cover it with whipped cream and nobody will notice. Using room temperature ingredients helps the filling set evenly.
Yes, it is beginner friendly because there are no tricky steps like a meringue. The filling is forgiving and the process is mostly mixing and short baking. You will learn small habits, like how long to whisk, and that builds confidence. I burnt the crust twice on my first try so do not feel bad if yours is a bit rough at first.
You can. Use key limes if you can find them for that sharper, floral tang. For a purist take skip the yogurt and keep it to condensed milk and lime, but I prefer the extra creaminess. It is about what you like and what is easy in your kitchen.
Yes, try the no bake key lime pie if you want to avoid the oven. Add gelatin for more stability if needed and chill overnight. It is a lifesaver when the house is hot or the oven is full of other things.
It works brilliantly. The bright citrus is refreshing and the chilled texture feels light after a heavy meal. Make it earlier in the day and keep it in the fridge so you are not stuck in the kitchen when guests arrive.
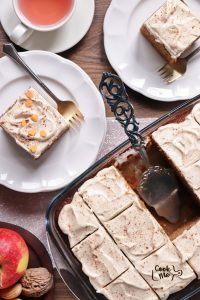
Key Lime Pie is a classic dessert that beautifully balances tanginess and sweetness, making it an ideal choice for spring or summer gatherings with friends and family. With its creamy filling and crunchy graham cracker crust, this recipe ensures you can whip up a satisfying treat with minimal fuss. It's an impressive yet simple dessert that will leave everyone wanting more. Did you make this recipe? We’d love to see it! Snap a photo and tag us on social with @CookMeRecipes and use the hashtag #cookmerecipes.

Perfect for summer family gathering!