My kids are obsessed with jam – Strawberry Jam in particular. They simply love the stuff and I found I was buying a jar or two every week. I started to worry about what was in mass produced jam and I decided to start making my own so that I knew exactly what was in each jar. It made me feel a bit better about all the PB&J sandwiches my kids eat! Making jam is not hard and you don’t need many ingredients, but it does require a bit of forward planning and organisation. You’ll also need a candy thermometer.
This recipe requires preparing the strawberries and leaving them overnight to macerate. Maceration is a technique used to soften fruit. In this recipe, macerating the strawberries helps the sugar to dissolve. It also ensures that the fruit keeps its shape and vibrant color.
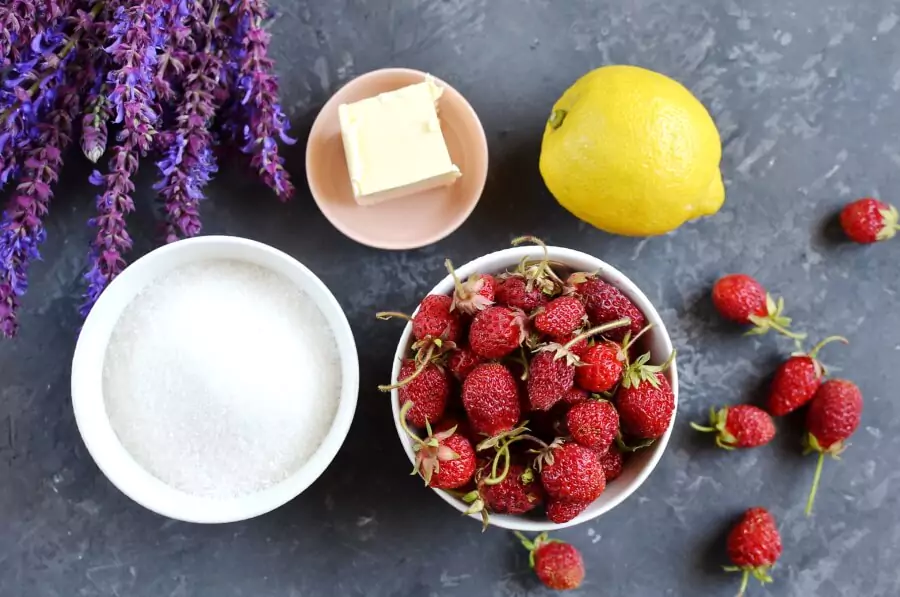
To make the Strawberry Jam, you will need the following ingredients:
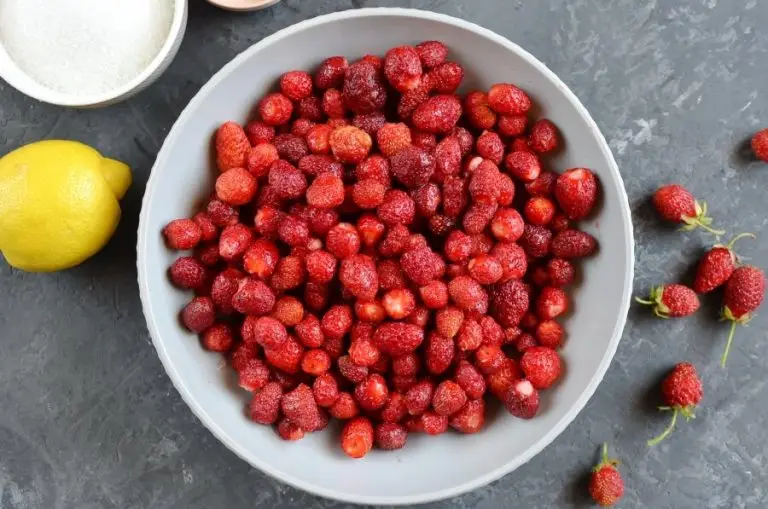
Hull the strawberries by removing any stems. Using a damp paper towel, clean the strawberries. Don’t wash them as they will absorb extra water and this will affect how the jam sets.
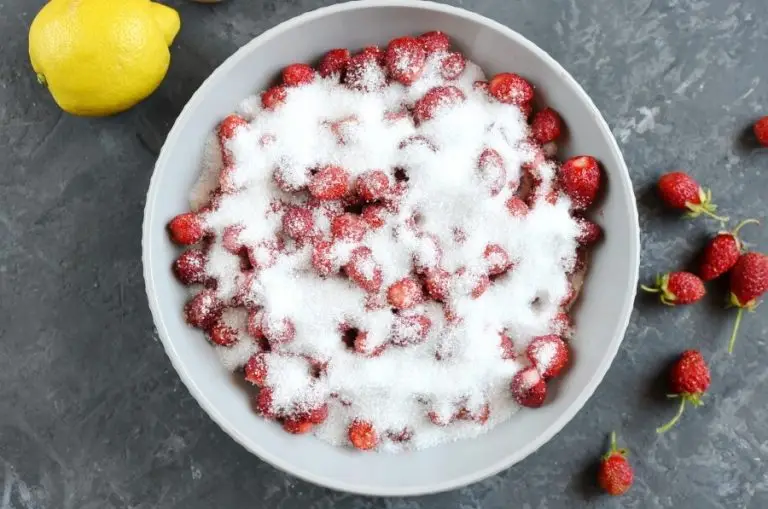
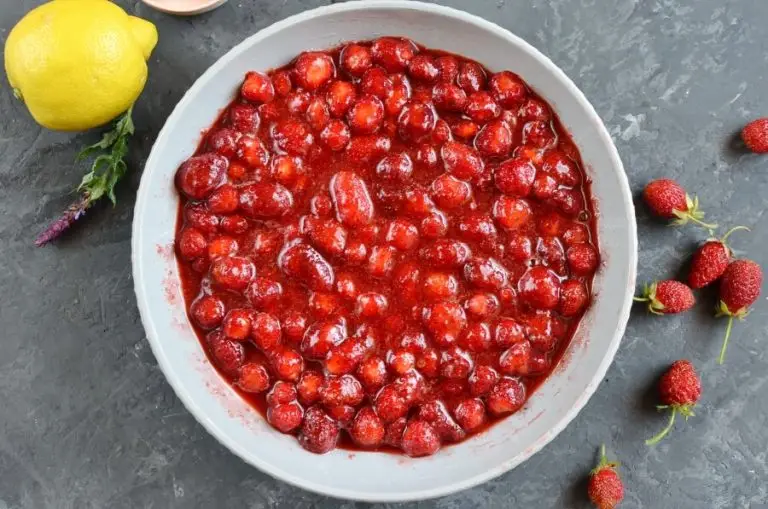
Cut any large strawberries in half. Leave small ones whole. Place the strawberries in a large bowl and sprinkle in the sugar. Toss to coat the strawberries. Leave the bowl at room temperature and uncovered overnight (minimum 12 hours).
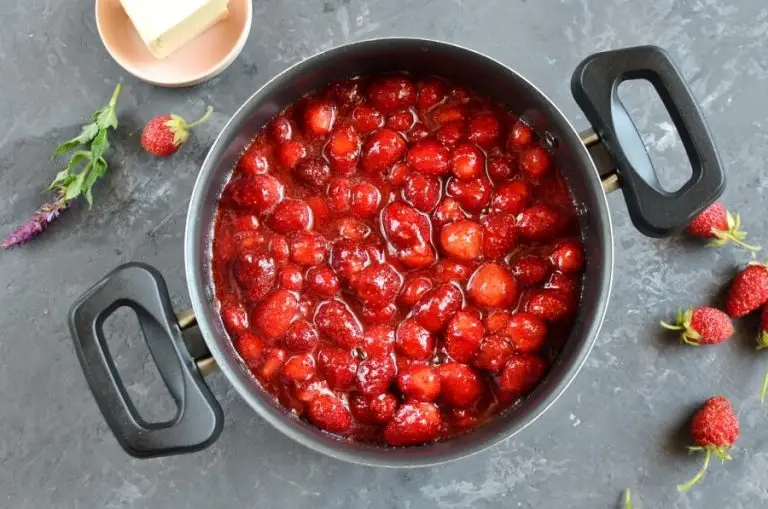
Add the macerated strawberries and lemon juice to a large pot. Cook gently over a low heat until the sugar has fully dissolved. Be patient and allow the sugar to dissolve fully or it could affect how the jam sets.
When you are sure that there are no longer any grains of sugar in the fruit, turn the heat up to high and bring the jam to a boil.
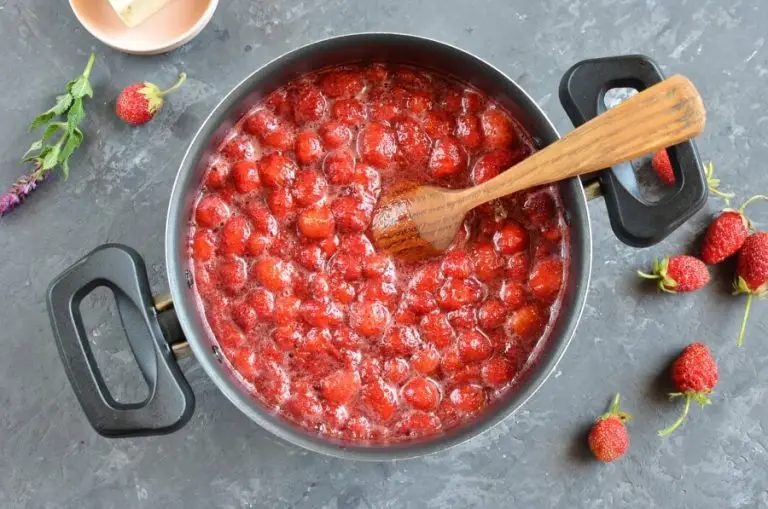
Allow the jam to boil for 5-10 mins until it reaches 221 °F on a candy thermometer
Foam may gather on top of the jam as it boils. At the end of the cooking process, skim the foam with a spoon and discard.
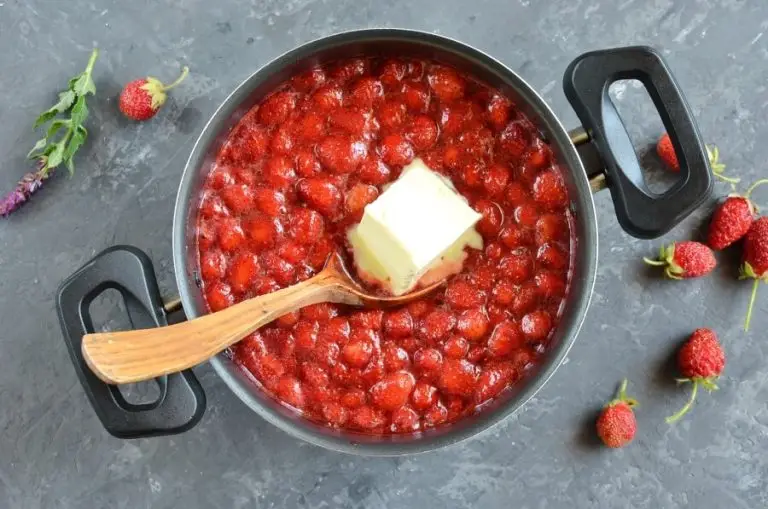
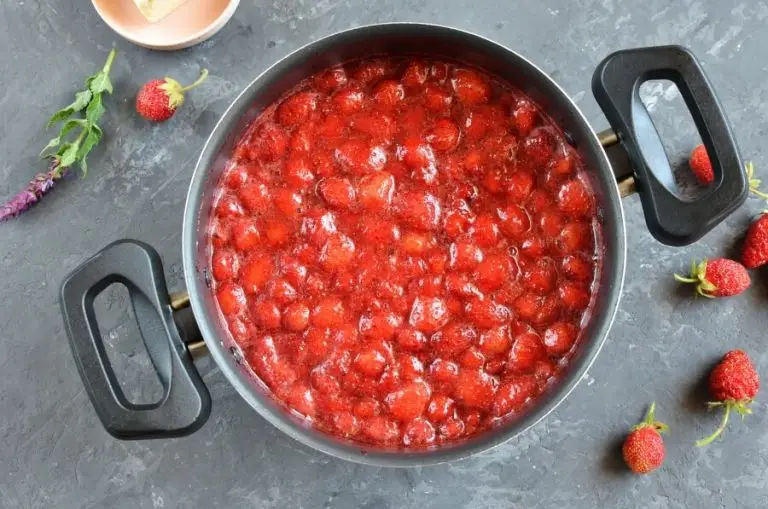
Add a knob of butter to the jam and stir well. This will help to dissolve any remaining foam on the surface.

Allow the jam to stand for around 15 minutes to ensure even distribution of the fruit.
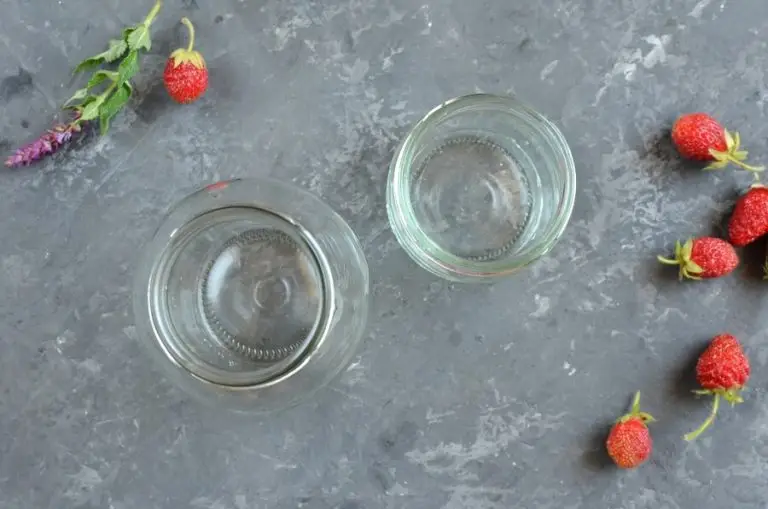
While the jam is resting, sterilise the jars that you are going to use.

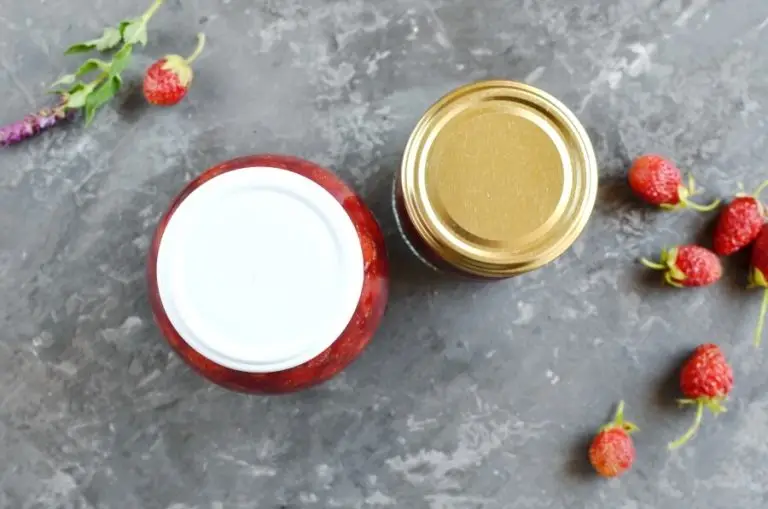
Using a ladle, spoon the jam into warm sterilised jars. Fill the jars almost to the top. Leave a small gap just below the rim. Place a wax paper disc on top of the jam and cover with a cellophane circle and elastic band or a lid.
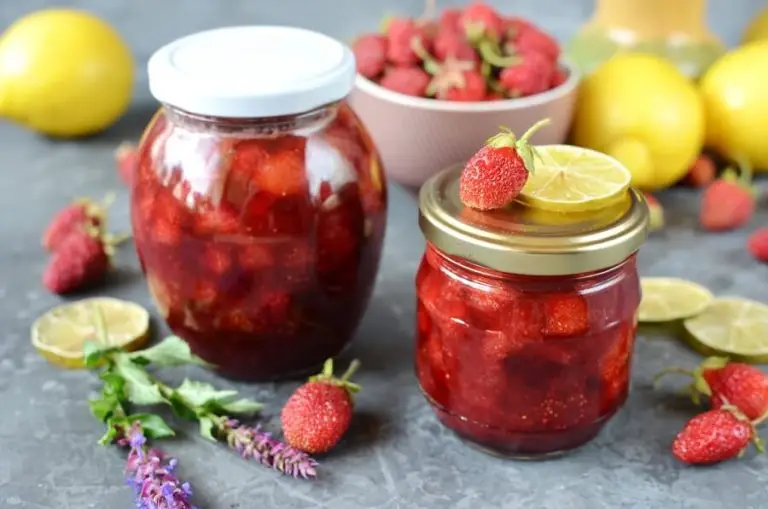
The jam can be stored for up to 1 year in a cool, dry place but it only lasts a few weeks in my house! Refrigerate after opening.

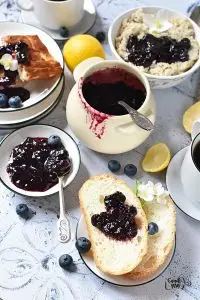
I love to add this homemade jam to hot buttered toast.
This pure fruit Strawberry Jam is easy to make and tastes way better than store bought jams. Try it out and make sure you post a #cookmerecipes photo of your pretty jam jars!
Amazing! Made this jam with my kids, they loved helping out. Now their sandwiches are even better! Thankful for a healthier option. 💖
I am so thankful I tried this Strawberry Jam recipe. My kids love jam, and by making my own, I know what goes into it. They had smiles on their faces when I spread it on their PB&J sandwiches. The simplicity of the recipe makes it easy for busy moms like me.
Yum! I made this jam for my kids' sandwiches, and they couldn't get enough. Super easy and tasty!
So easy, delicious! I made jam with my niece on a sunny afternoon, and we laughed as we mixed the strawberries. It turned out amazing, now I can give her PB&J sandwiches with homemade jam. Highly recommend this recipe!
Exceptional!
My kids are totally into this strawberry jam now. We made it together one Sunday afternoon, and they loved mashing the berries. So simple yet so good!
This Strawberry Jam recipe is fantastic. My kids love it, and I feel good knowing what's in it. A must-try for families.
Simply awesome. Made this jam with my niece. It brought back sweet memories of my childhood. We enjoyed making it together, and I love knowing exactly what's in it.
I made this strawberry jam last week and it turned out great! I used fresh strawberries from the farmer's market. Knowing what's in my jam makes all the PB&Js so much better for my kids.
This Strawberry Jam recipe is superb! My kids love it so much, I cant keep it stockd. Making it together has become a fun family project every weekend. Simple and tasty!
Yummy-yummy! Lilly, thanks for sharing this recipe!