Anisette Toast Biscotti

Anisette Toast Biscotti

Light and crunchy Biscotti with a hint of anise flavouring

Reviewed by Arturs Arnicans
Prep Time: 5m
Cook Time: 1h 35m
Total Time: 1h 45m
Temp.: 350 °F
Servings: 12
Difficulty: Easy
4.9 (28 Reviews)
Cooking Mode
Prevents your screen from turning off while cooking

Ingredients

Adjust servings:

Nutritional Information

215
Calories
5,3g
Fat
36,9g
Carbohydrates
4,3g
Protein
57mg
Cholesterol
201mg
Sodium
Anisette Toast Biscotti

Recipe Description

These Anisette Toast instantly transport me back to the village in Tuscany where I first tasted them. They are light and crunchy and they contain a secret ingredient – a hint of anise flavoring. These biscotti are so versatile – they are perfect with an espresso after a meal or for a mid-morning snack.

The Anisette Toast are twice-baked which gives them their signature crunch, and they are best when dunked in a drink. This recipe is so simple – you will just need flour, baking powder, baking soda, butter, sugar eggs and anise extract. The hardest thing is waiting for them to cool before you can tuck in!

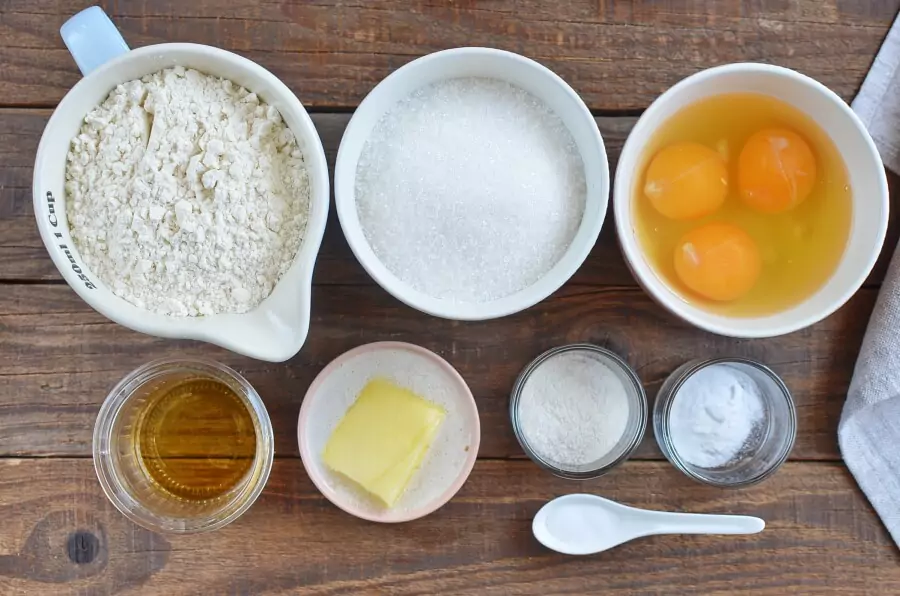
To make Anisette Toast, you will need the following ingredients:So, how to make Anisette Toast?

Ingredients for Anisette Toast Biscotti

Steps to make

  1. 1

    Heat the oven and prepare 2 baking sheets

    5 min
    Step 1 - Anisette Toast Biscotti

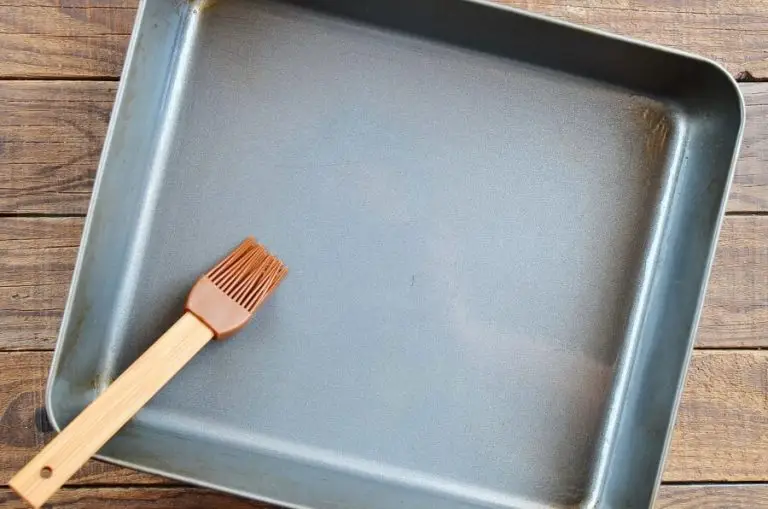
    Preheat the oven to 350 °F. Lightly grease 2 baking sheets.

  2. 2

    Mix the dry ingredients

    3 min
    Step 2 - Anisette Toast Biscotti

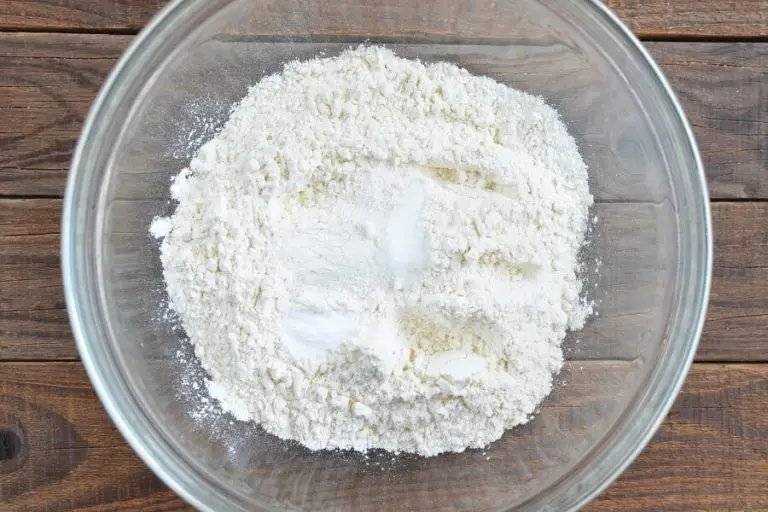
    Mix the flour, baking powder, baking soda, and salt together in a bowl.

  3. 3

    Combine the butter and sugar

    5 min
    Step 3 - Anisette Toast Biscotti

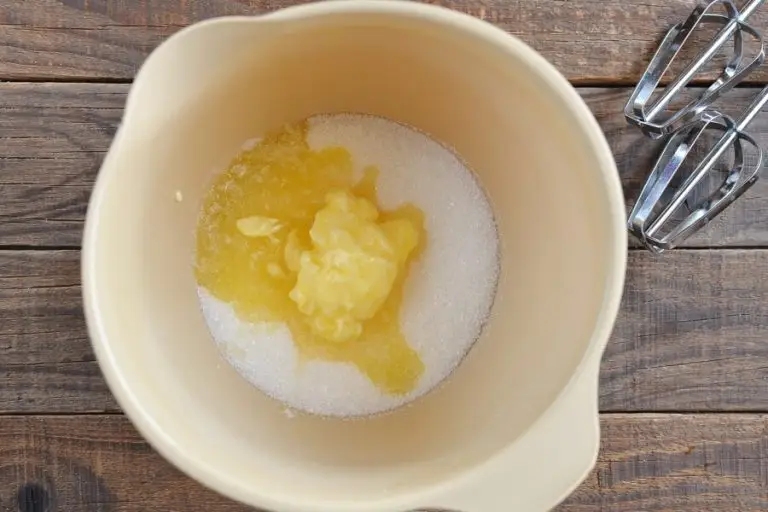
    Beat the butter and sugar together in a large bowl.

  4. 4

    Add the eggs and the anise extract

    5 min
    Step 4 - Anisette Toast Biscotti

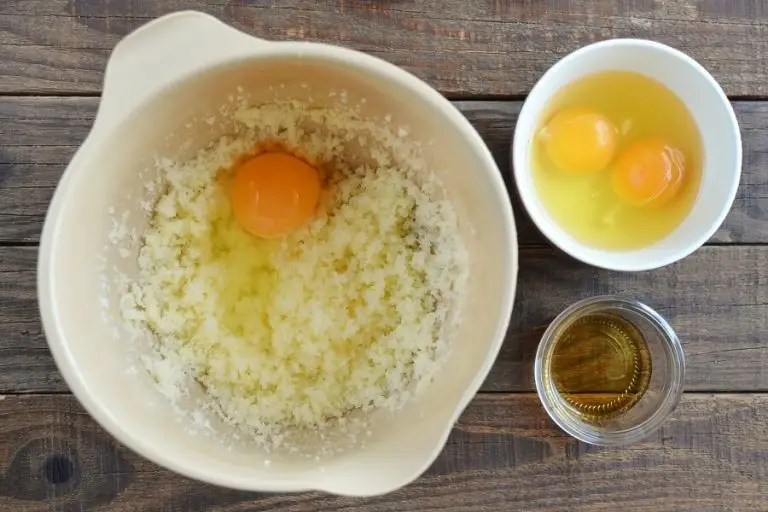
    Beat in the eggs, one at a time. Beat in the anise extract along with the last egg.

  5. 5

    Combine the dry ingredients with the batter

    5 min
    Step 5 - Anisette Toast Biscotti

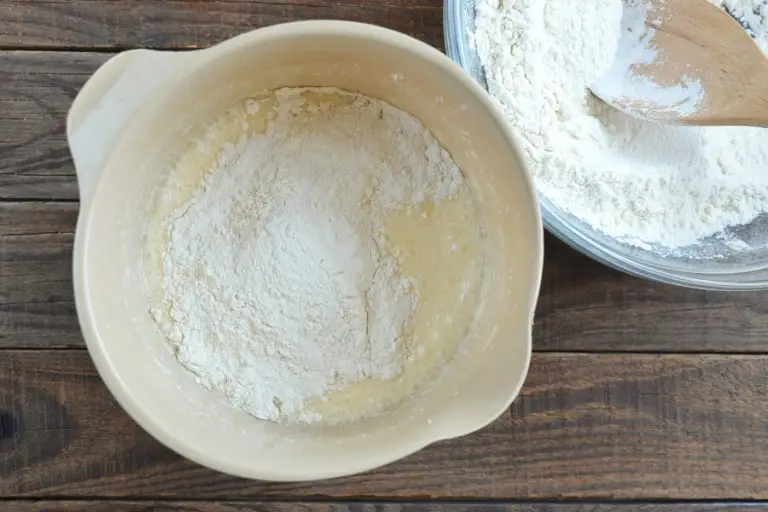
    Add the flour mixture to the batter slowly, until just combined.

  6. 6

    Divide and shape the dough

    3 min
    Step 6 - Anisette Toast Biscotti

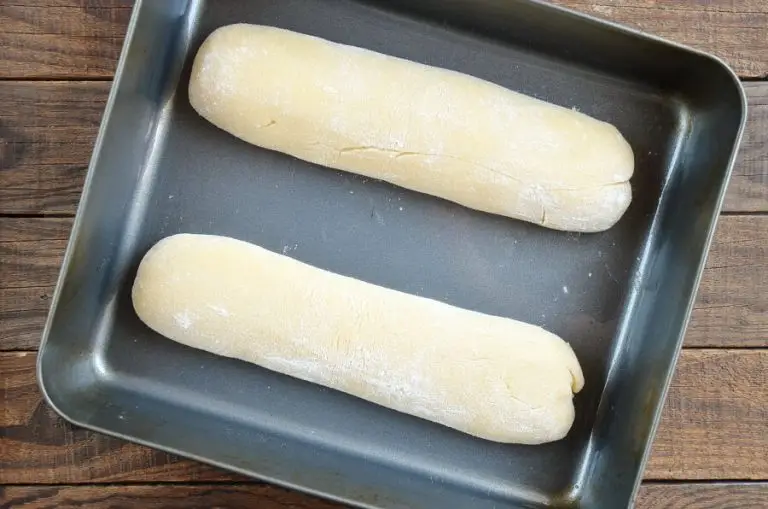
    Divide the biscotti dough in two and shape them into 1/2-inch thick slabs. Place each one on the prepared baking sheets.

  7. 7

    Bake

    25 min
    Step 7 - Anisette Toast Biscotti

    Bake for 20-25 minutes. Remove from the oven when each slab feels firm to the touch and is golden.

  8. 8

    Leave to cool

    5 min
    Step 8 - Anisette Toast Biscotti

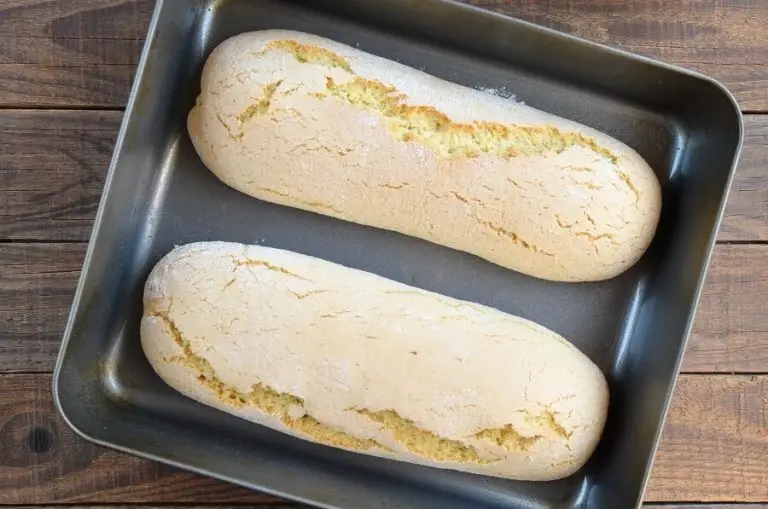
    Leave the biscotti slabs to cool on the baking sheets for 5 minutes.

  9. 9

    Slice into oblong shapes

    4 min
    Step 9 - Anisette Toast Biscotti

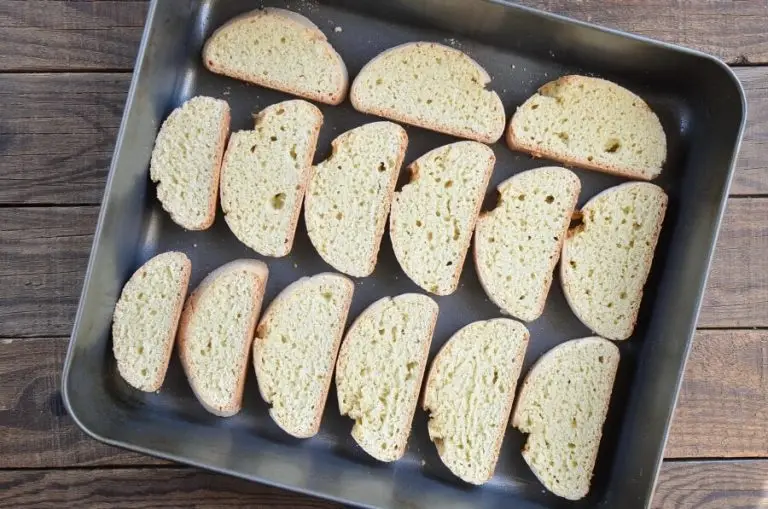
    When they are cool to the touch, cut each slab into 3/4-inch thick oblong slices. Place them back on the baking sheets with the cut side facing down.

  10. 10

    Bake for a second time

    20 min
    Step 10 - Anisette Toast Biscotti

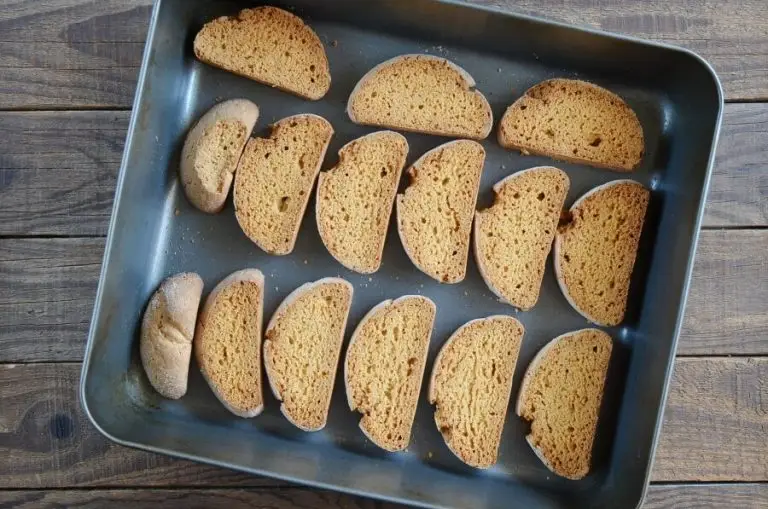
    Put the biscotti back in the oven and bake for 10-20 minutes. Turn once after 5-10 minutes when the underside turns golden.

  11. 11

    Allow to cool

    30 min
    Step 11 - Anisette Toast Biscotti

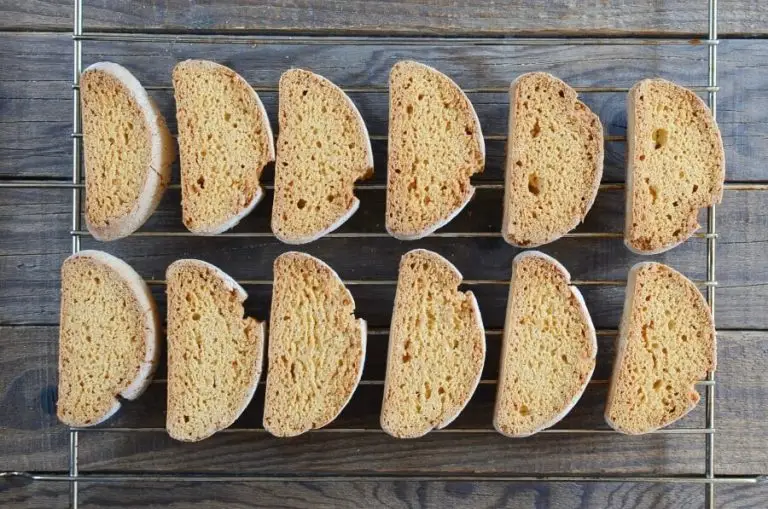
    Tip the biscotti onto a wire rack and leave to cool completely.

Looking for a light and crunchy cookie with just a hint of anise? This Anisette Toast is the one! Give it a try and tag #cookmerecipes in your baking posts!

About the author

Jelena Mardere

Jelena is an interior designer and young mom! As a busy working mom, her time is precious so she’s always looking for a quick and efficient way to get things done. Jelena is very creative, but has a strong practical side. She loves trying new things and travels a lot, especially around Europe. The kitchen is Jelena’s safe space, where she can let her creative side out and dedicate herself to her favorite hobby - cooking!

Recipe Reviews

Have you made this recipe? Share your experience and help other cooks!

★★★★★
★★★★★
4.9 out of 5 (28 reviews)

Be the first to leave a review!

Have you made this recipe? Share your opinion. Your review will help others learn about the quality of this recipe!

Taste of the dish
Accuracy of stated difficulty
Instruction accuracy
Would you recommend this recipe to others?
0/1000
Add photos
Upload photos of your result. This will help others see how the dish should look.

Author Information

Email will not be displayed publicly