Cherry Chewbilees

Cherry Chewbilees

sweet cherry treats

Recipe by
Reviewed by Arturs Arnicans
Prep Time: 10m
Cook Time: 45m
Total Time: 55m
Temp.: 350 °F
Servings: 20
Difficulty: Easy
4.8 (24 Reviews)
Cooking Mode
Prevents your screen from turning off while cooking

Ingredients

Adjust servings:

For the bars

For the filling

Nutritional Information

251
calories
14g
fat
34mg
cholesterol
54mg
sodium
29g
carbohydrate
4g
protein
Cherry Chewbilees

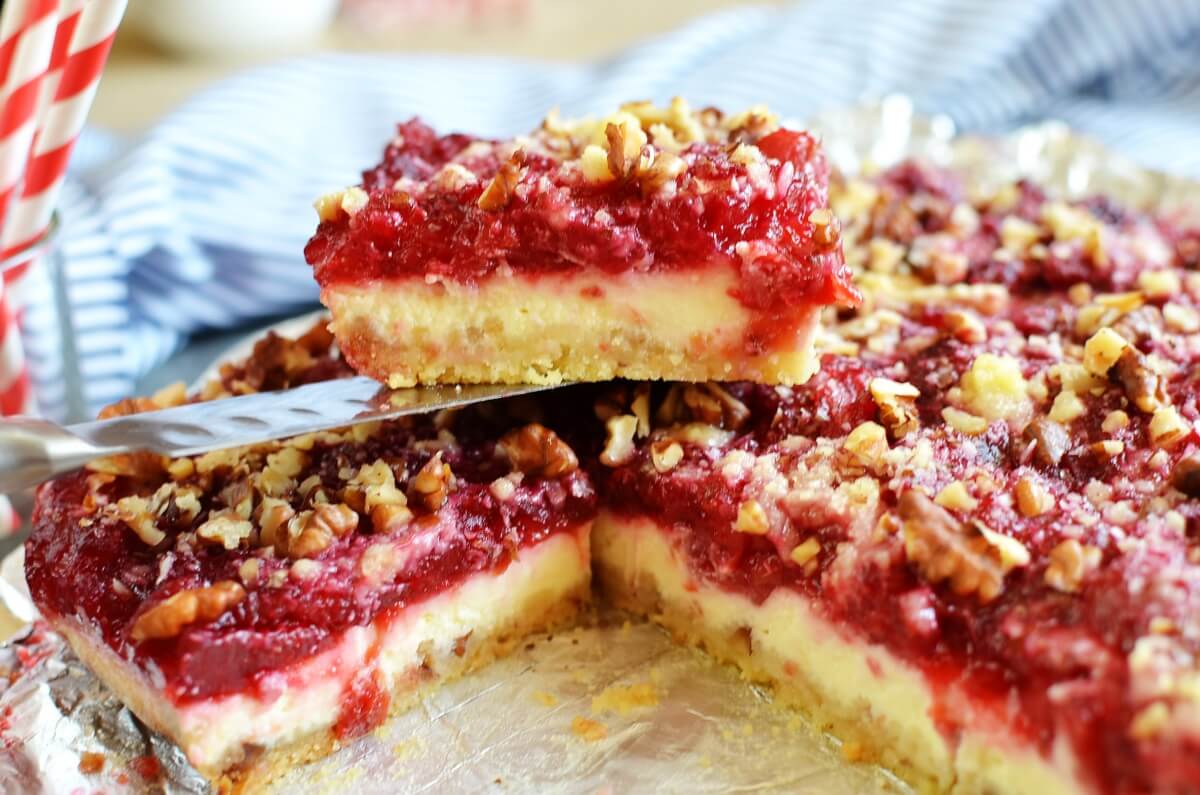
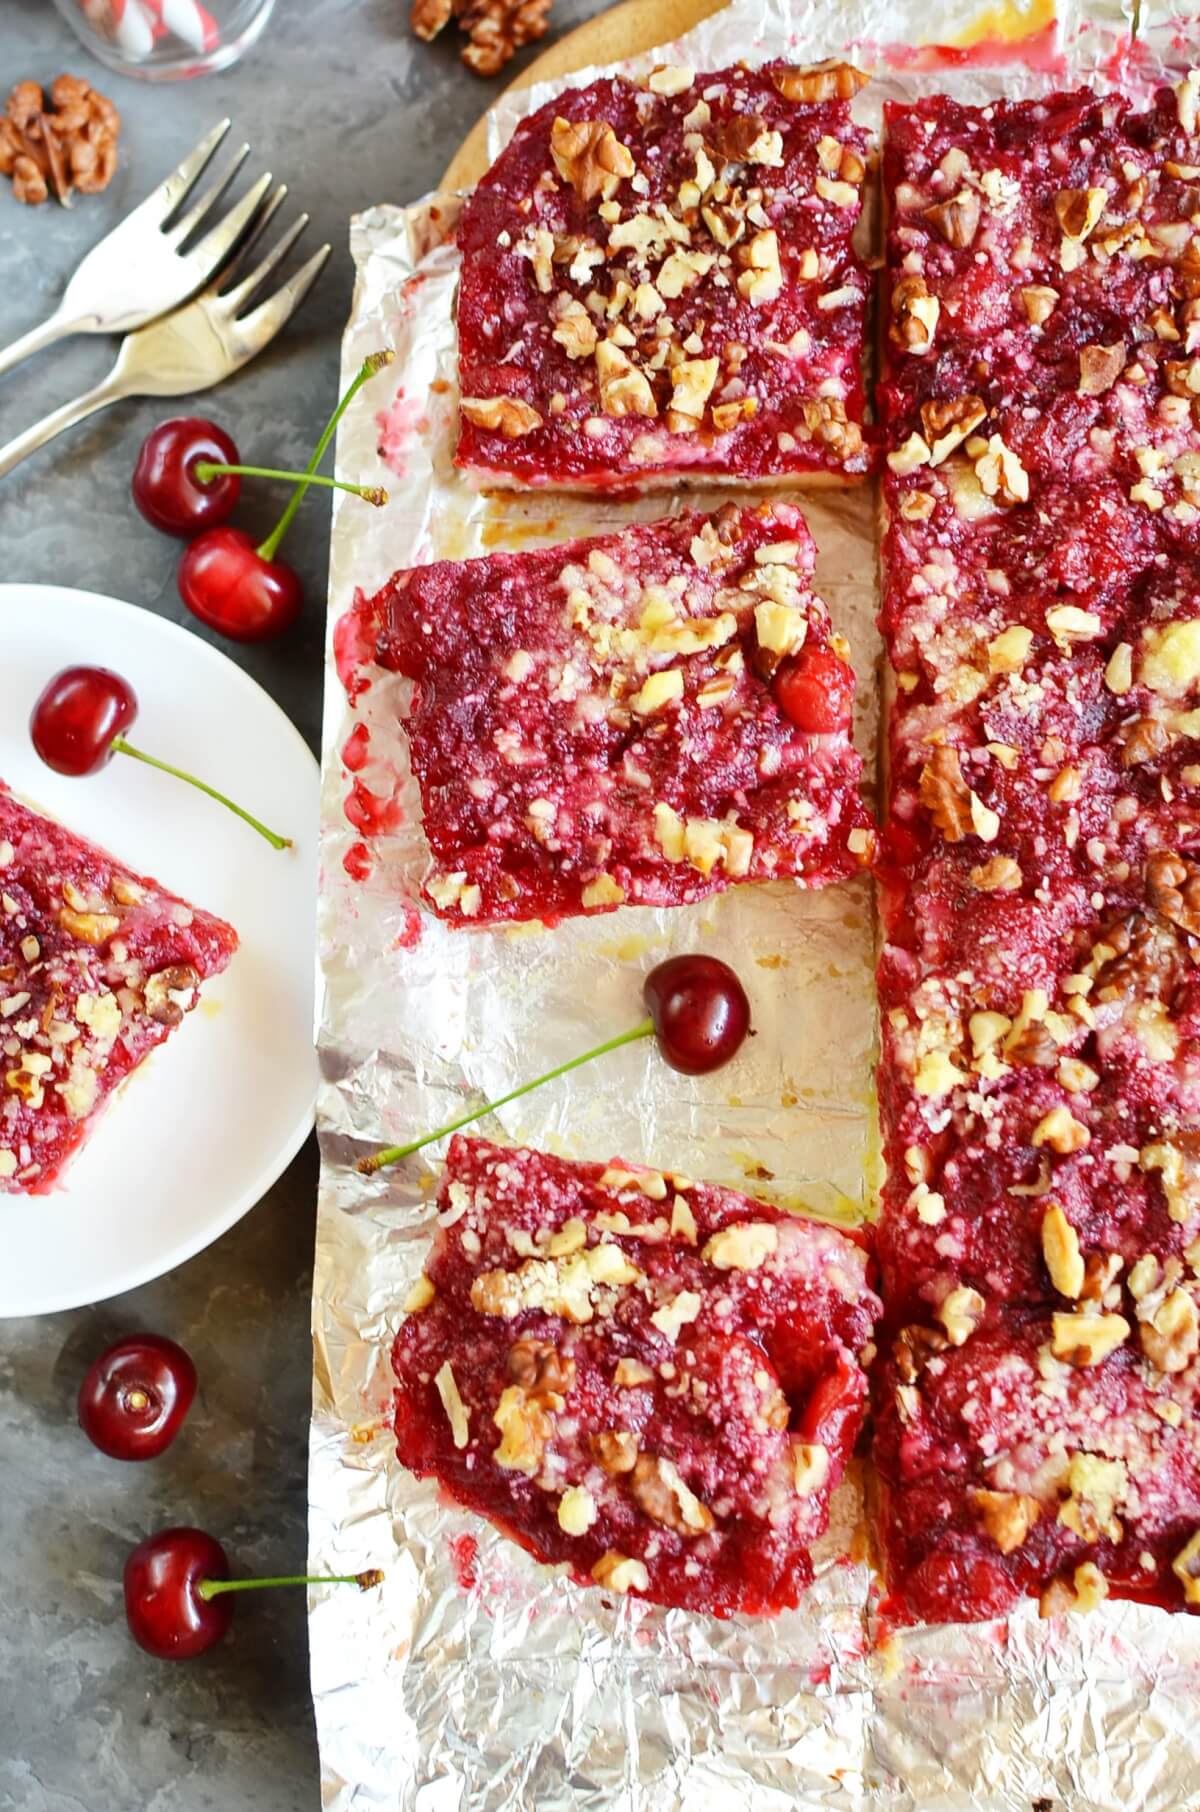
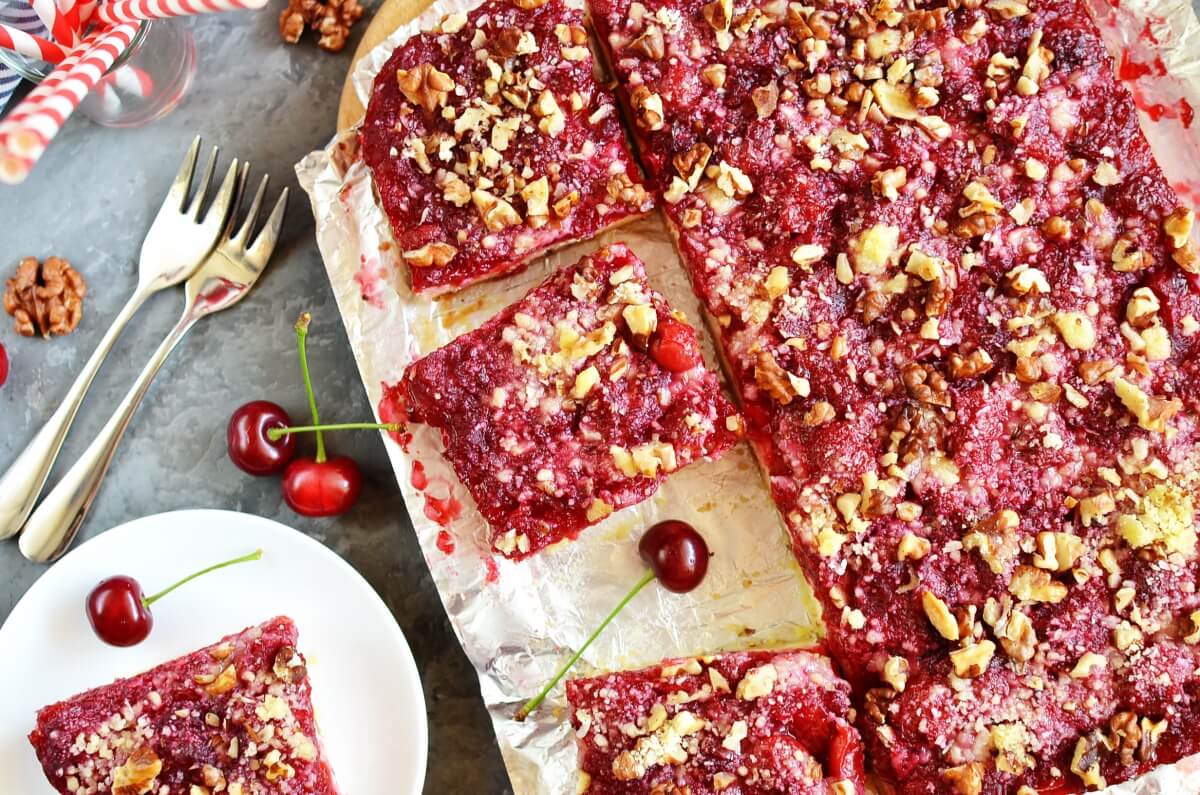
I love these Cherry Chewbilees as a sweet treat in summer time. This recipe was shared with me by one of my best friends and it has become one of my favorite cherry recipes. It is simple to make and keeps really well in the refrigerator.

To make this recipe, start by making a crumb base from flour, sugar and shortening. Add nuts and coconut and reserve some of the crumb dough. Bake the rest in a baking dish. As it bakes, make a cream cheese filling and bake again. Top with cherry pie filling and sprinkle remaining nuts and reserved dough crumbs. Bake again. Once cooked, leave to cool completely before cutting into bars. Enjoy!

To make the Cherry Chewbilees, you will need the following ingredients:
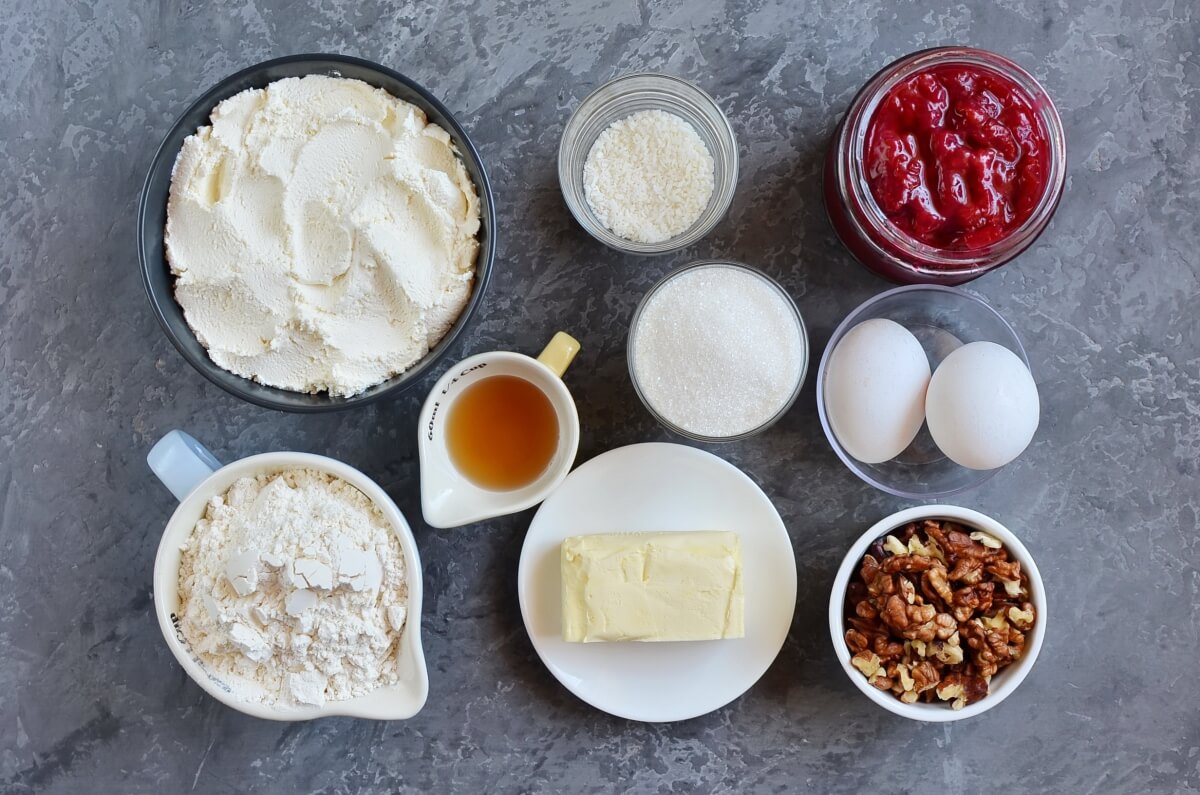
Ingredients for Cherry Chewbilees

Steps to make

  1. 1

    Heat the oven and prepare a baking dish

    1 min
    Step 1 - Cherry Chewbilees

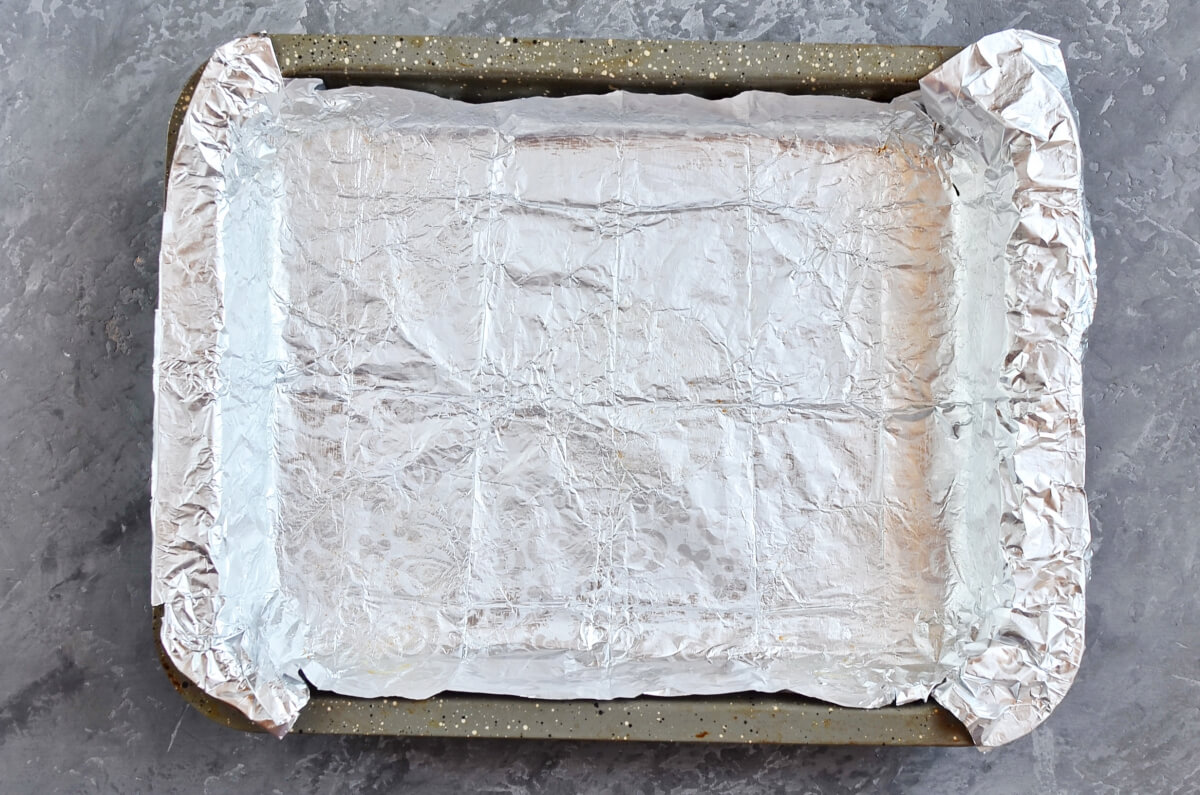
    Preheat the oven to 350 °F. Line a 13 by 9-inch baking dish with foil and leave the ends hang over the sides. Lightly grease the foil using cooking spray.

  2. 2

    Mix together flour, sugar and shortening

    2 min
    Step 2 - Cherry Chewbilees

    Combine 1¼ cups of all-purpose flour and ½ a cup of packed brown sugar.
    Cut in ½ a cup of shortening until the mixture resembles fine crumbs.
  3. 3

    Add nuts and coconut

    1 min
    Step 3 - Cherry Chewbilees

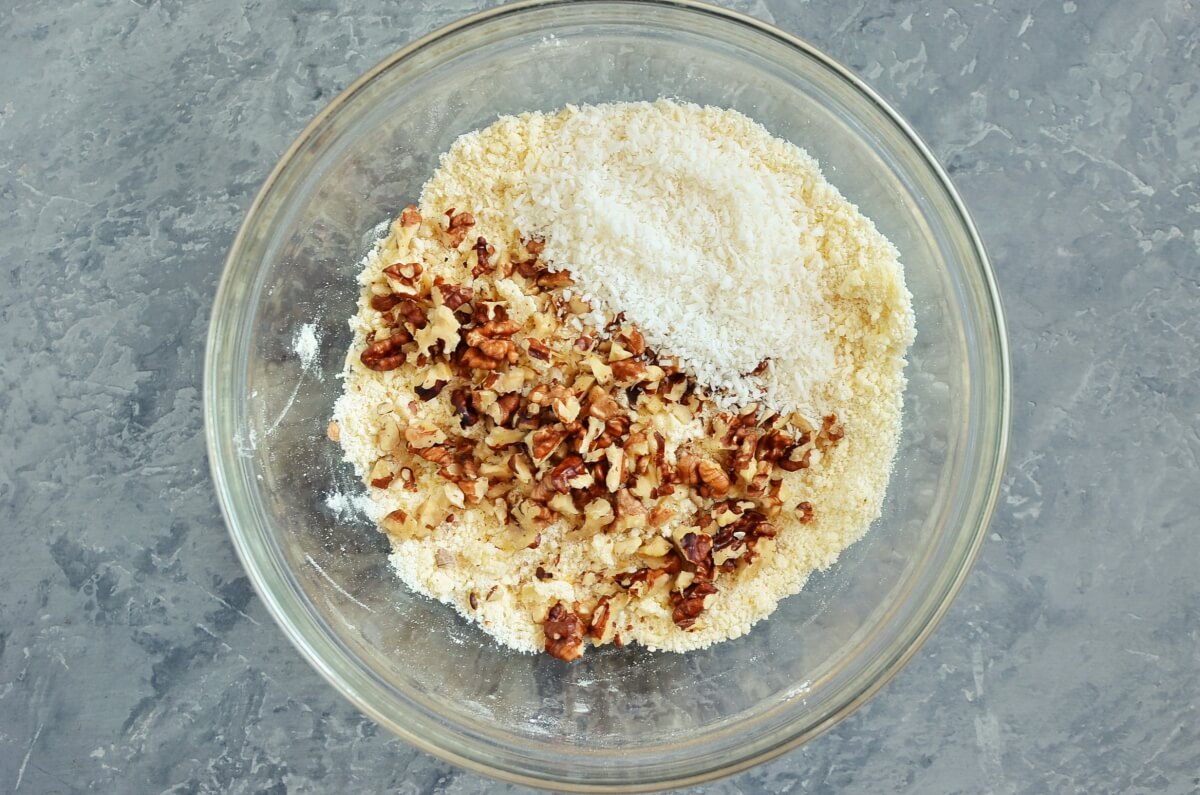
    Add ½ a cup of the nuts and ½ cup of shredded coconut. Stir to combine.
  4. 4

    Transfer mixture to pan

    1 min
    Step 4 - Cherry Chewbilees

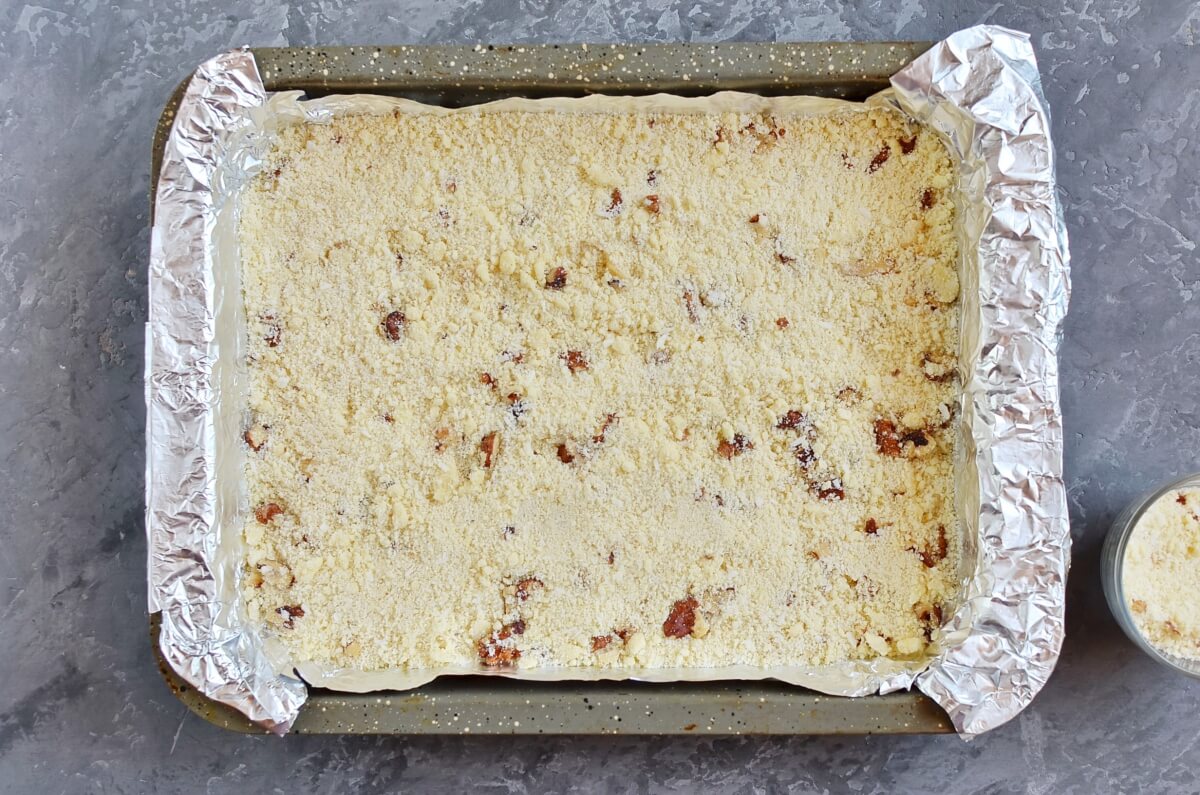
    Set ½ a cup of the crumb mixture for topping. Press the remaining mixture into the prepared pan.

  5. 5

    Bake

    15 min
    Step 5 - Cherry Chewbilees

    Bake in the preheated oven for 12-15 minutes until lightly browned.
  6. 6

    Make filling

    2 min
    Step 6 - Cherry Chewbilees

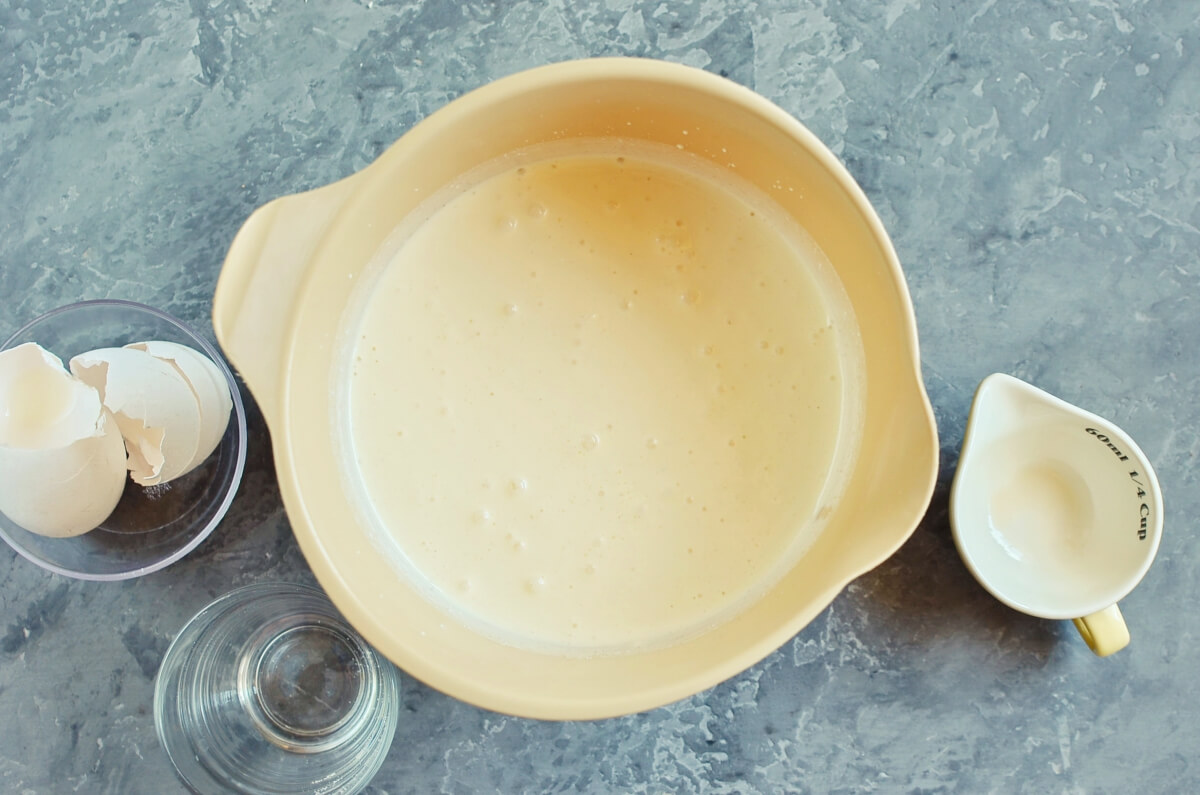
    Beat 2 packages of cream cheese with ⅔ cup of sugar, 2 large eggs and 2 teaspoons of vanilla extract until smooth.
  7. 7

    Bake filling

    15 min
    Step 7 - Cherry Chewbilees

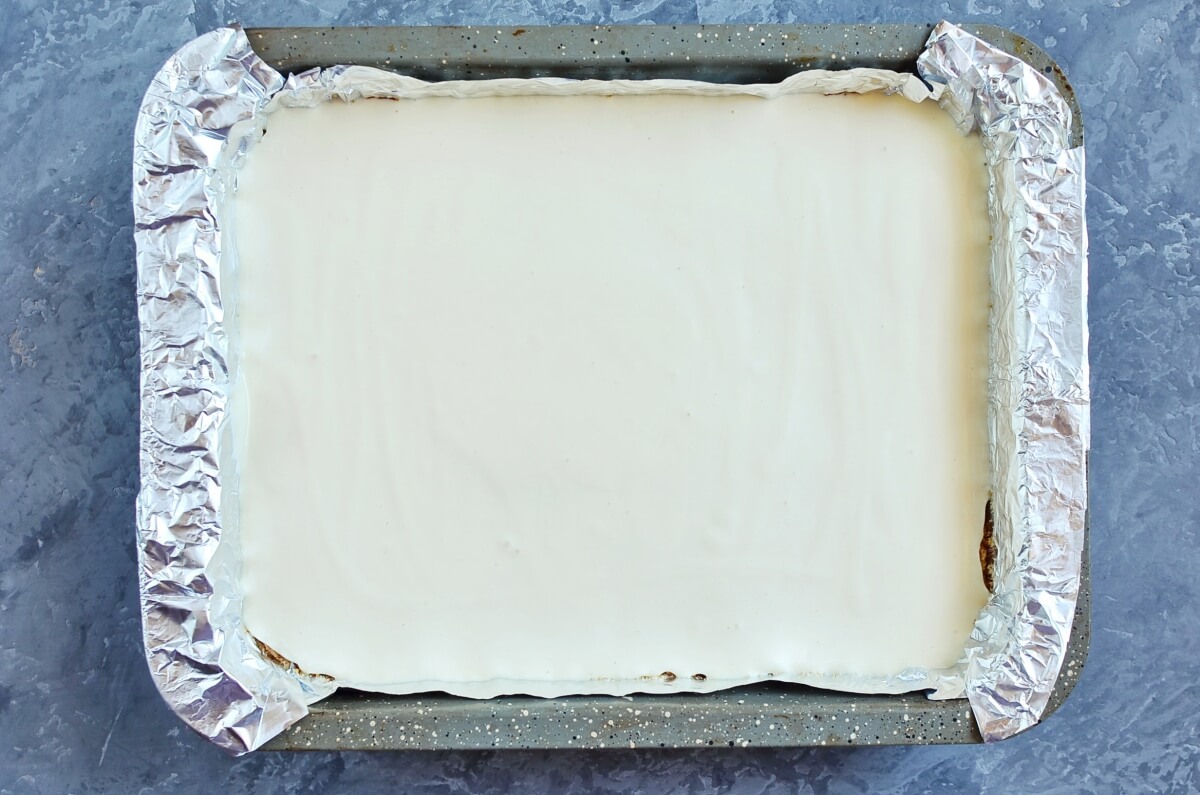
    Spread the cream cheese filling over the hot crust and bake for a further 15 minutes.

  8. 8

    Top with cherry filling and remaining nuts and dough

    3 min
    Step 8 - Cherry Chewbilees

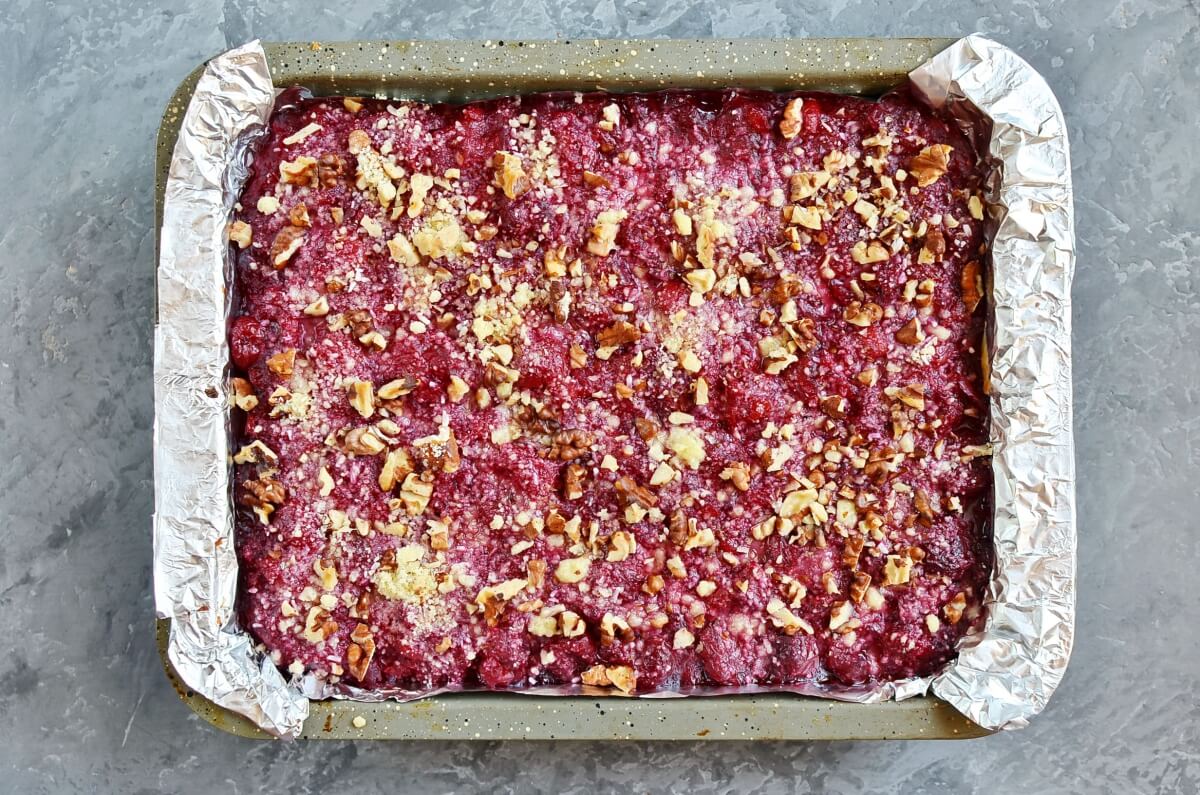
    Spread the cherry pie filling on top. Combine remaining nuts and reserved dough crumbs and sprinkle these over the cherries.
  9. 9

    Bake

    15 min
    Step 9 - Cherry Chewbilees

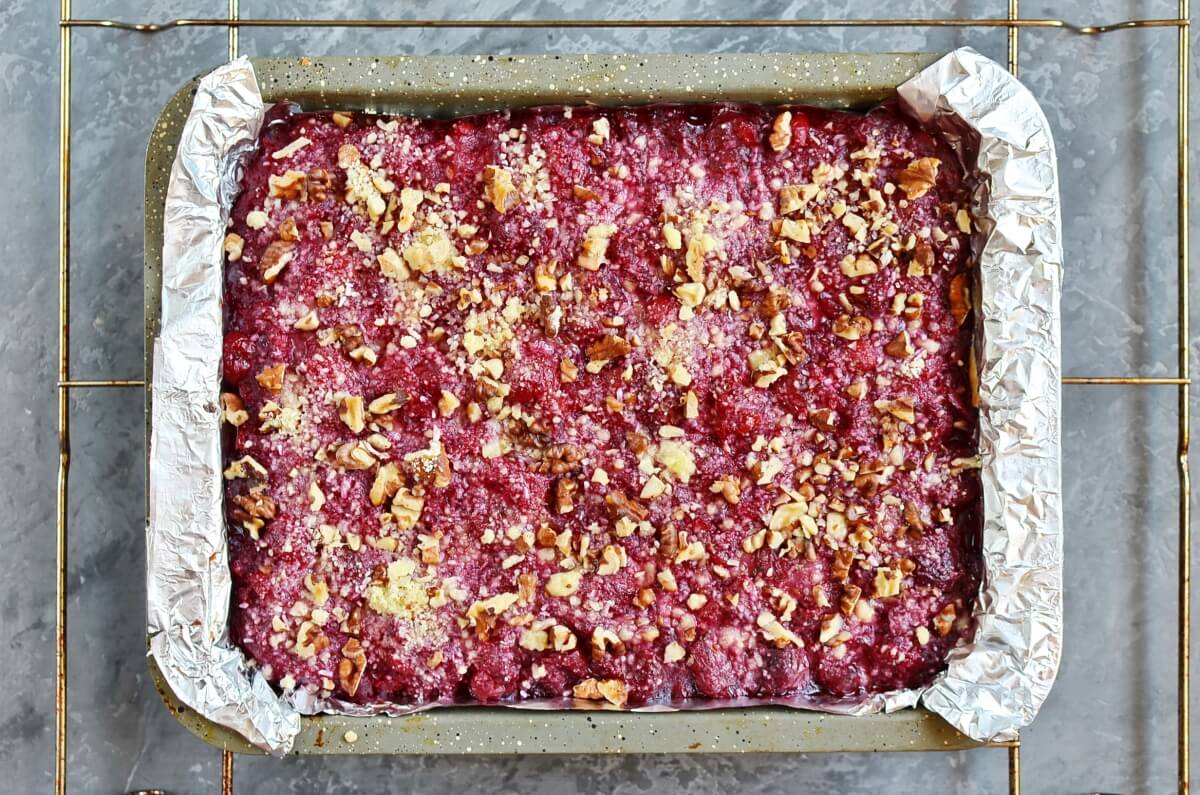
    Return to the oven and bake for 15 more minutes.
  10. 10

    Cool

    60 min
    Step 10 - Cherry Chewbilees

    Once cooked, remove from the oven and leave to cool completely on a wire rack.

  11. 11

    Refrigerate and cut into bars

    2 min
    Step 11 - Cherry Chewbilees

    Refrigerate until chilled. Lift the overhanging foil to remove the mixture from the pan. Cut into bars.
  12. 12

    Serve

    Step 12 - Cherry Chewbilees

    Refrigerate until you are ready to serve with tea or coffee.

Nutritional Information

251
calories
14g
fat
34mg
cholesterol
54mg
sodium
29g
carbohydrate
4g
protein

These Cherry Chewbilees really are one of my favorite summer sweet treats! Try making a batch of these bars soon and don’t forget to tag #cookmerecipes in your baking posts on Instagram!

Lilly Mathuse

About the author

Lilly Mathuse

Lilly is an enthusiastic and cheerful young mom. She knows as well as any parent that children can be really picky when it comes to food. And she’s had plenty of experience trying to cook meals that are both tasty and nutritious, and able to satisfy the tastes of a fussy kid right away! To save you some precious time, Lilly's going to share with you all the tricks she learned the hard way, so you don’t have to! She has a wealth of recipes for quick and easy meals for kids and families on a budget.

Recipe Reviews

Have you made this recipe? Share your experience and help other cooks!

★★★★★
★★★★★
4.8 out of 5 (24 reviews)
Athina
May 30, 2022
Verified

Reply to Christy:
Hi, Christy! We are really sorry to hear that.
Thank you for paying attention to our recipe! There is the button "Print" to the right of the description of recipe - the "Printer" icon.
Christy
"Cannot be printed. Waste of my time."

Mabel Brekken
April 16, 2021
Verified

Bitter and not too sweet even though it looks like it.

Celine Mcgarrigle
April 11, 2021
Verified

Careful with the vanilla extract cause if you put too much the entire dish can taste bad.

Marisol Mihara
March 19, 2021
Verified

BOMB dessert! Enough said.

Taste of the dish
Accuracy of stated difficulty
Instruction accuracy
Would you recommend this recipe to others?
0/1000
Add photos
Upload photos of your result. This will help others see how the dish should look.

Author Information

Email will not be displayed publicly