Making plum chutney always feels like arriving home. I got into it one rainy week in Portland when a neighbor left a heavy basket of plums on my porch, and I could not say no. That moment is the real reason this recipe exists: it uses fruit at its peak and turns it into something you will reach for again and again.
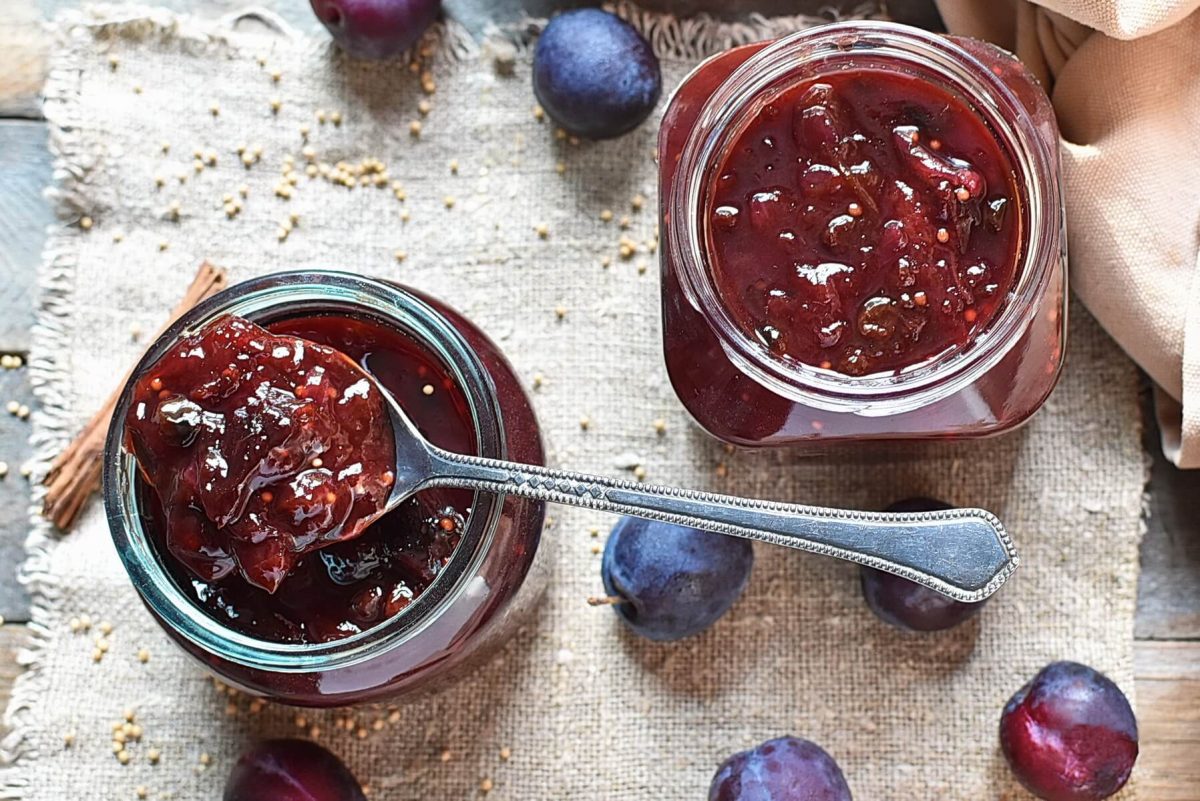
This plum chutney is fruit-forward and tangy, with a warm note of spice. Plus, with plums at their peak, this is how to make chutney that captures that fleeting seasonal joy. It brightens simple meals and holds up on a cheese plate or spooned warm over roasted vegetables.
The technique is forgiving. The chemistry here is surprisingly stable even for beginners, and you will learn to watch it as it thickens and turns glossy. One student once told me it turned her plain sandwiches into something that felt deliberately good. That remains a favorite compliment.
There is a small family secret in this style of preserve. My mother, Meilin, used to add a whisper of sesame oil to some preserves just to wake the soul up. I don’t always add it here, but the memory lives in the way I cook: smell first, then slice. And I still inhale before I hit the ginger.
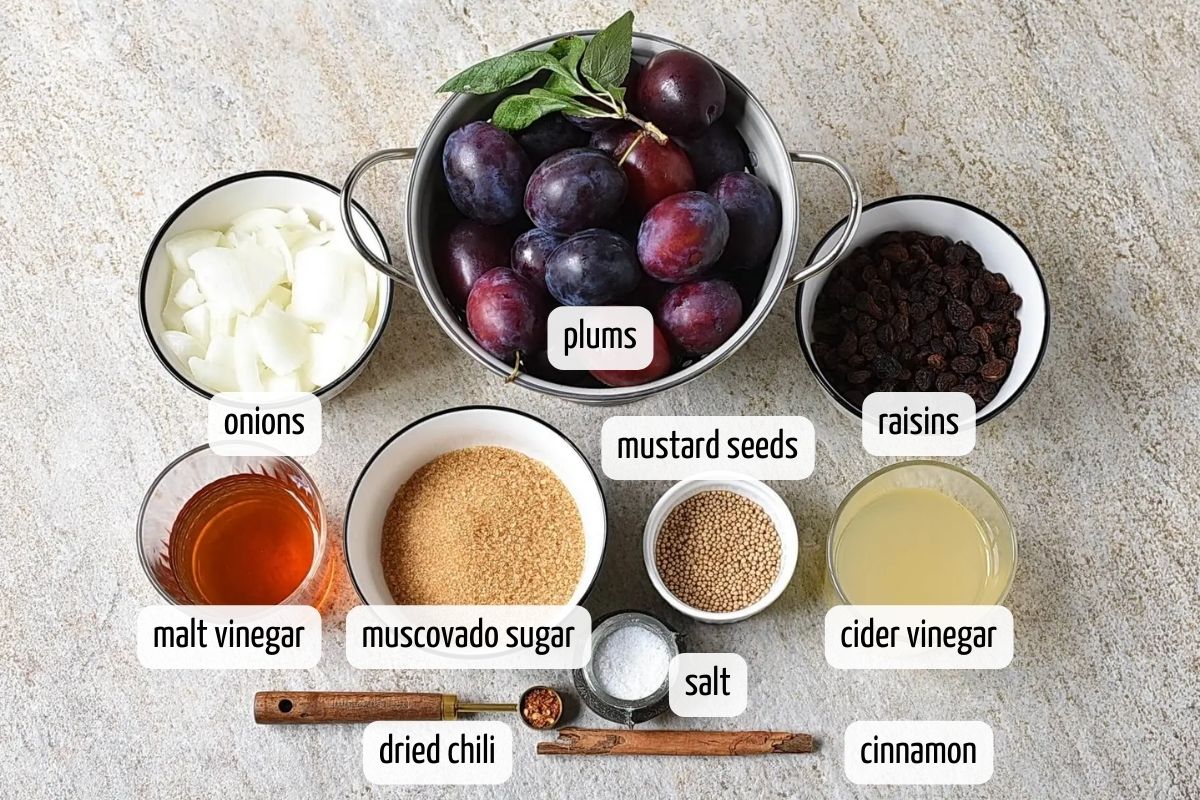
To make the Plum Chutney, you will need the following ingredients:
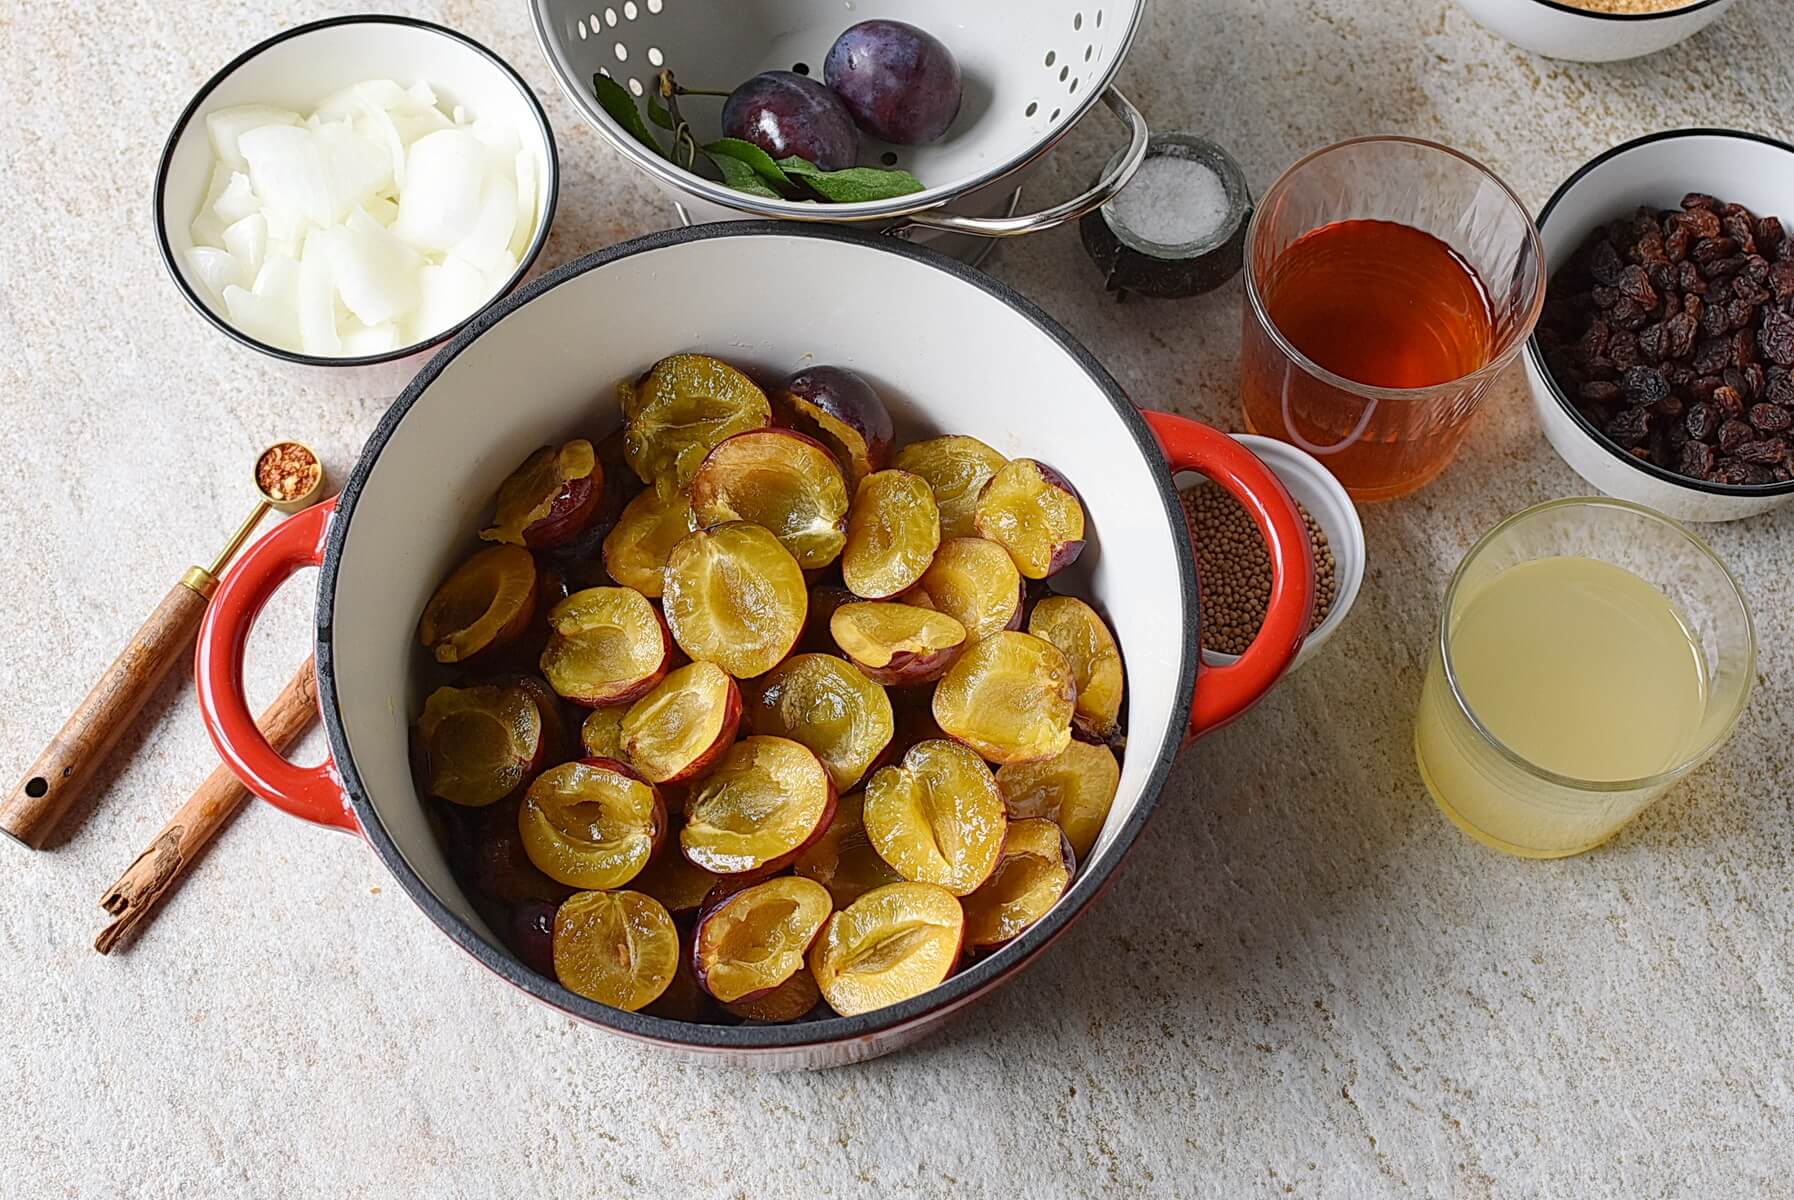
Halve and pit 1 ½ pounds plums. In a large stainless steel or enameled pan, add the prepared plums.
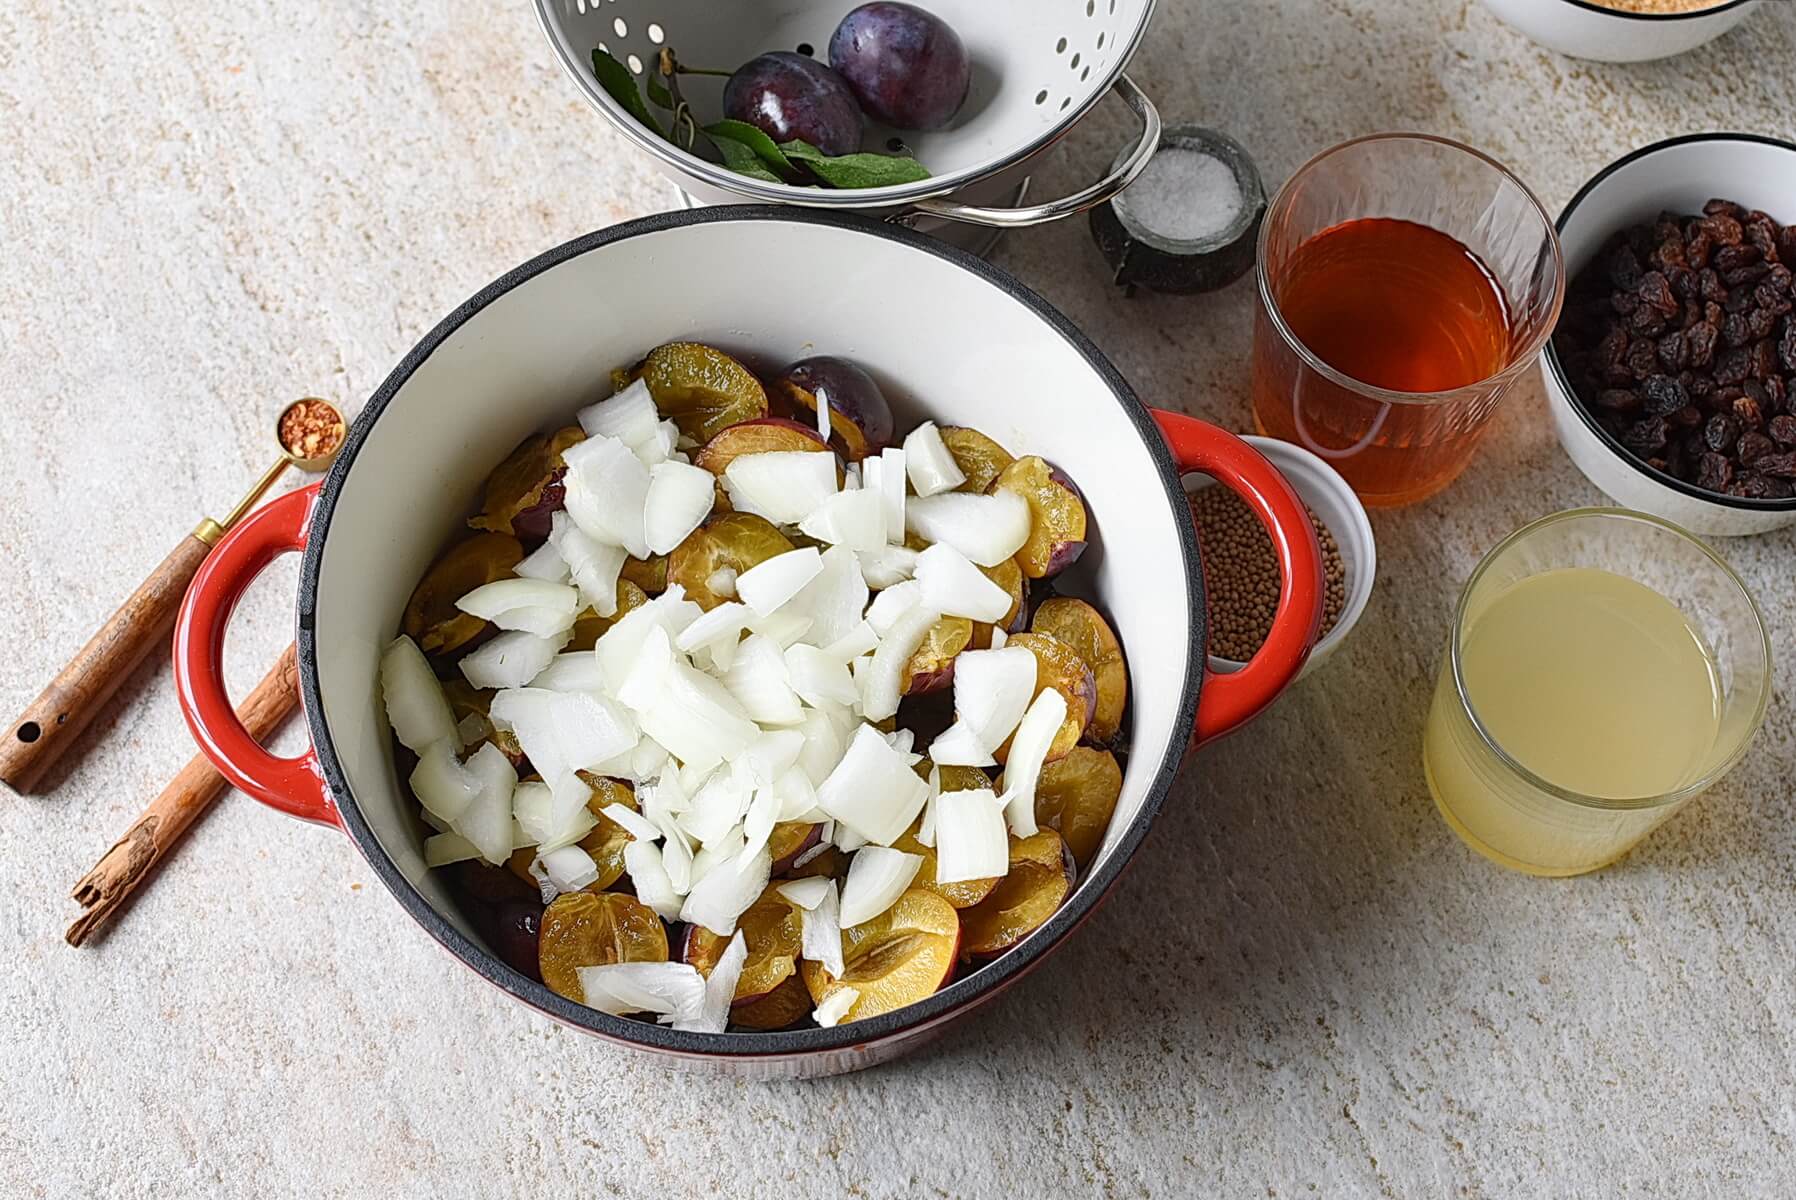
Coarsely chop 12 ounces onions and add them to the pan with the plums.
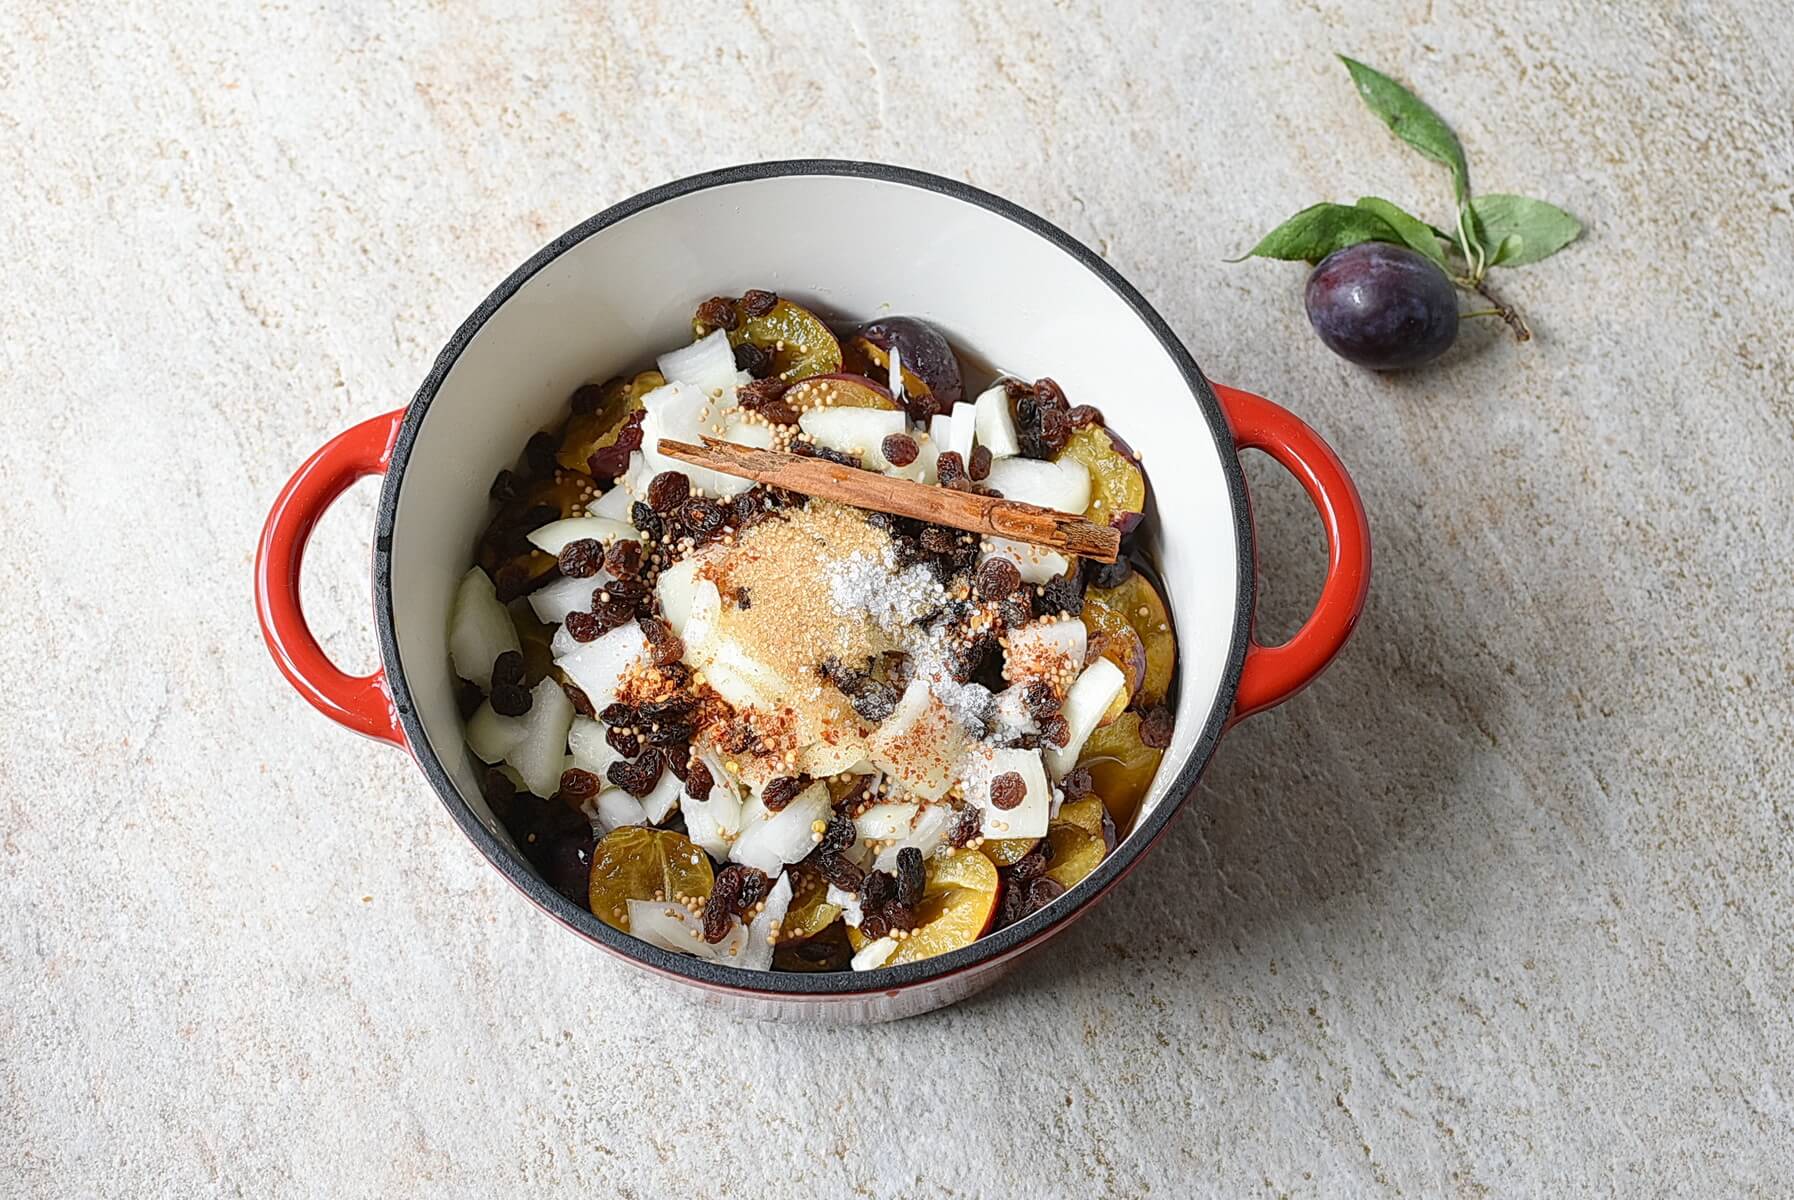
Add in a heaping ¾ cup raisins, 1 cup light muscovado sugar, ½ teaspoon crushed dried chili, 1 teaspoon salt, 2 teaspoons yellow mustard seeds, ⅔ cup cider vinegar, ⅔ cup malt vinegar, and 1 cinnamon stick.
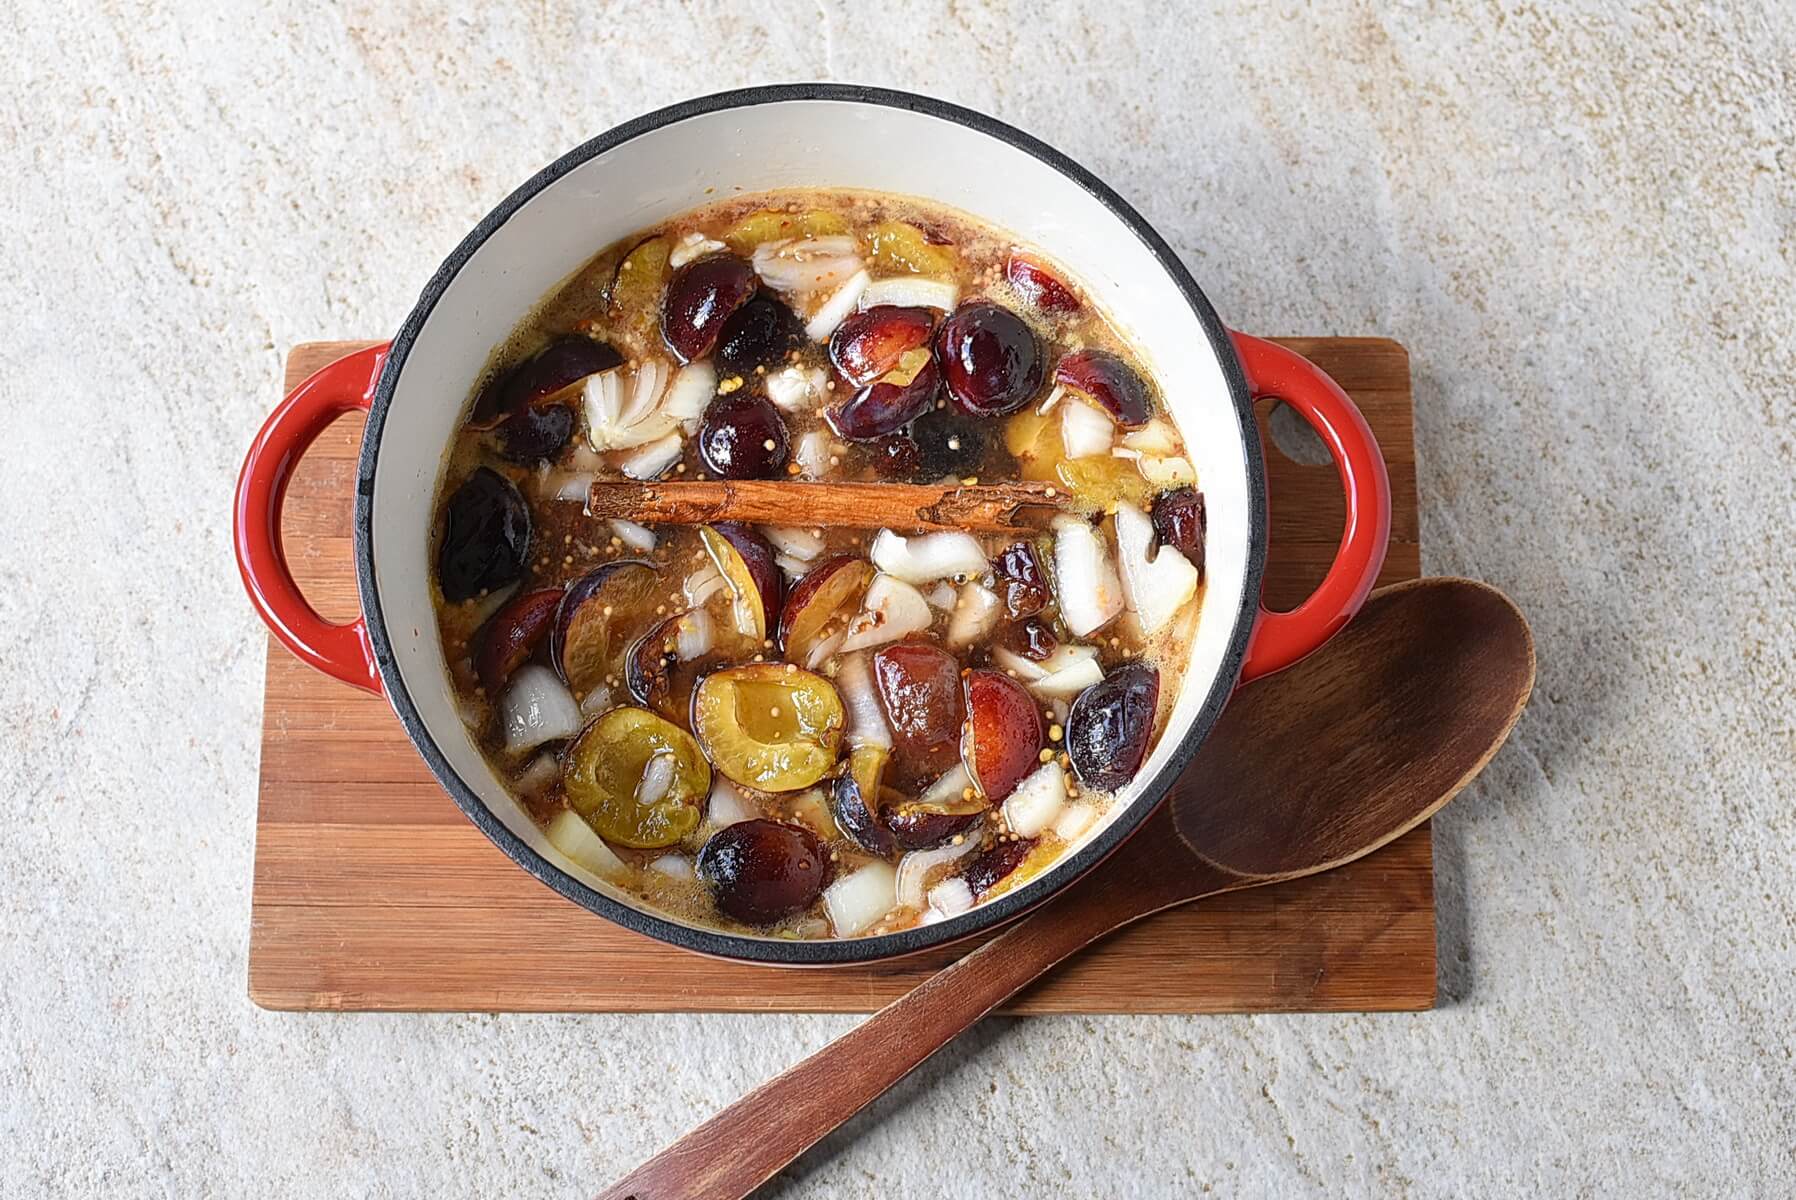
Bring the mixture to a boil. Once at a boil, reduce the heat to a simmer, and cook, stirring occasionally, for 1 hour.
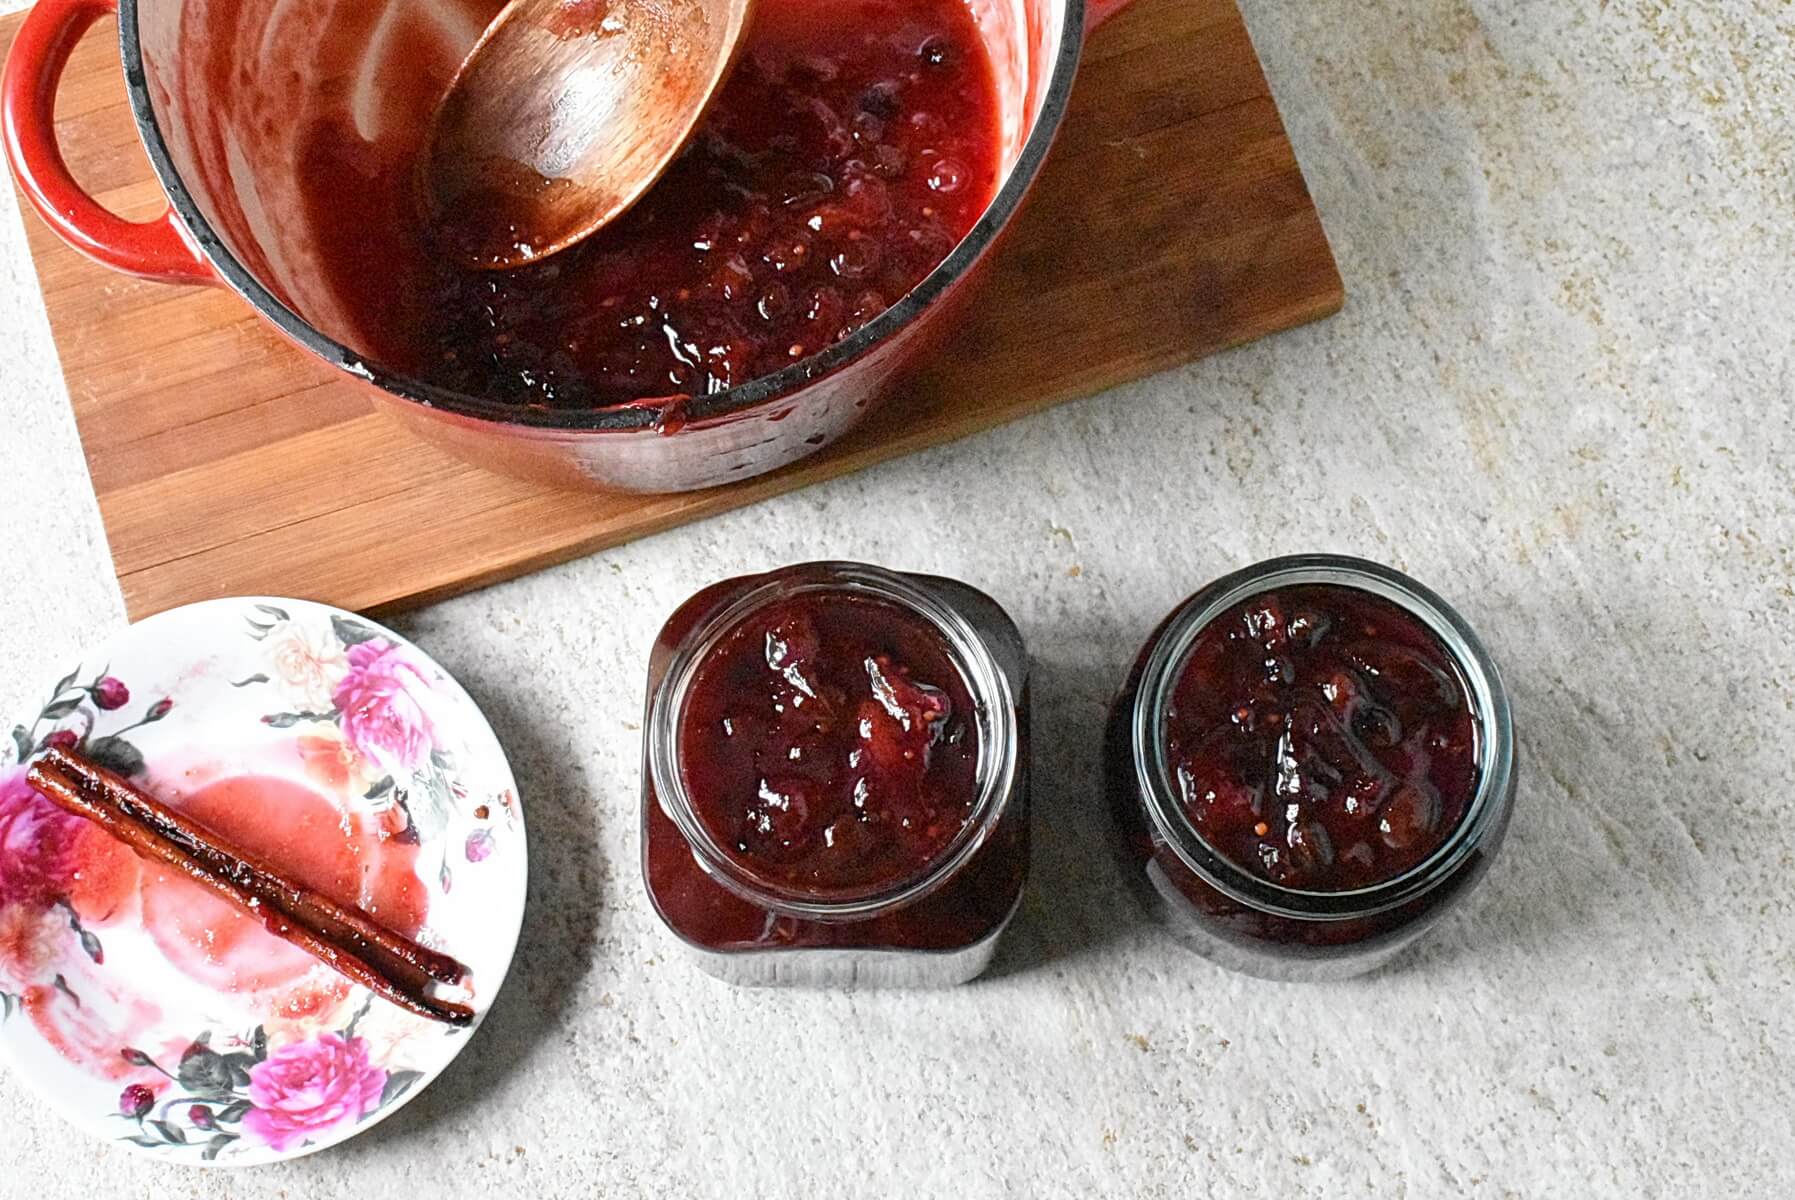
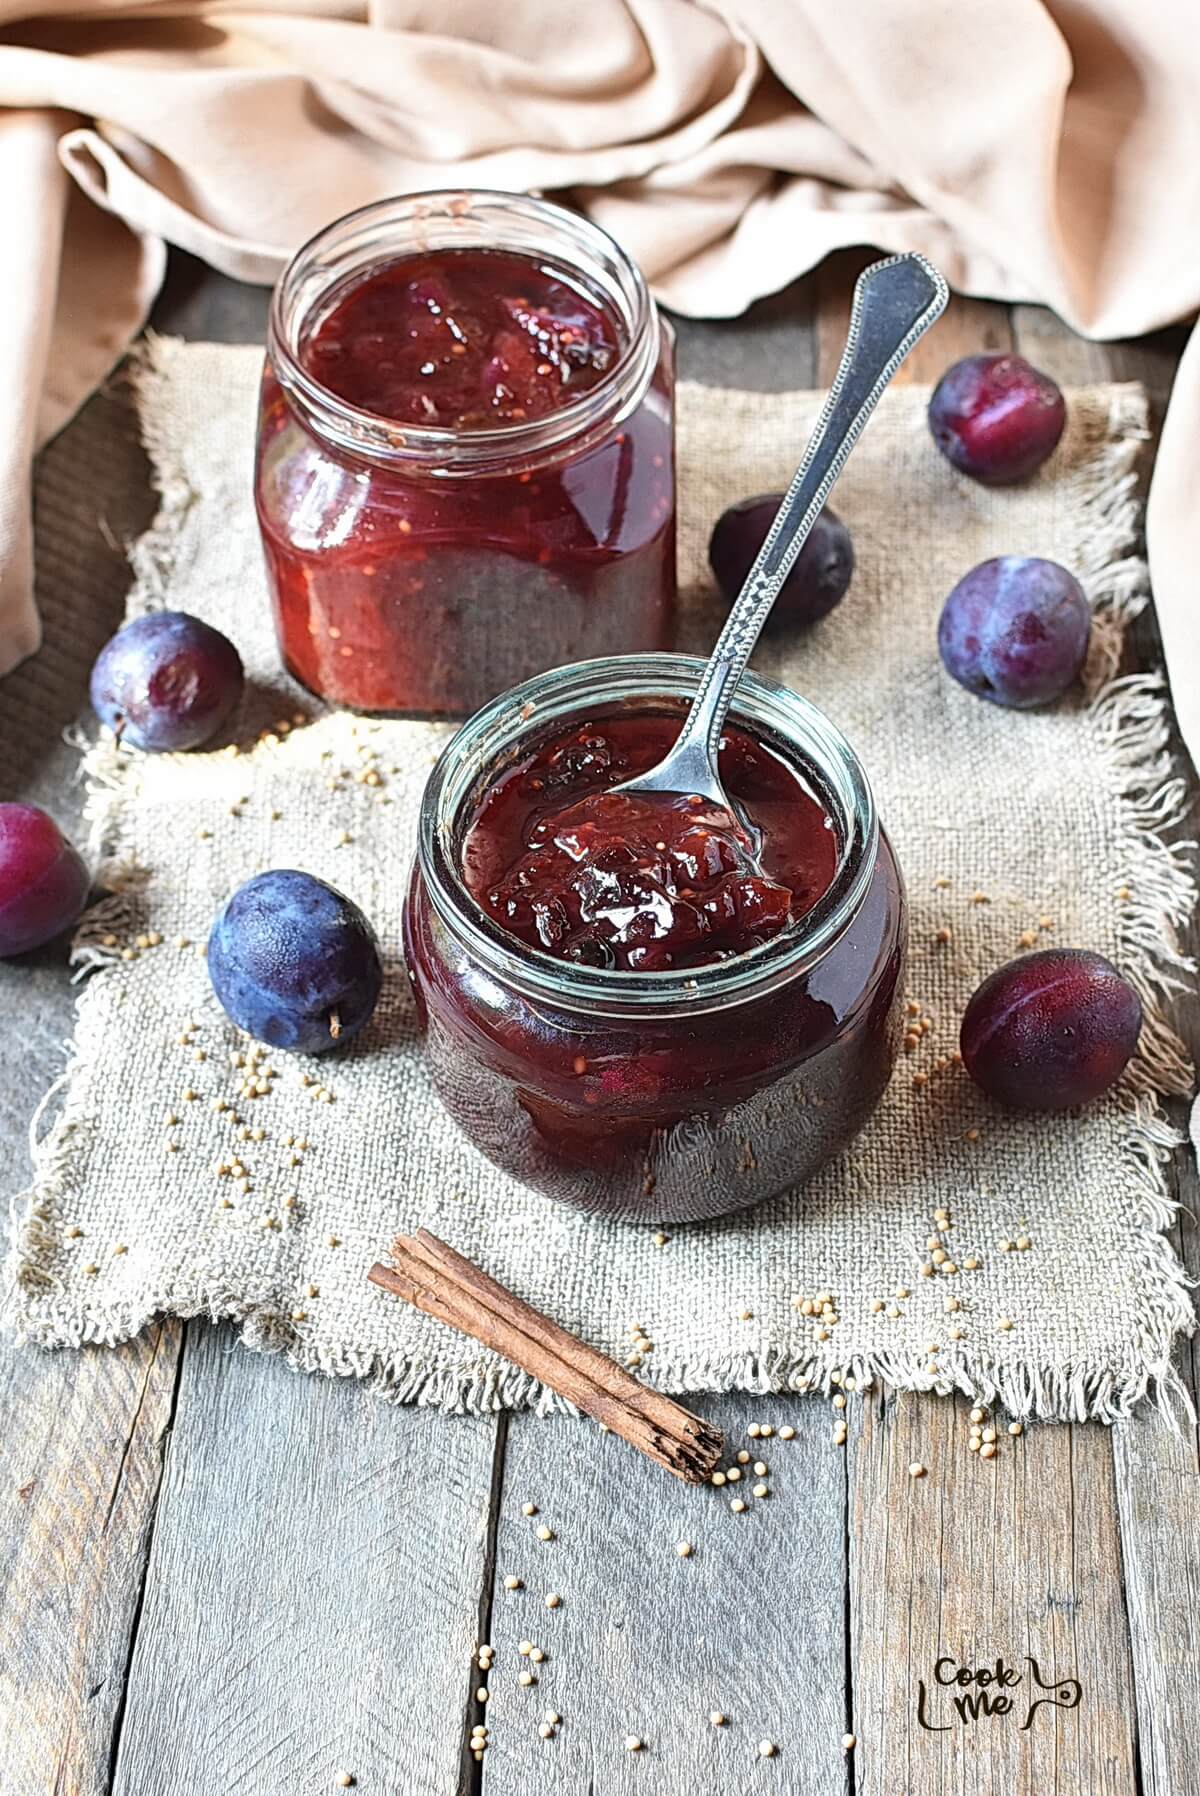
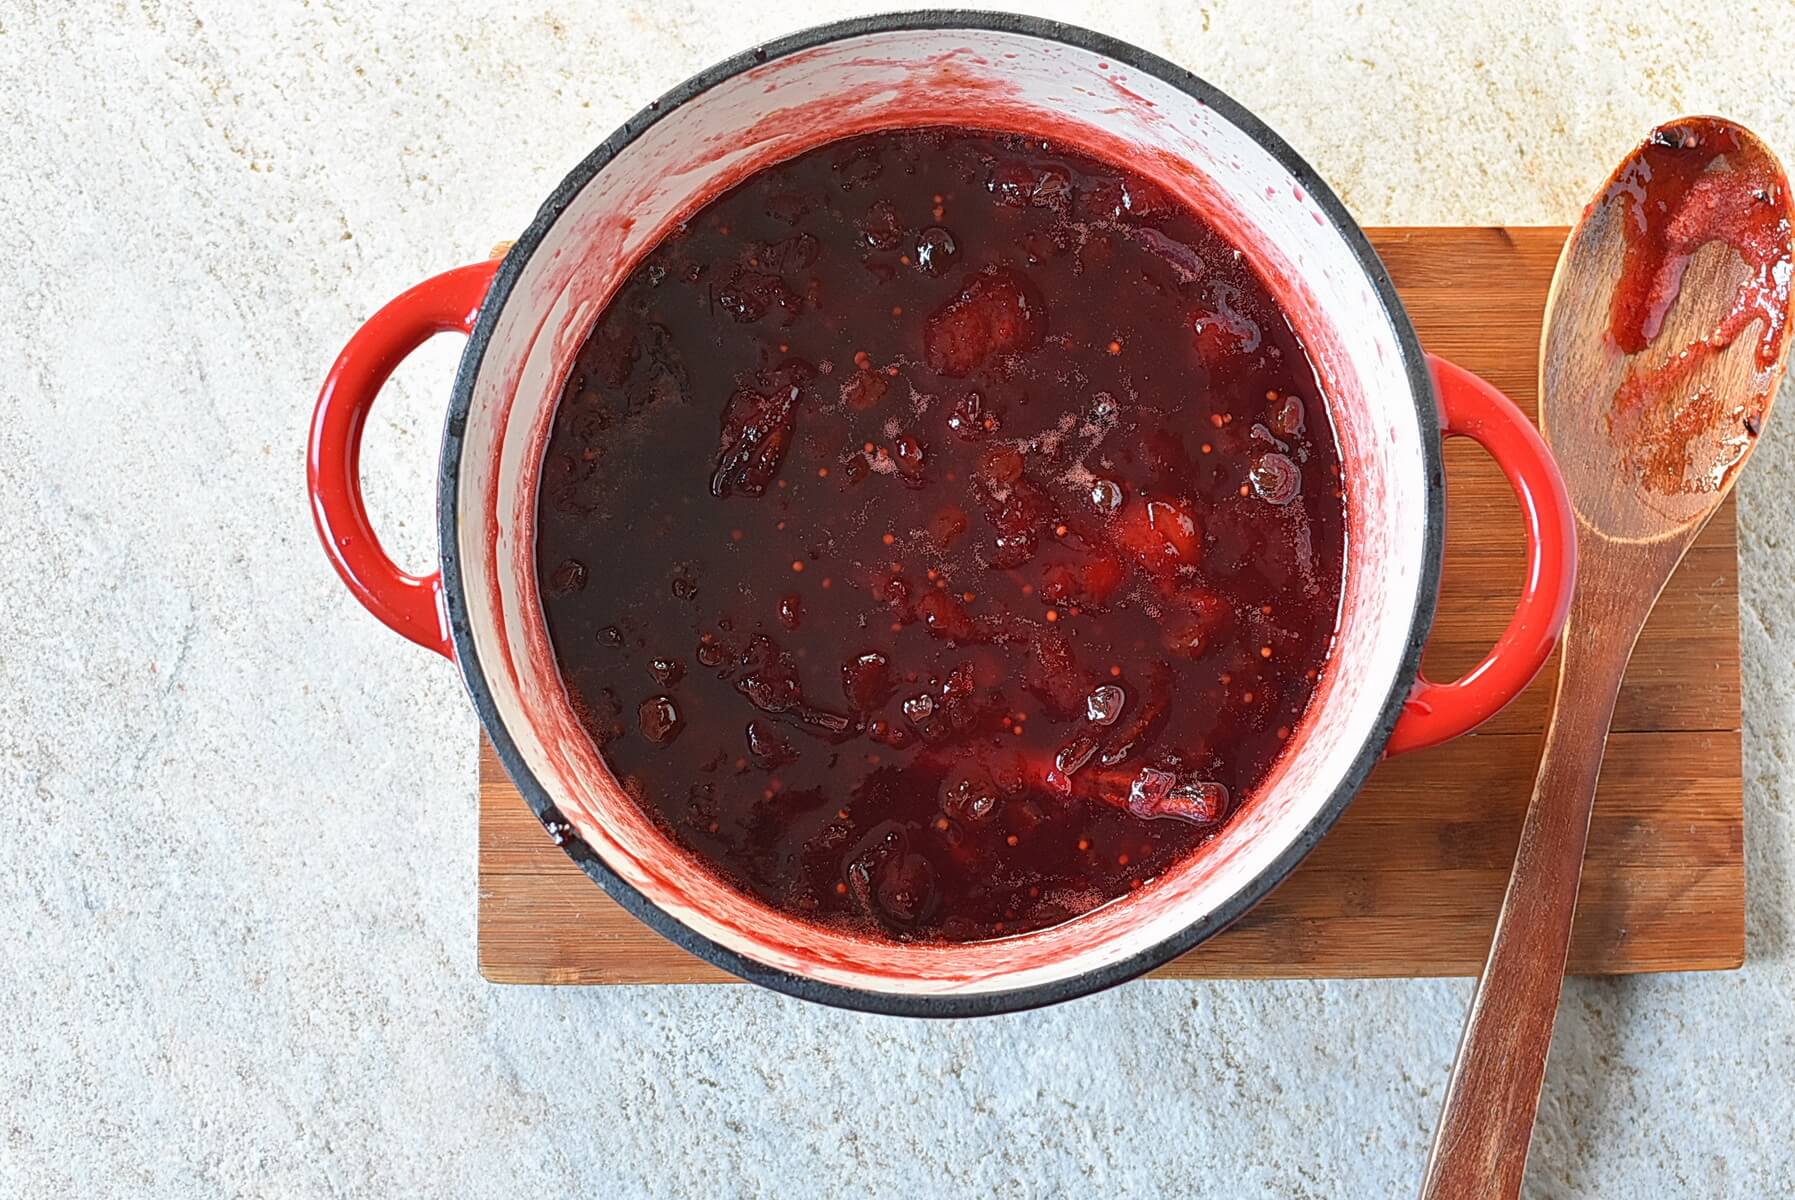
To store, let the chutney stand for 15 minutes, then spoon it into hot, sterilized jars and seal. Then use a water-bath canning process, and the chutney will keep for up to a year in a cool place without needing refrigeration until opened.

Serve alongside meats, cheeses, and on sandwiches. Enjoy!
A sturdy pan is essential. I prefer a Dutch oven because it spreads heat evenly when you are reducing fruit and sugar. Use a sharp knife for halving plums and chopping onions, and a wooden spoon or silicone spatula for stirring. Metal utensils can sometimes react oddly with vinegars, so I avoid them for this recipe. Have measuring cups and spoons on hand and a few sterilized jars with tight lids for storing.
If you plan to can, set up a water bath with a large pot and a rack to keep jars from touching the bottom. Without a proper setup, jars may not seal, and that is a heartbreak after an hour of simmering perfume. If you are not canning, sterilized jars still help keep the chutney tasting bright in the fridge.
Choose ripe plums that give a little when you press them. Overripe ones break down into silkier jam, which I like, while firmer fruit yields more texture. Coarsely chop onions so they soften but do not disappear completely; that contrast is what keeps each bite interesting.
Stir occasionally during the simmer, which takes about an hour. That prevents sticking and helps you notice when the mixture goes from stewy to glossy. Toast the mustard seeds lightly first to unlock a nutty pop. I once used a metal spoon and blamed the utensil for a sour batch. Learned my lesson the hard way. Actually, scratch that. Learned my lesson the hard way, and now I listen more to small signals in the pot.
Use a mix of cider and malt vinegar for depth. The cider brings a soft fruit note while the malt brings body and color. For heat, crush dried chilies just before adding them so their oils are bright. If your raisins are dry, soak them in warm water to plump them up before stirring them in.
Swap some plums for apples or pears to create a fruit chutney that is layered and seasonal. Apples add crispness and keep the texture a bit firmer, which is nice if you plan to use the chutney with grilled meats.
Add two tablespoons of grated fresh ginger for a ginger-forward version that plays well with cinnamon and works nicely in colder months. Or fold in half a cup diced pineapple midway for a lighter summer note and a touch of caramelized sweetness that keeps the chutney bright for barbecues.
For a nutty contrast, stir in a quarter cup chopped toasted almonds at the end. They add a pleasant bite but shorten shelf life slightly, so store in the fridge sooner if you add nuts.
Serve with creamy cheeses like brie or aged Cheddar. I like it on a crusty baguette with brie, where the chutney cuts the richness and makes each mouthful balanced. Spoon warm over roasted carrots or squash as a glaze or add a spoonful to plain yogurt for a quick dip.
Use it on sandwiches to add moisture and brightness, or warm it and pour it over grilled chicken for an easy dinner that tastes like you planned more than you did.
How to make chutney without it turning too runny? Keep simmering on low and stir. Evaporation will concentrate the mixture, and it will thicken. If needed, cook an extra 15 to 30 minutes and taste as you go. Patience here matters more than fiddling with ratios.
Can I use different fruits in this recipe? Yes. Swap in apples or pears, as mentioned above, for a mixed result. The idea is to keep similar fruit ratios so the acidity stays balanced and the chutney sets properly.
And if you are curious: How many calories are in a plum? A single medium plum has about 30 calories, so this chutney stays relatively light per serving unless you add lots of extra sugar.
What if my chutney tastes too vinegary at the end? Stir in a little more sugar or a few more raisins and let it rest for a day. Aging mellows sharp edges. If it still feels off, give it a week and taste again because flavors do settle and change with time.
How long does homemade plum chutney last once opened? Store it in the fridge and use it within about a month for the best flavor. For longer storage, freeze portions in small jars. If you canned it safely in a water bath, it can last up to a year unopened in a cool place.
Make the most of plum season with this easy Plum Chutney recipe! It is so easy to make and strikes the perfect balance of heat and sweetness, making it a versatile companion for your fall meals. Whether slathered on a sandwich or served alongside roasted meats, it promises to elevate your table with its homemade warmth.

I used overripe plums and this recipe was a winner! Thanks!