Homemade Plum Jelly

Homemade Plum Jelly

Plum Jelly for Everyone

Reviewed by Arturs Arnicans
Prep Time: 25m
Cook Time: 45m
Total Time: 1h 10m
Servings: 8 jars (8 oz)
Difficulty: Easy
4.9 (17 Reviews)
Cooking Mode
Prevents your screen from turning off while cooking

Ingredients

Adjust servings:

Nutritional Information

72
Calories
0.2g
Fat
18,7g
Carbohydrates
0g
Protein
0mg
Cholesterol
1mg
Sodium
Homemade Plum Jelly

Recipe Description

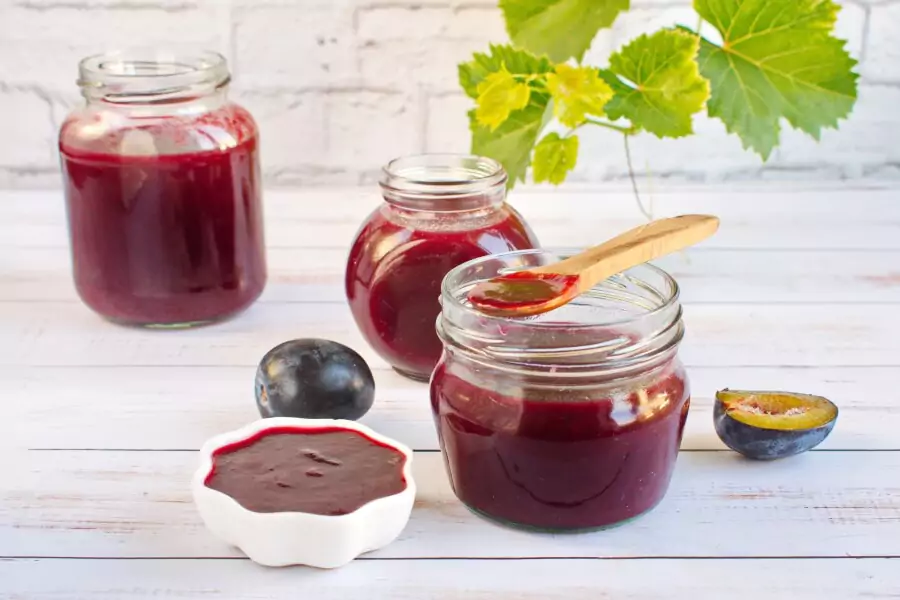
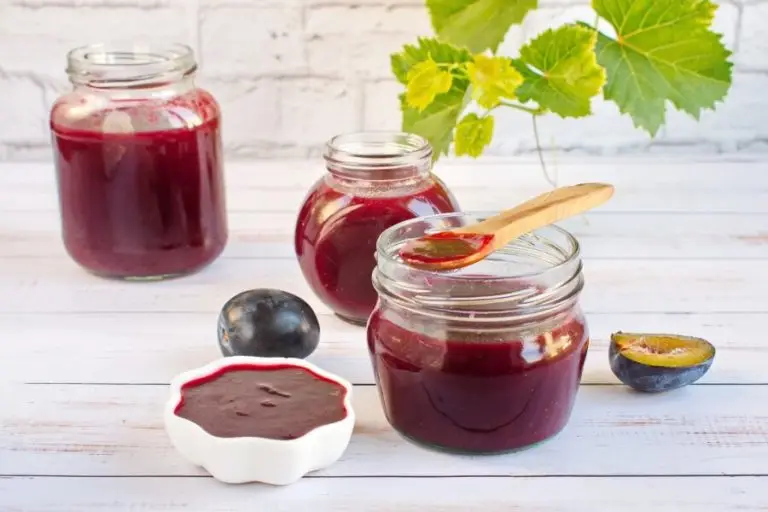
Now you can make your own Homemade Plum Jelly. Most people don’t know this, but the difference between jam and jelly is that jelly is made from the juices of fruits, only, and jam is made from crushed or puréed fruit. That is why this recipe suits my family just perfectly with no excess fruit bits for them to fuss over.

I just spread it on their sandwiches for school and they’re good to go! Enjoy it insides baking recipes or on top of a scone at tea time. I just love this one!

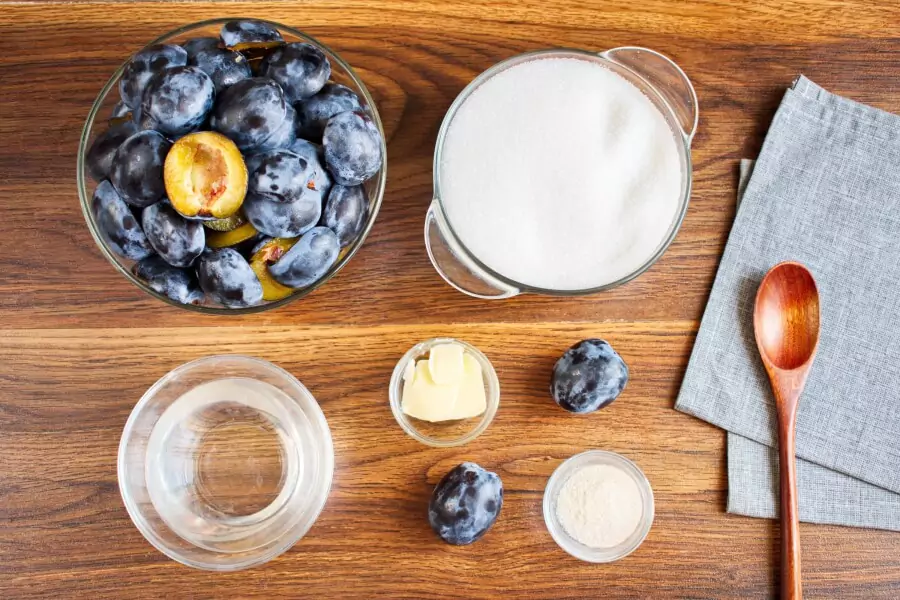
To make Homemade Plum Jelly, you will need the following ingredients:

Ingredients for Homemade Plum Jelly

Cuisine

No specific cuisine for this recipe

Steps to make

  1. 1

    Boil plums

    15 min
    Step 1 - Homemade Plum Jelly

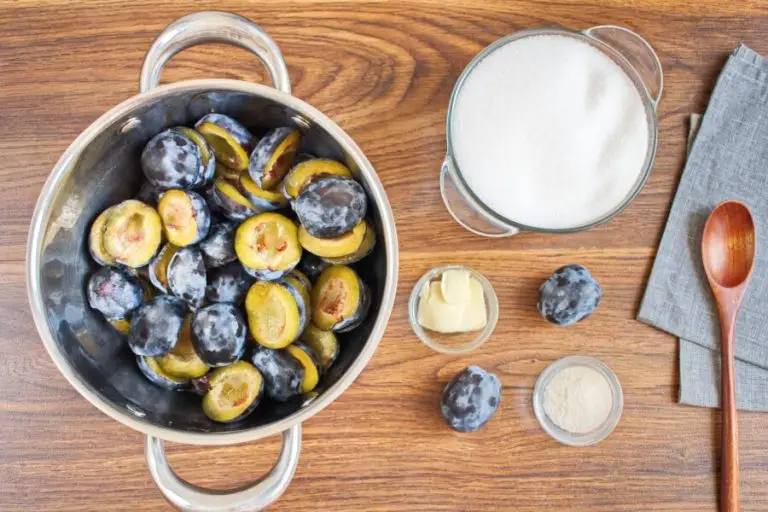
    In a large stockpot, bring the plums and water to a boil, then reduce the heat to medium, cover and simmer for 10 minutes.

  2. 2

    Strain the liquid

    30 min
    Step 2 - Homemade Plum Jelly

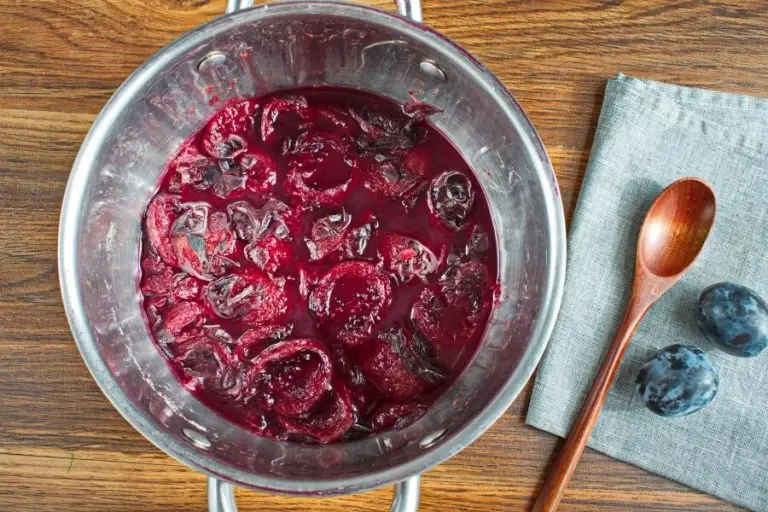
    Using a fine mesh strainer or several layers of cheesecloth, strain the juice and then allow the fruit to drain for 30 minutes until you have about 5 ½ cups of plum juice. Discard leftover fruit pieces.

  3. 3

    Add pectin

    5 min
    Step 3 - Homemade Plum Jelly

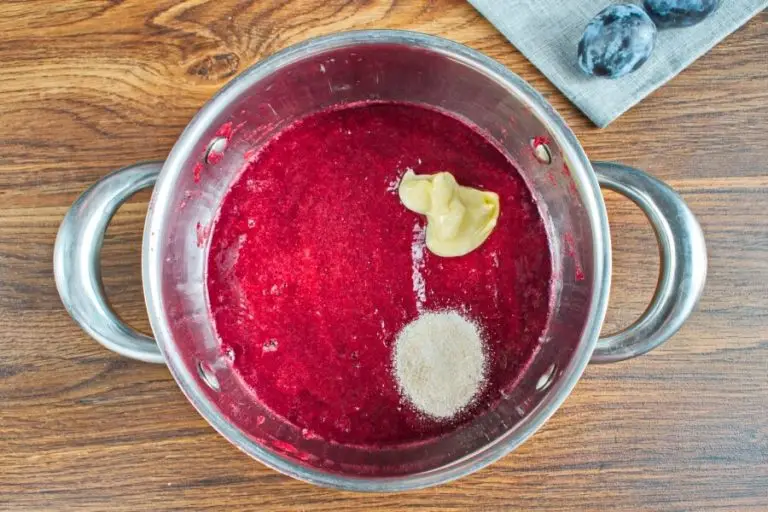
    Pour the 5 ½ cups plum juice back into the stock pot and add pectin and butter. Bring to a hard boil.

  4. 4

    Add sugar

    10 min
    Step 4 - Homemade Plum JellyStep 4 - Homemade Plum Jelly

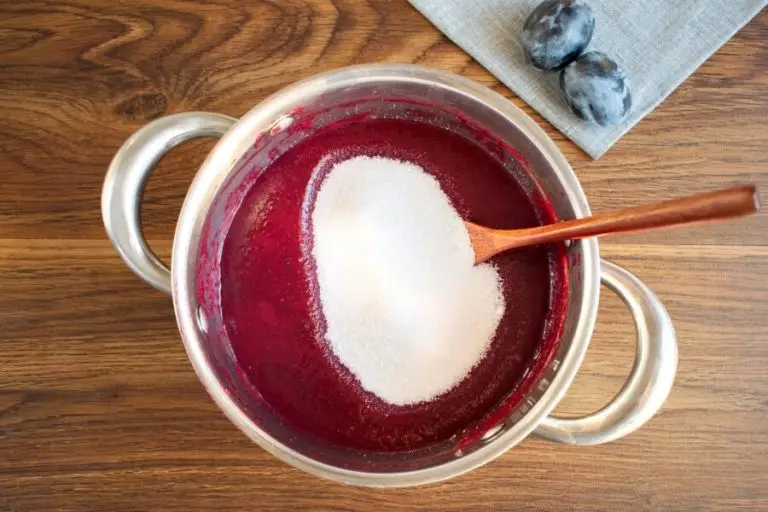
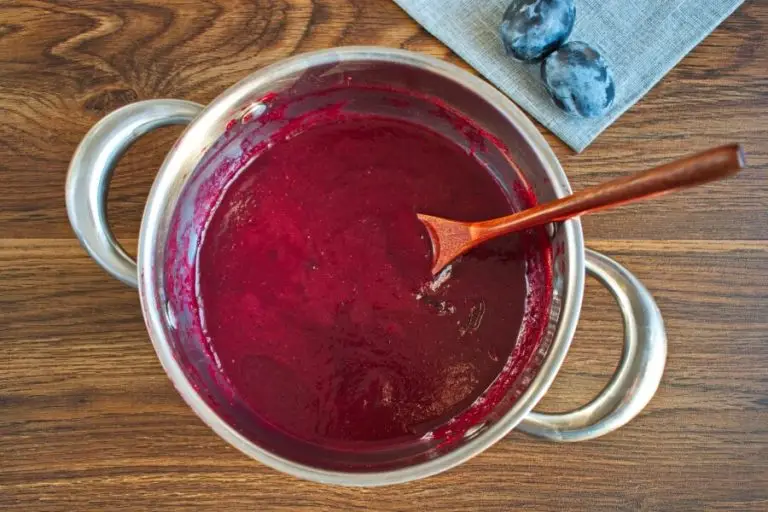
    Once boiling, add sugar and continue to boil for 5-10 minute more. Remove from heat and skim off any foam and excess from the surface, using a spoon.

  5. 5

    Store in jam jars

    10 min
    Step 5 - Homemade Plum Jelly

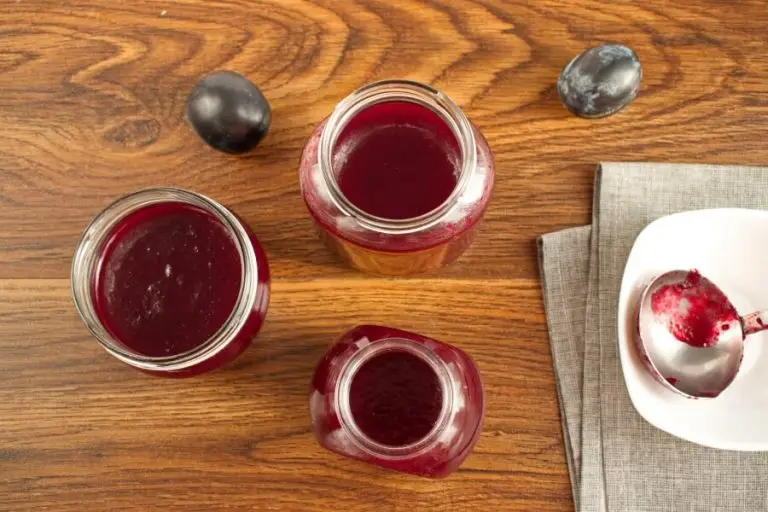
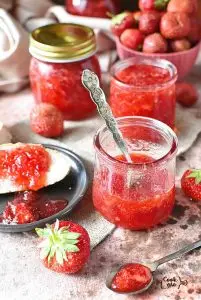
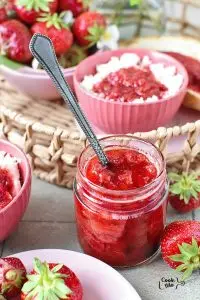
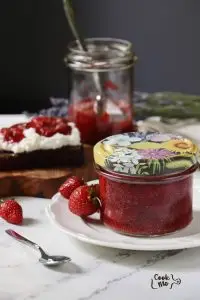
    Portion jelly into clean storage jars using a ladle spoon. Top with lids and seal closed.

  6. 6

    Store

    Step 6 - Homemade Plum Jelly

    Jelly can be stored in the fridge for up to 1 year. Unopened jars can be stored in a cool, dry area for up to 2 years.

Making your own jelly has never been easier than with this Homemade Plum Jelly. A recipe that suits your whole family! Let us know how you best enjoy yours and tag #cookmerecipes online and in your own homemade recipe posts.

About the author

Dasha Vakulova

Dasha is an enthusiastic and cheerful mom. She knows as well as any parent that children can be really picky when it comes to food. And she’s had plenty of experience trying to cook meals that are both tasty and nutritious, and able to satisfy the tastes of a fussy kid right away! To save you some precious time, Dasha is going to share with you all the tricks she learned the hard way, so you don’t have to! She has a wealth of recipes for quick and easy meals for kids and families on a budget.

Recipe Reviews

Have you made this recipe? Share your experience and help other cooks!

★★★★★
★★★★★
4.9 out of 5 (17 reviews)
Taste of the dish
Accuracy of stated difficulty
Instruction accuracy
Would you recommend this recipe to others?
0/1000
Add photos
Upload photos of your result. This will help others see how the dish should look.

Author Information

Email will not be displayed publicly