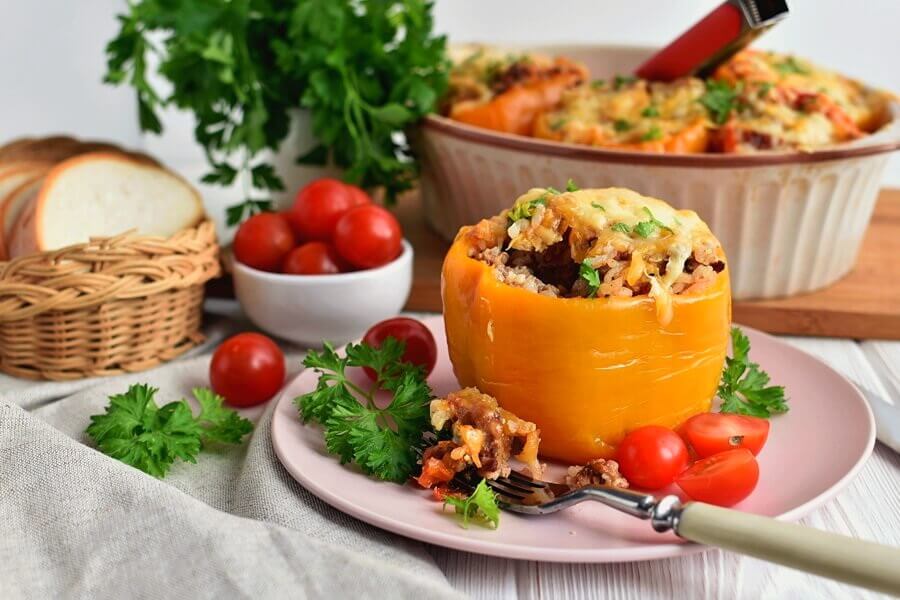

Classic Stuffed Peppers

Classic Stuffed Peppers

peppers baked with a delicious filling

Recipe by
Reviewed by Arturs Arnicans
Prep Time: 20m
Cook Time: 40m
Total Time: 1h
Temp.: 400 °F
Servings: 6
Difficulty: Easy
5.0 (9 Reviews)
Cooking Mode
Prevents your screen from turning off while cooking

Ingredients

Adjust servings:

Nutritional Information

358
calories
15,6g
fat
24,3g
carbohydrates
30,3g
protein
84mg
cholesterol
158mg
sodium
Classic Stuffed Peppers

These Classic Stuffed Peppers put in a regular appearance in my kitchen. They are bright and cheerful looking and they taste absolutely delicious. It’s such a clever meal as the flesh of the pepper creates an edible bowl. They’re also a great way to use up leftover rice. 

To make these, I start by cooking the rice. I hollow out 6 peppers and sit them in a baking dish while I make the filling. The filling consists of a meat sauce made with ground beef, tomatoes, onion, garlic and oregano. I stuff the peppers, sprinkle some monterey jack on top and bake in the oven for a delicious and healthy dinner.

To make my Classic Stuffed Peppers, you will need the following ingredients:
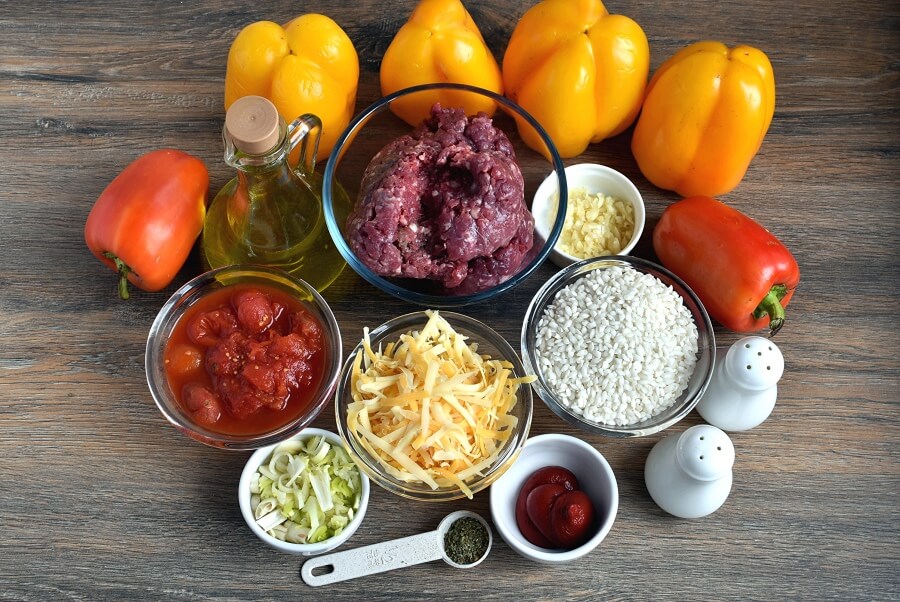
Ingredients for Classic Stuffed Peppers

Recipe Features

Cuisine

No specific cuisine for this recipe

Steps to make

  1. 1

    Heat the oven

    5 min

    Preheat the oven to 400 °F.

  2. 2

    Cook the rice

    20 min
    Step 2 - Classic Stuffed Peppers

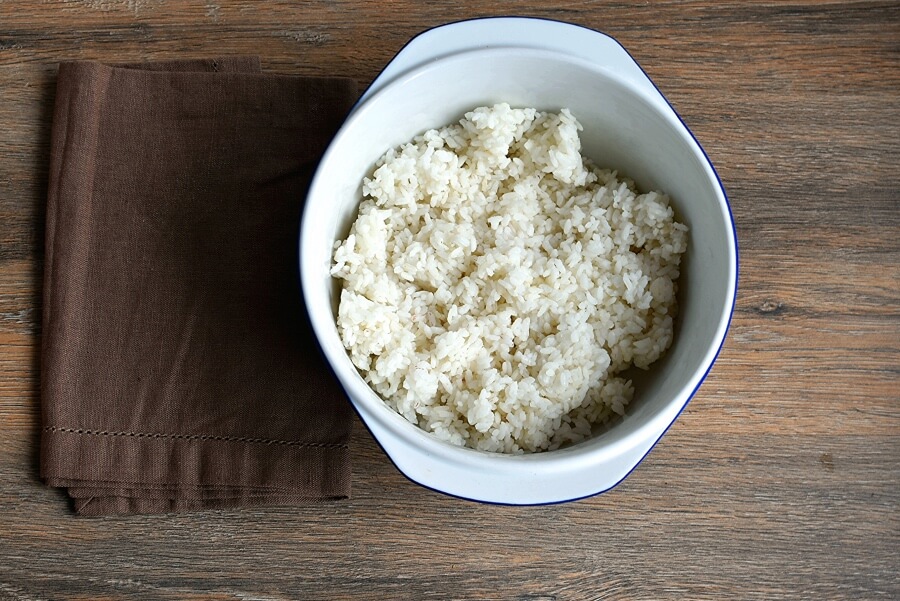
    Cook the rice according to package instructions.
  3. 3

    Saute onion

    5 min
    Step 3 - Classic Stuffed Peppers

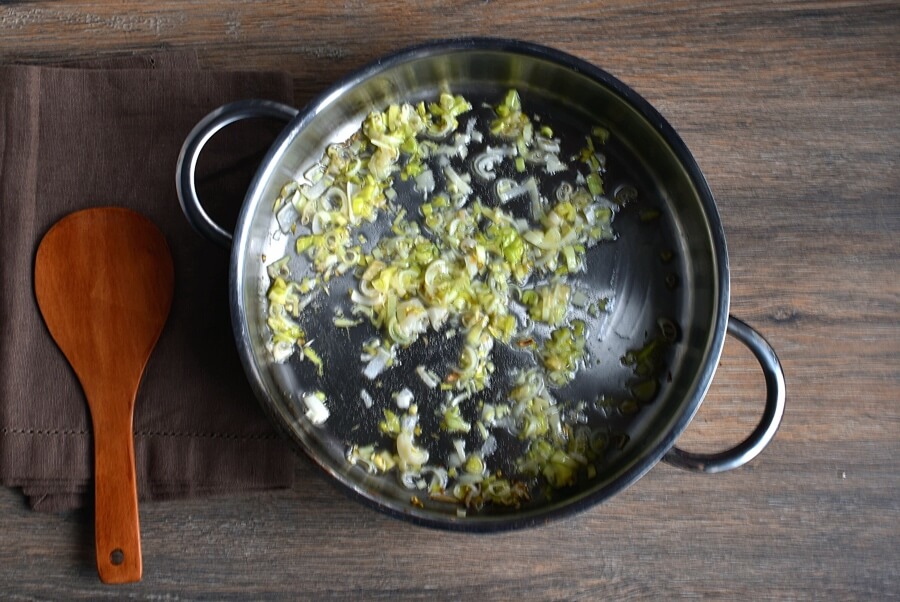
    Heat some olive oil in a medium sized pan over medium heat. Cook the onion for about 5 minutes until soft.
  4. 4

    Add tomato paste, garlic and ground beef

    7 min
    Step 4 - Classic Stuffed PeppersStep 4 - Classic Stuffed PeppersStep 4 - Classic Stuffed Peppers

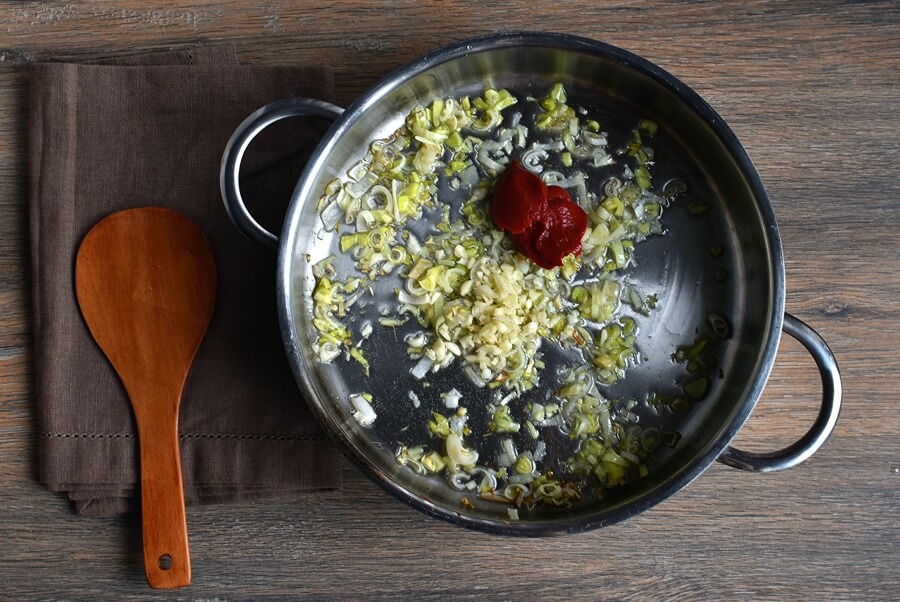
    Add the tomato paste and garlic to the pan and cook until fragrant. Add ground beef and cook. Break up the meat as you go with a wooden spoon. Cook for about 6 minutes until there are no more pink bits. Drain the fat from the pan.
  5. 5

    Add rice and tomatoes

    3 min
    Step 5 - Classic Stuffed PeppersStep 5 - Classic Stuffed PeppersStep 5 - Classic Stuffed Peppers

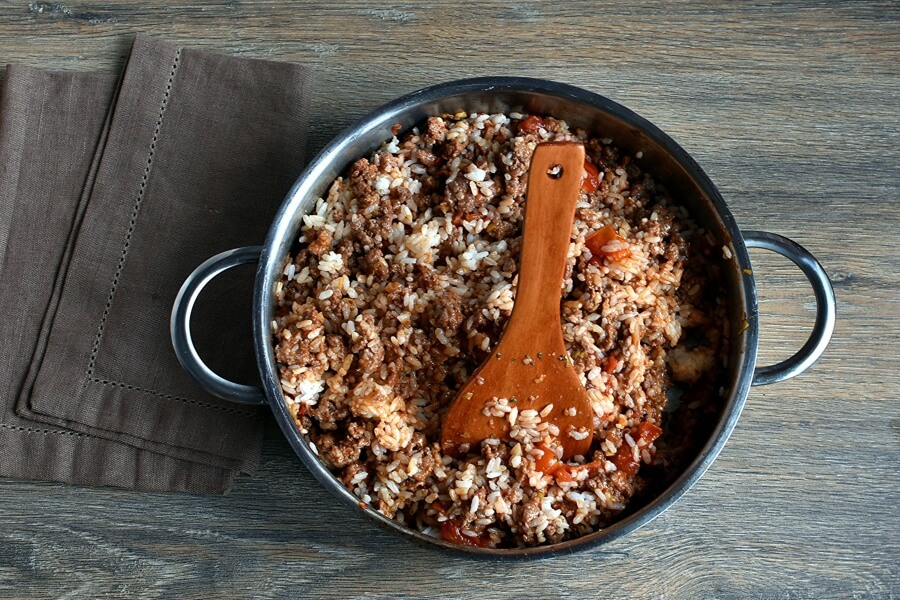
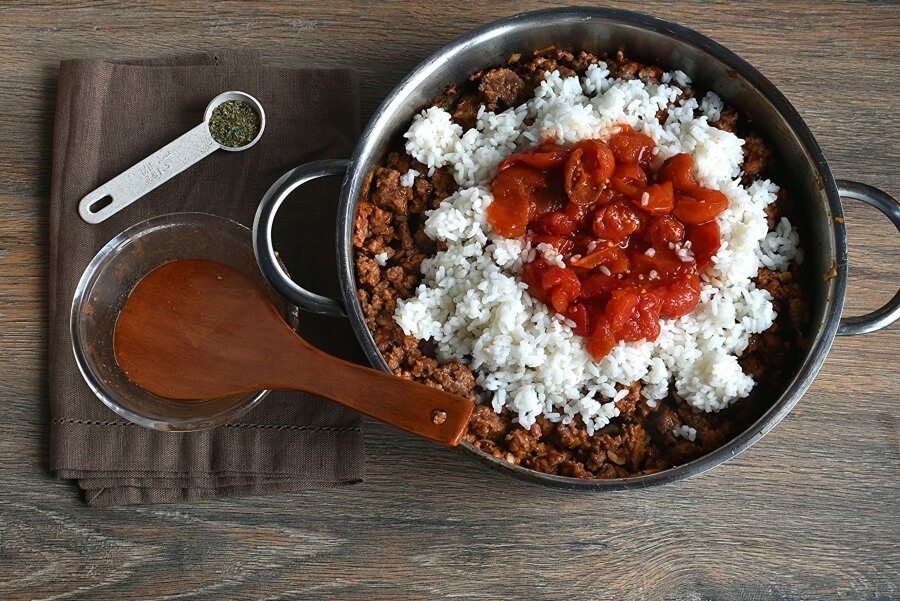
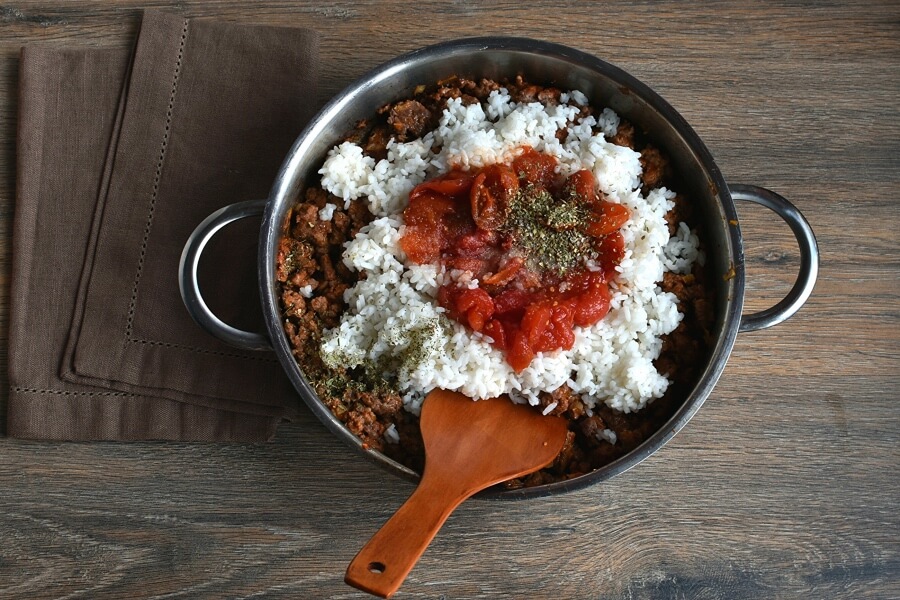
    Add cooked rice and diced tomatoes to the beef mixture. Stir in oregano, salt, and pepper. Let the mixture simmer until the liquid reduces slightly.
  6. 6

    Stuff the peppers

    5 min
    Step 6 - Classic Stuffed PeppersStep 6 - Classic Stuffed Peppers

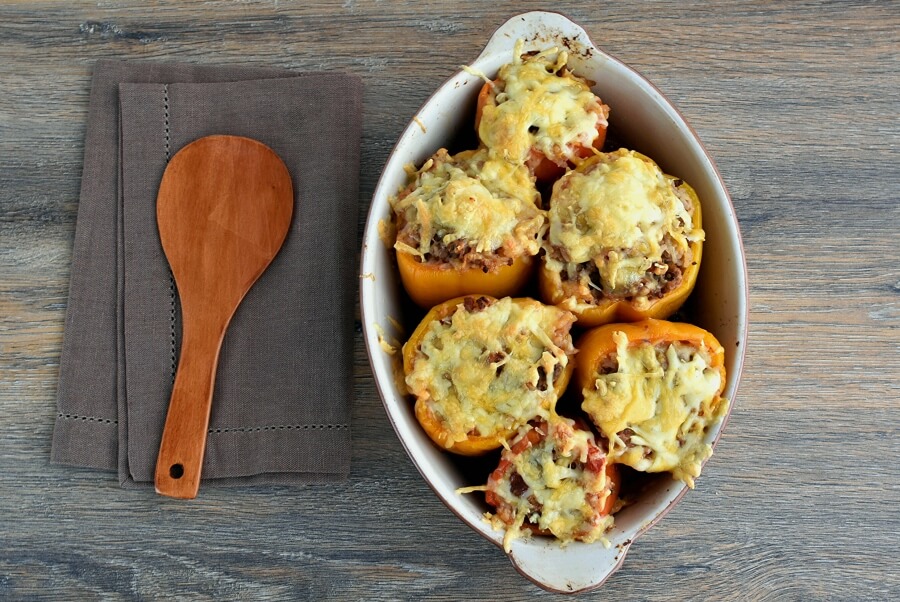
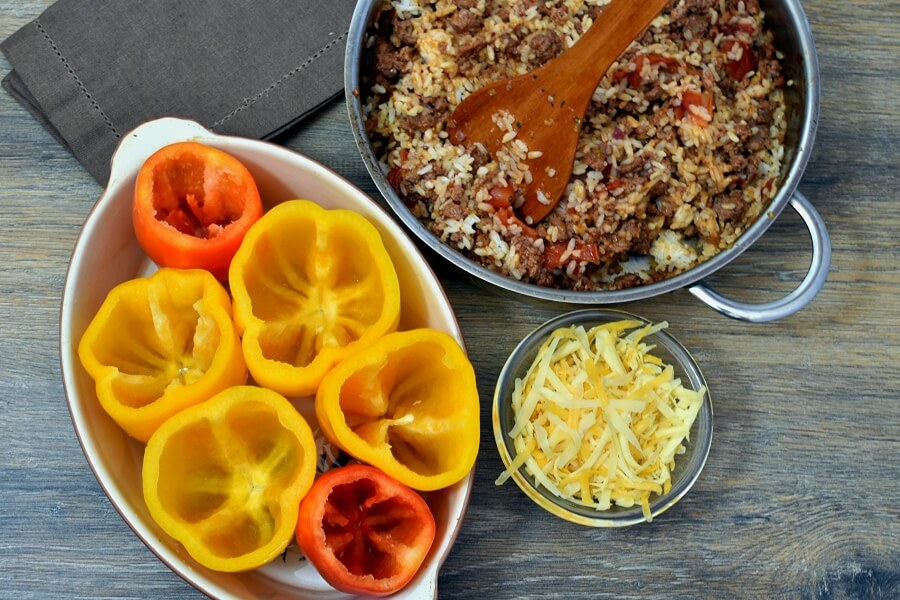
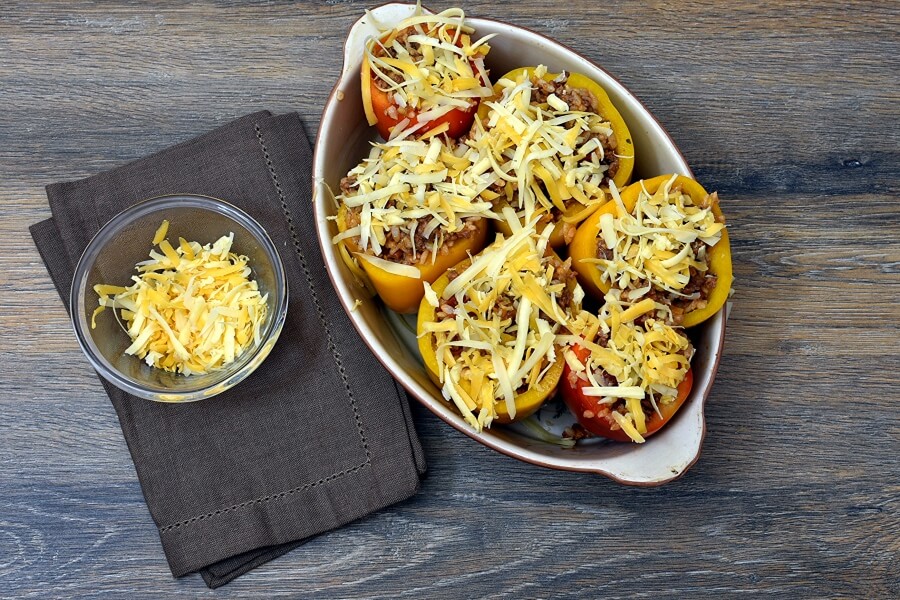
    Place the peppers cut side-up in a large baking dish. Drizzle with oil and spoon the beef mixture into each pepper. Sprinkle Monterey Jack cheese on top.
  7. 7

    Cover and bake

    40 min
    Step 7 - Classic Stuffed PeppersStep 7 - Classic Stuffed PeppersStep 7 - Classic Stuffed Peppers

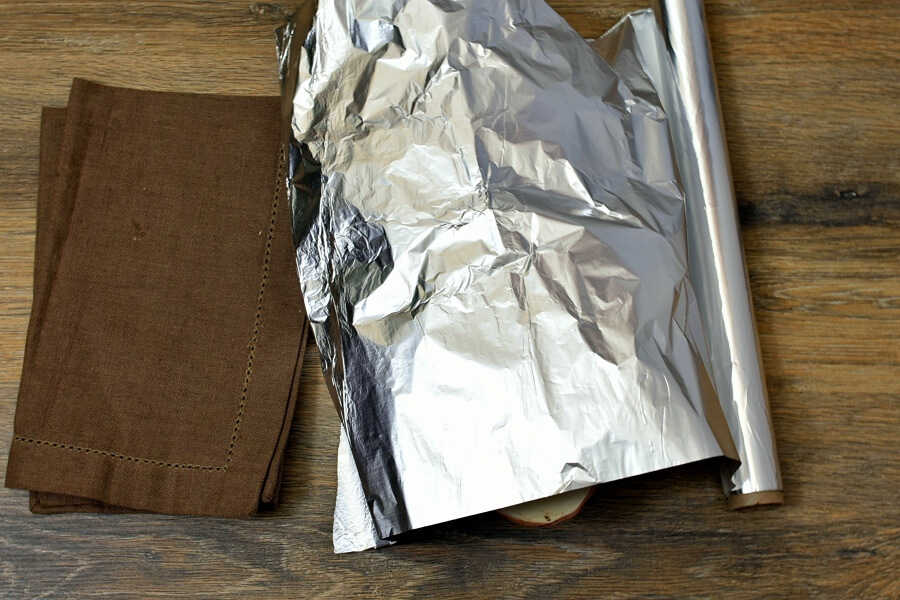
    Cover the baking dish with foil. Bake in the oven for 35 minutes. Remove the foil and cook for 10 more minutes until the cheese is bubbling.

  8. 8

    Serve

    Step 8 - Classic Stuffed Peppers

    Sprinkle with freshly chopped parsley and eat while hot.

Nutritional Information

358
calories
15,6g
fat
24,3g
carbohydrates
30,3g
protein
84mg
cholesterol
158mg
sodium

These Classic Stuffed Peppers look good and taste even better. It’s no wonder they turn up on my kitchen table regularly. Try them soon and come back to leave a comment below letting me know what you think.

Jeff O'connor

About the author

Jeff O'connor

Jeff is a 38-year-old bachelor who prefers not to waste his time on salads and light meals. He’s a true carnivore who knows how to enjoy food to the max! Jeff will tell you how to cook rich and filling meals from scratch, bringing some real meaty decadence to your kitchen. His recipes are sure to satisfy every meat lover!

Recipe Reviews

Have you made this recipe? Share your experience and help other cooks!

★★★★★
★★★★★
5.0 out of 5 (9 reviews)
Athina
October 18, 2019
Verified

I love it! Thanks for sharing recipe!

Taste of the dish
Accuracy of stated difficulty
Instruction accuracy
Would you recommend this recipe to others?
0/1000
Add photos
Upload photos of your result. This will help others see how the dish should look.

Author Information

Email will not be displayed publicly