

I can never have too many beef mince recipes! And this Easy Beef Rissoles with Crunchy Salsa recipe is so good that I couldn’t help but share it with you! These beef rissoles are juicy and thick and flavored with garlic, celery salt, and Worcestershire sauce. With a pile of potato mash and a serve of homemade crunchy salsa, these scrumptious rissoles will please the whole family.
Quick and easy to make, this dish makes a great weeknight dinner. Start by mixing the ingredients for rissoles, then season with black pepper. Shape into rissoles and place on a tray. Refrigerate, covered, for 15 minutes. If you plan to cook rissoles later, you can refrigerate them for up to 1 day. Heat some oil and cook rissoles in two batches. Serve with homemade crunchy salsa and a slice of crusty bread. Enjoy!
To make the Easy Beef Rissoles with Crunchy Salsa, you will need the following ingredients:
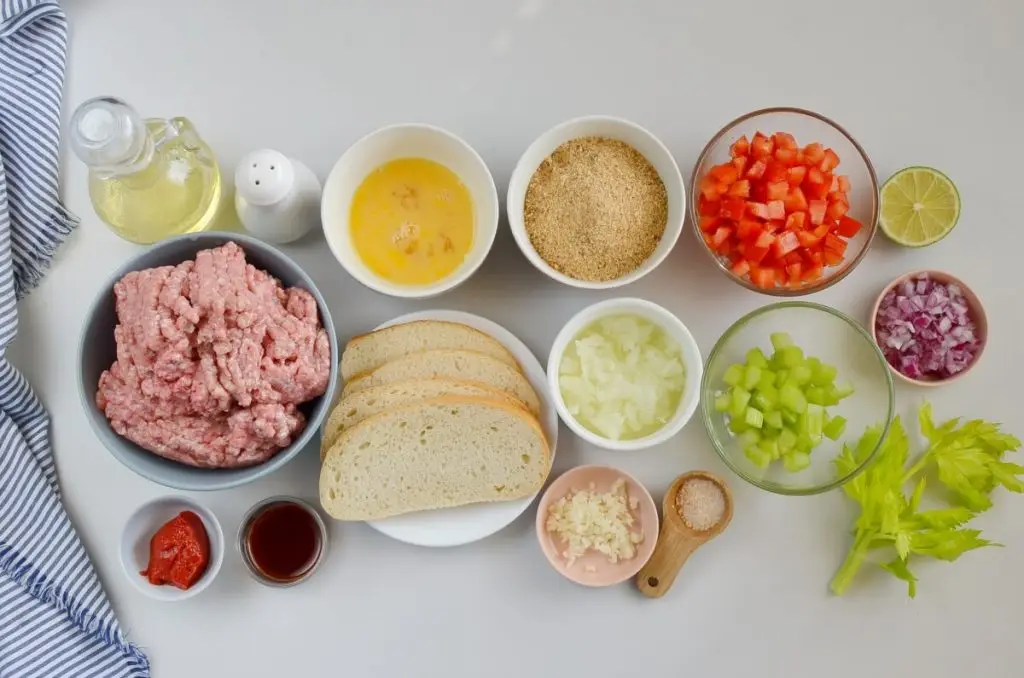
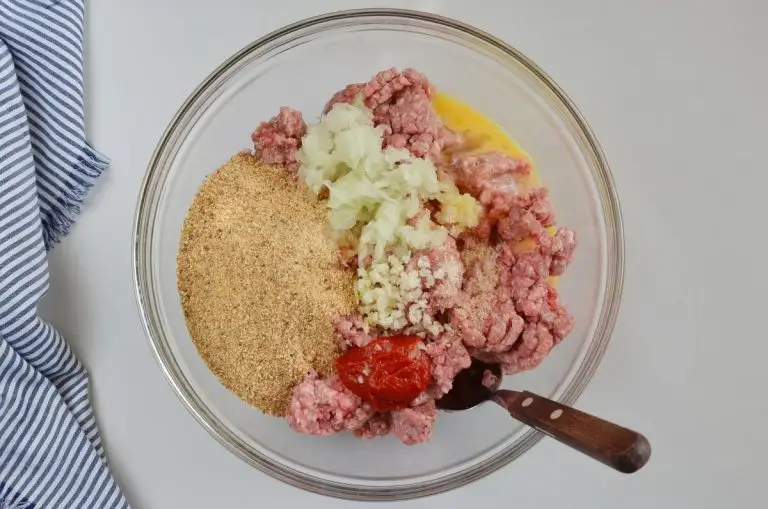
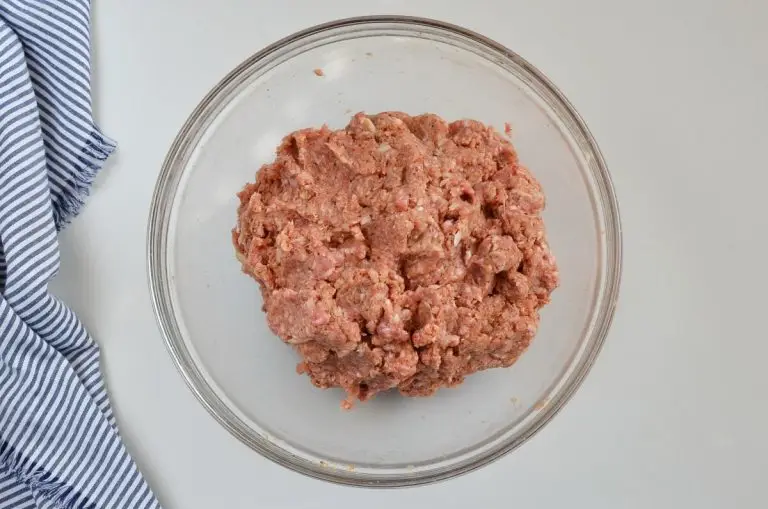
In a large bowl, place 650 grams beef mince, 1 grated brown onion, 2 crushed cloves garlic, 1 teaspoon celery salt, 1 tablespoon tomato paste, 1 tablespoon Worcestershire sauce, 1 ¼ cups bread crumbs, 1 egg, and black pepper to taste. Mix well until combined.

Using hands, shape the mixture into 12 rissoles and place on a tray.
Cover and refrigerate for 15 minutes.
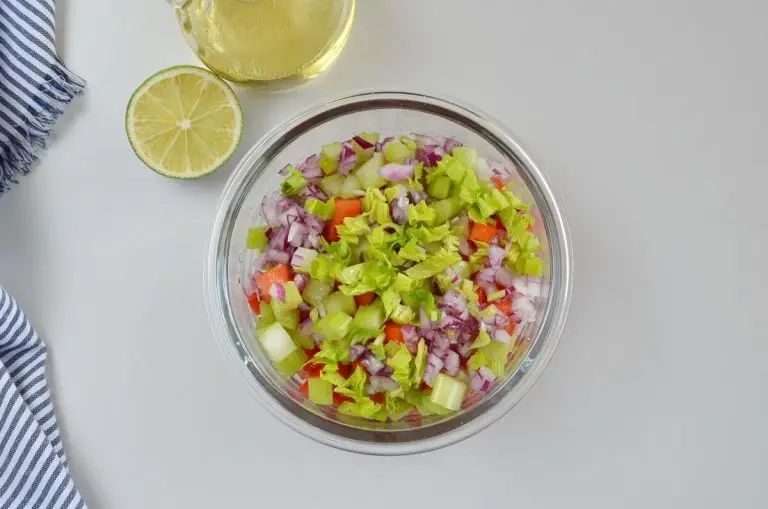
Meanwhile, in a bowl, stir together 1 finely diced celery stalk with the reserved small young leaves, 2 seeded and finely chopped tomatoes, ¼ finely diced red onion, 2 teaspoons lime juice, 1 teaspoon extra virgin olive oil, and 1 teaspoon Tabasco sauce if using. Season to taste.


In a large pan over medium-high heat, heat 2 tablespoons olive oil. Working in two batches, cook rissoles for 4-5 minutes per side or until browned and cooked through.

Serve with crunchy salsa and crusty bread. Enjoy!
These Easy Rissoles with Crunchy Salsa are delicious served over a pile of mashed potatoes and topped with homemade salsa. If you try these, let us know! Leave a comment below, rate it, and don’t forget to tag a photo #cookmerecipes on Instagram so we can see it.
Have you made this recipe? Share your opinion. Your review will help others learn about the quality of this recipe!