
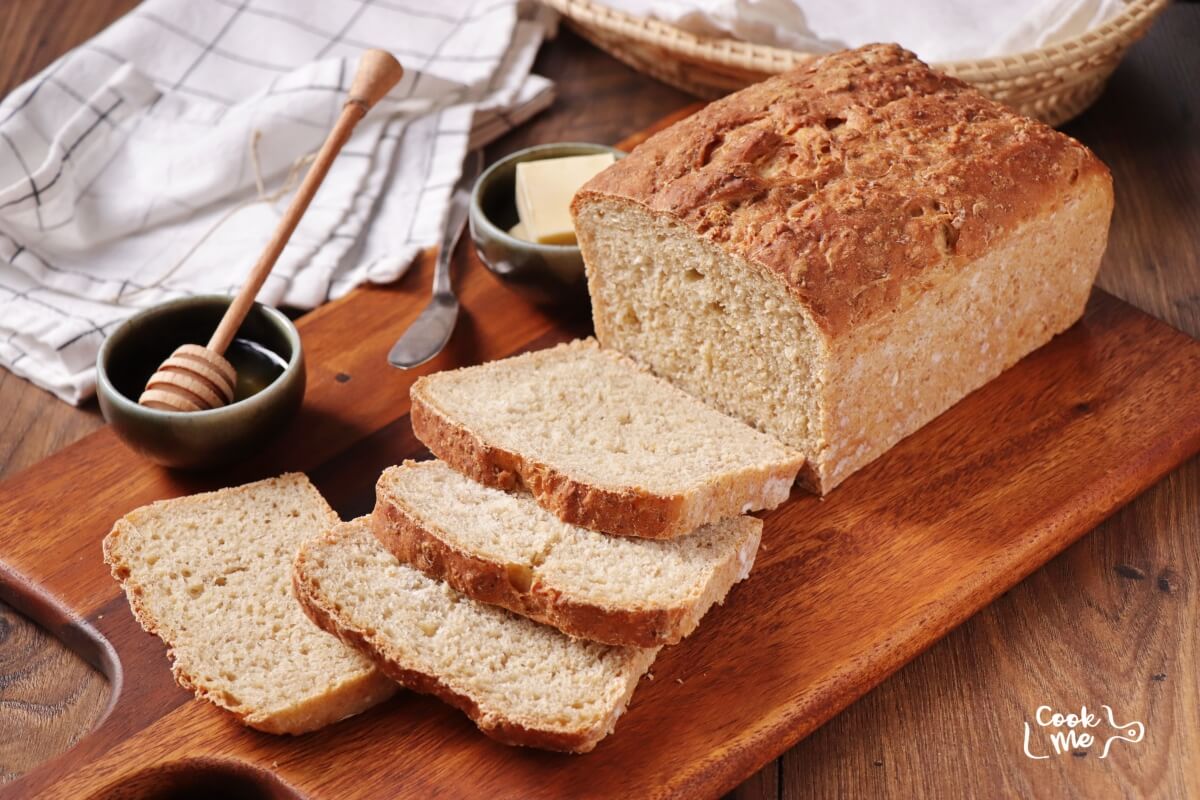
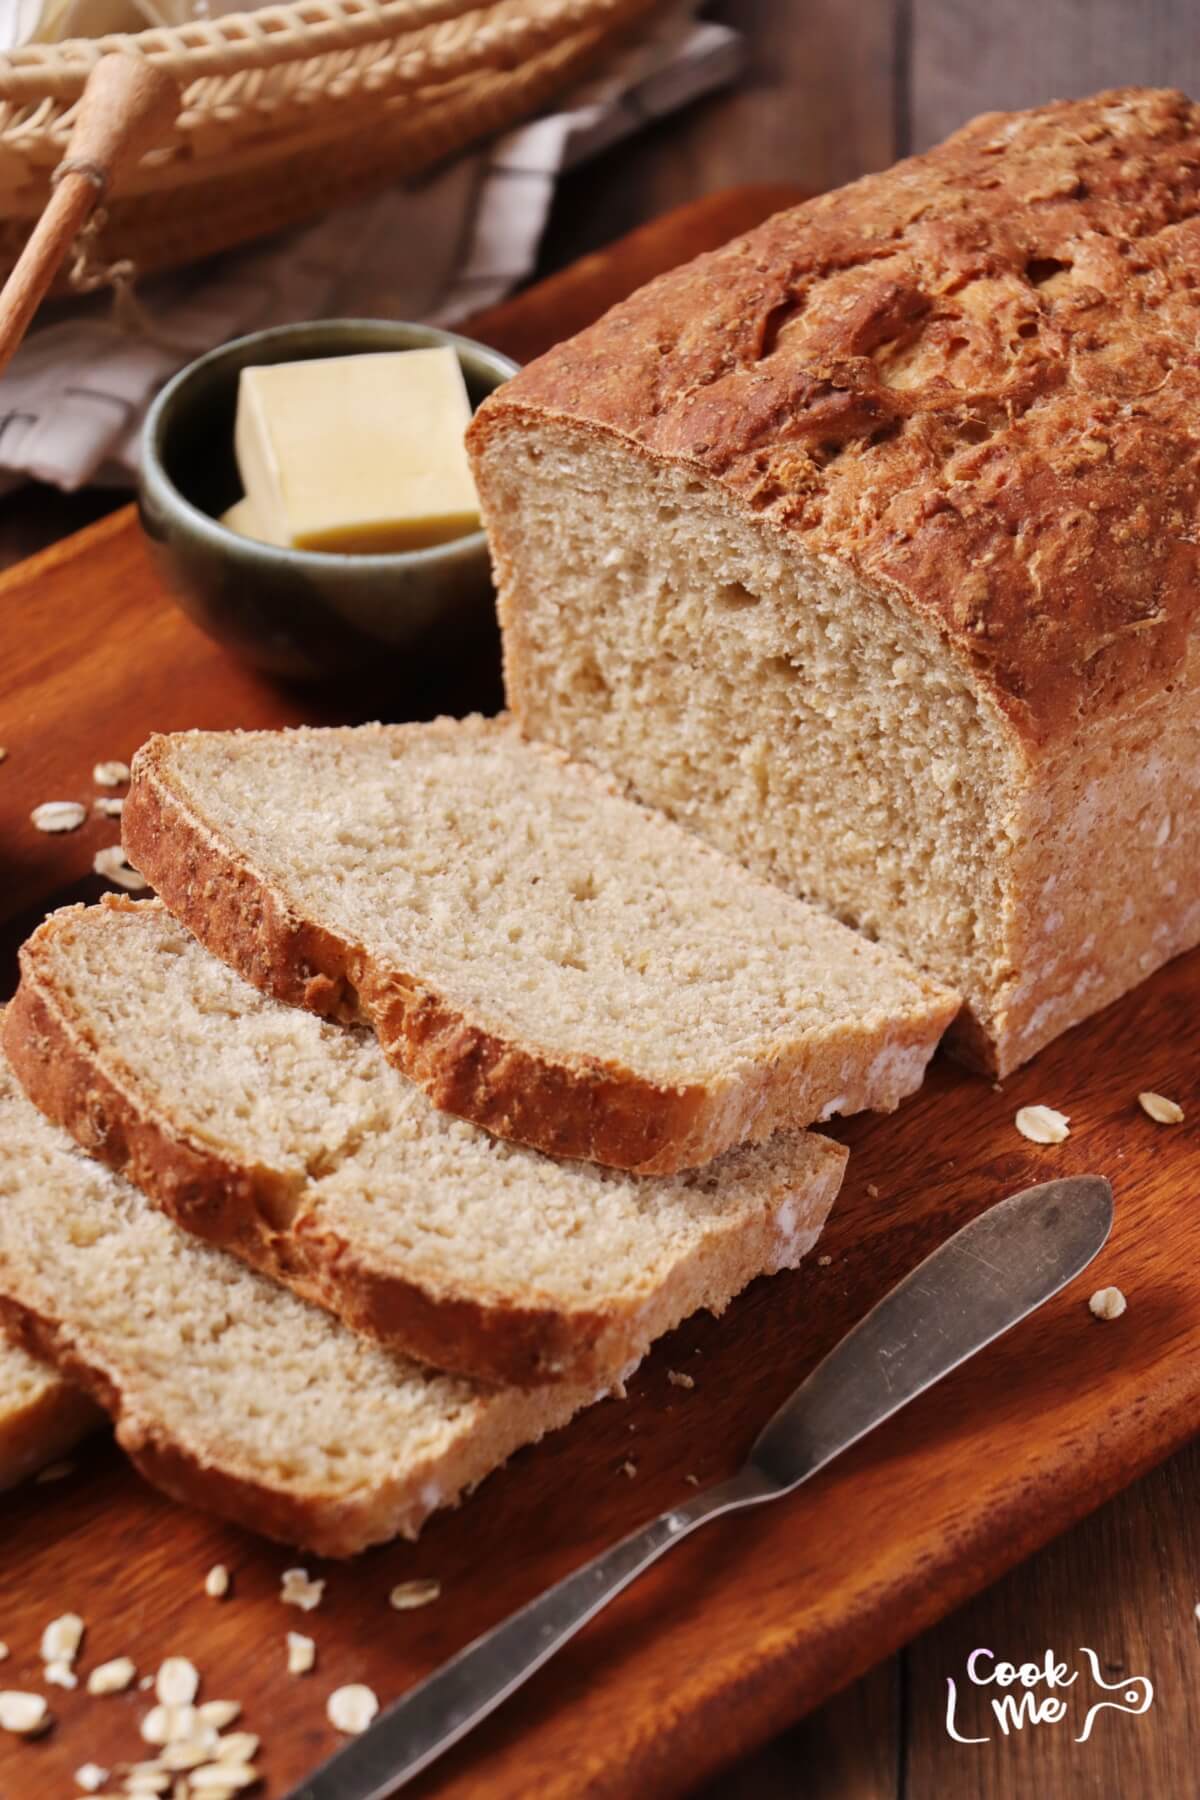
Hi, I am Lilly Mathuse, a busy mum from Bristol who cooks between cartoons and school runs. This recipe is honest bread. It is simple, forgiving, and it smells like a quiet morning when you finally get five minutes to breathe. If you have ever wanted homemade oatmeal bread without wrestling dough, this is the one to try.
Here is the thing I love about it: you do not need to knead. Mix, leave overnight, and it does the heavy lifting for you. The long rest gives the loaf a subtle tang and depth you will not get if you rush it. It really tastes like proper bakery bread, not supermarket stuff. Also, it is great when you want something you can slice for toast or pack in lunchboxes without fuss.
And yes, it is sweetened with honey but not too sweet. The oats give a nice chew and the cinnamon adds a gentle warmth. I mean, Ellie will eat it plain and I will happily smear it with cheese. Small wins.
Found this when Ellie was about two and I needed something that did not need constant attention. She was busy building a tower from cereal boxes while I mixed this bowl and hoped for the best. It worked. Trust me, it will probably work for you too.
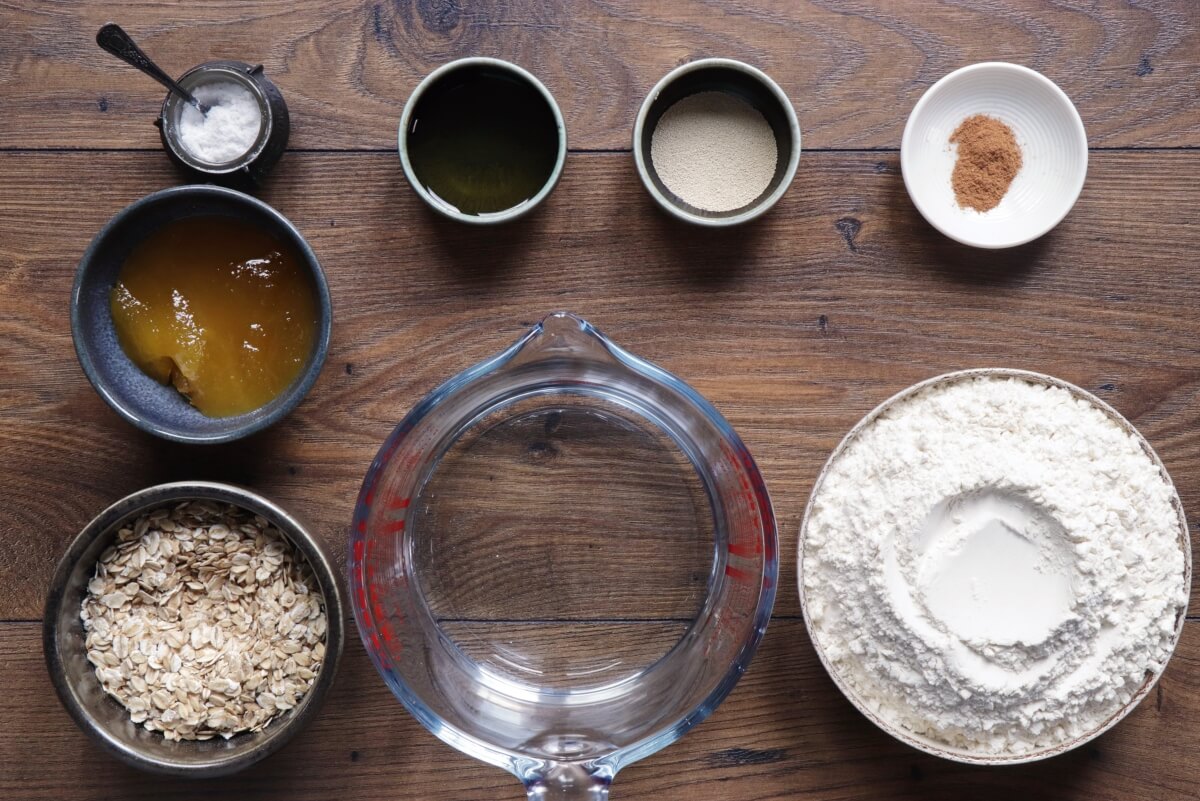
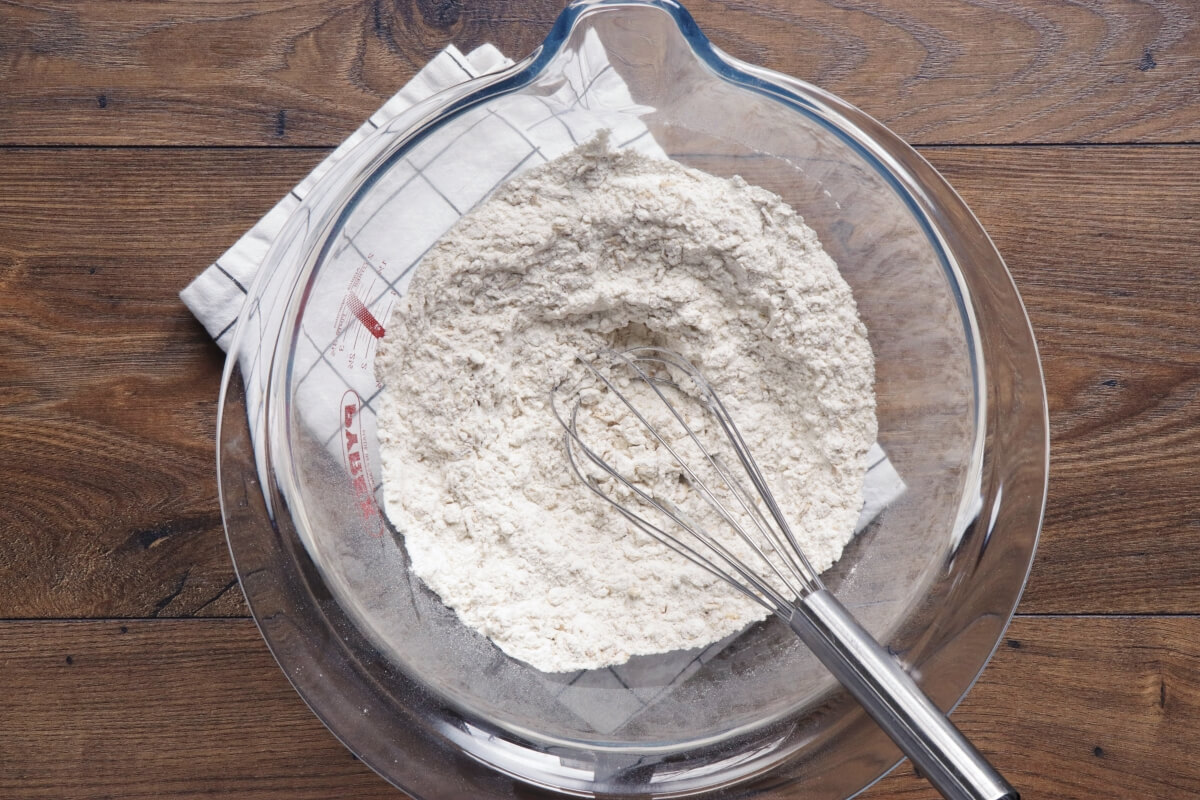
In a large mixing bowl, whisk together 3 cups bread flour, 1 cup oats, 1 ½ teaspoons instant dry yeast, 1 ½ teaspoons salt, and ½ teaspoon ground cinnamon. Set aside.

In a medium bowl or liquid measuring cup, whisk together 1 ½ cups water, 3 tablespoons honey, and 2 tablespoons vegetable oil until the honey is dissolved.
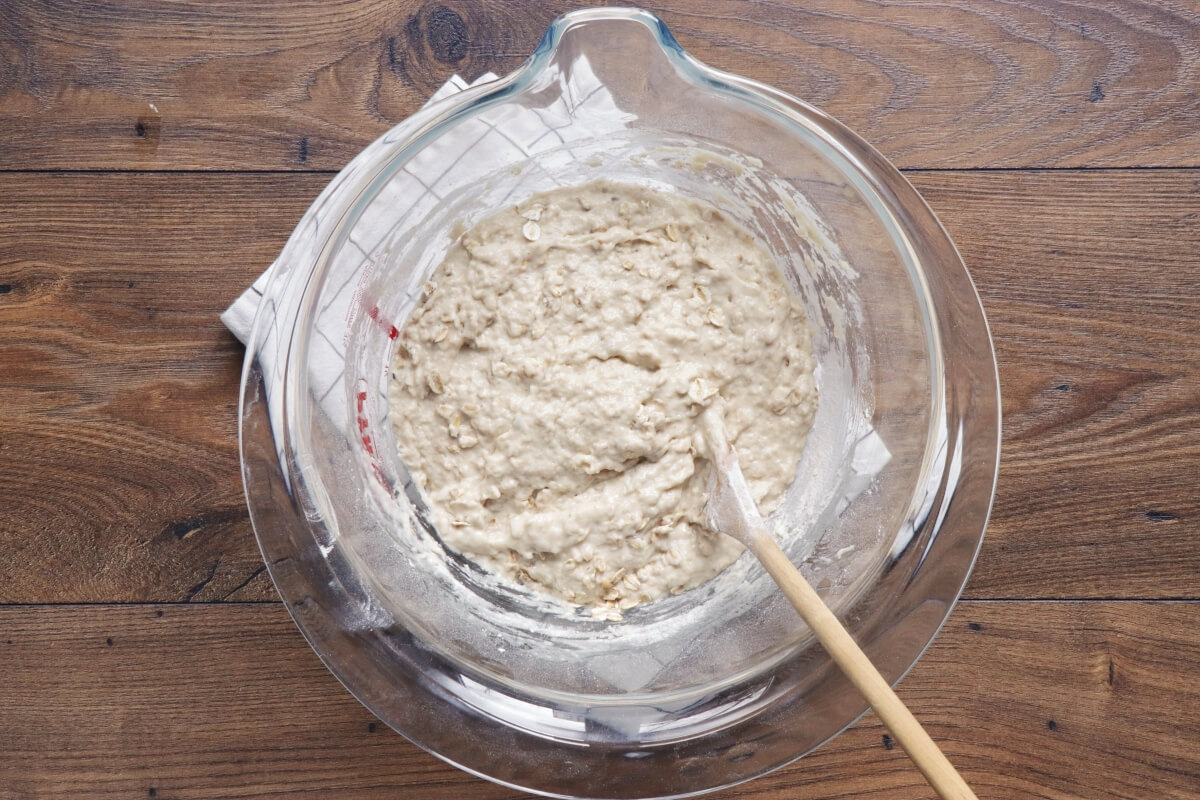
Pour the wet ingredients into the dry ingredients and gently stir together with a spatula or wooden spoon until combined. The dough will be heavy and sticky. Do not overwork the dough.
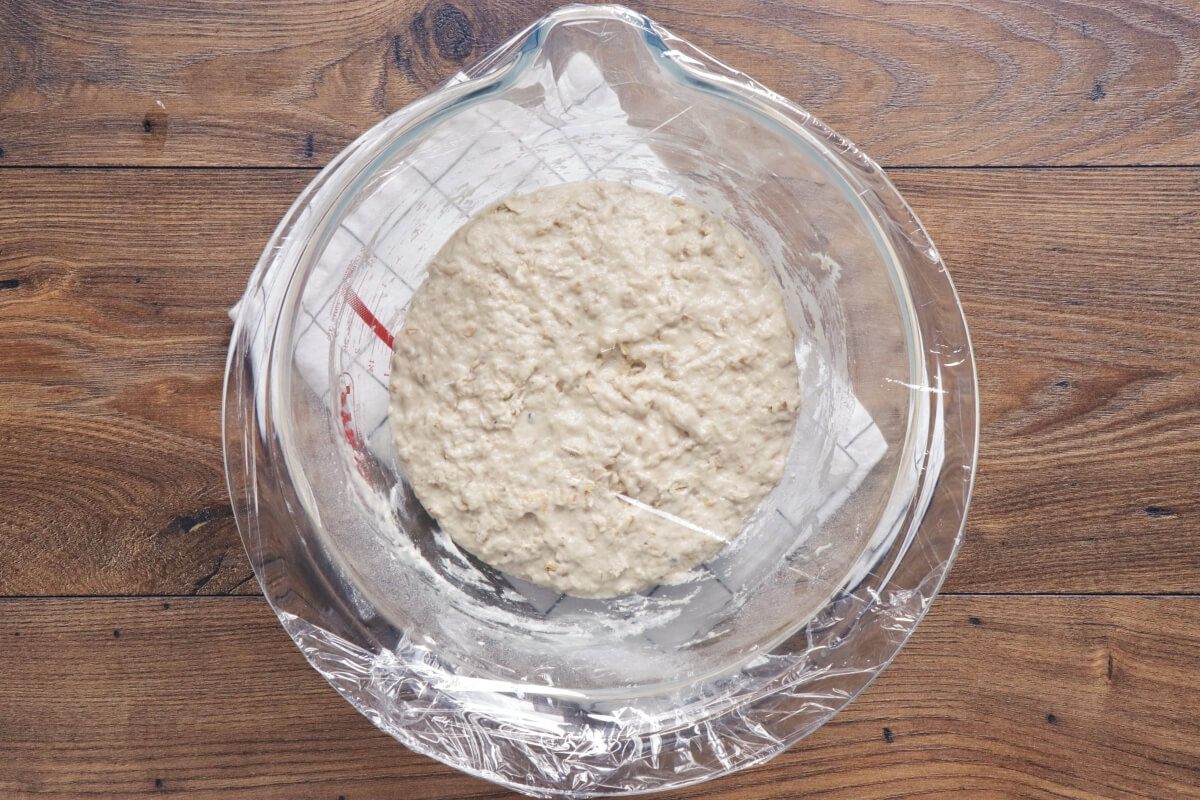
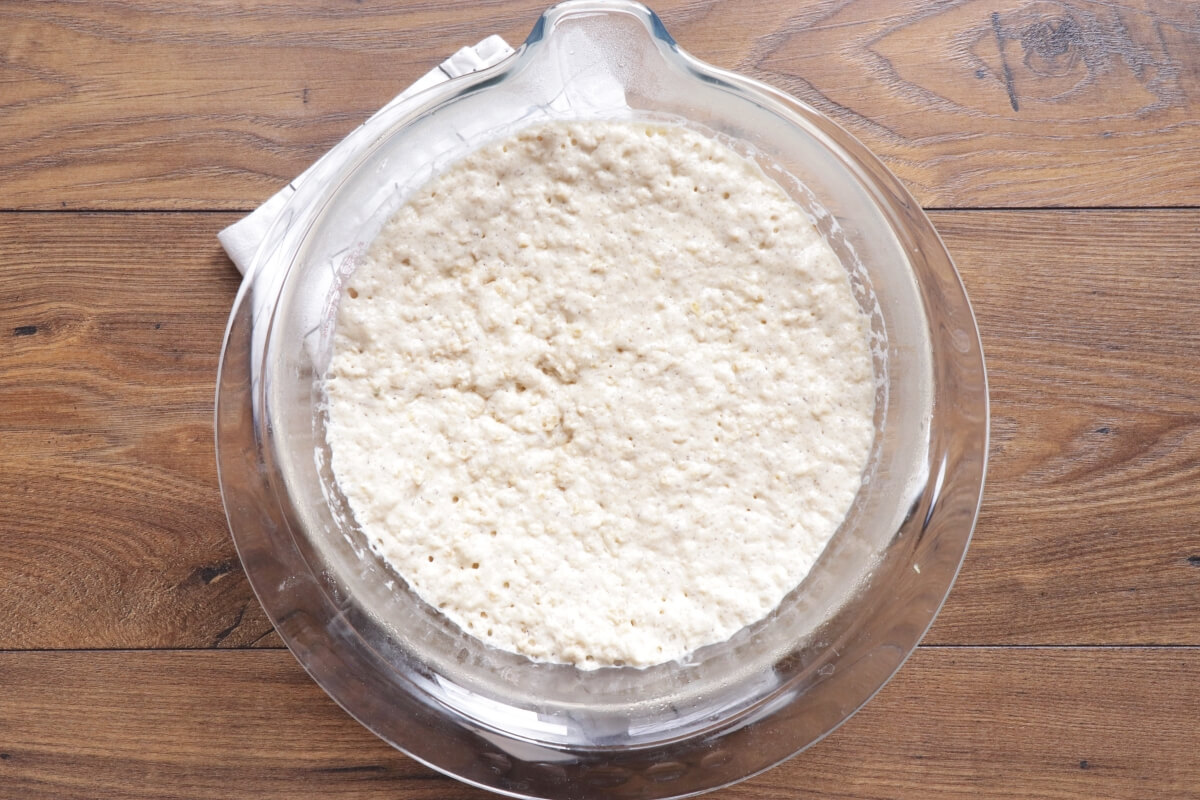
Cover the bowl with plastic wrap and allow to rise at room temperature for 12 hours or up to 18 hours.
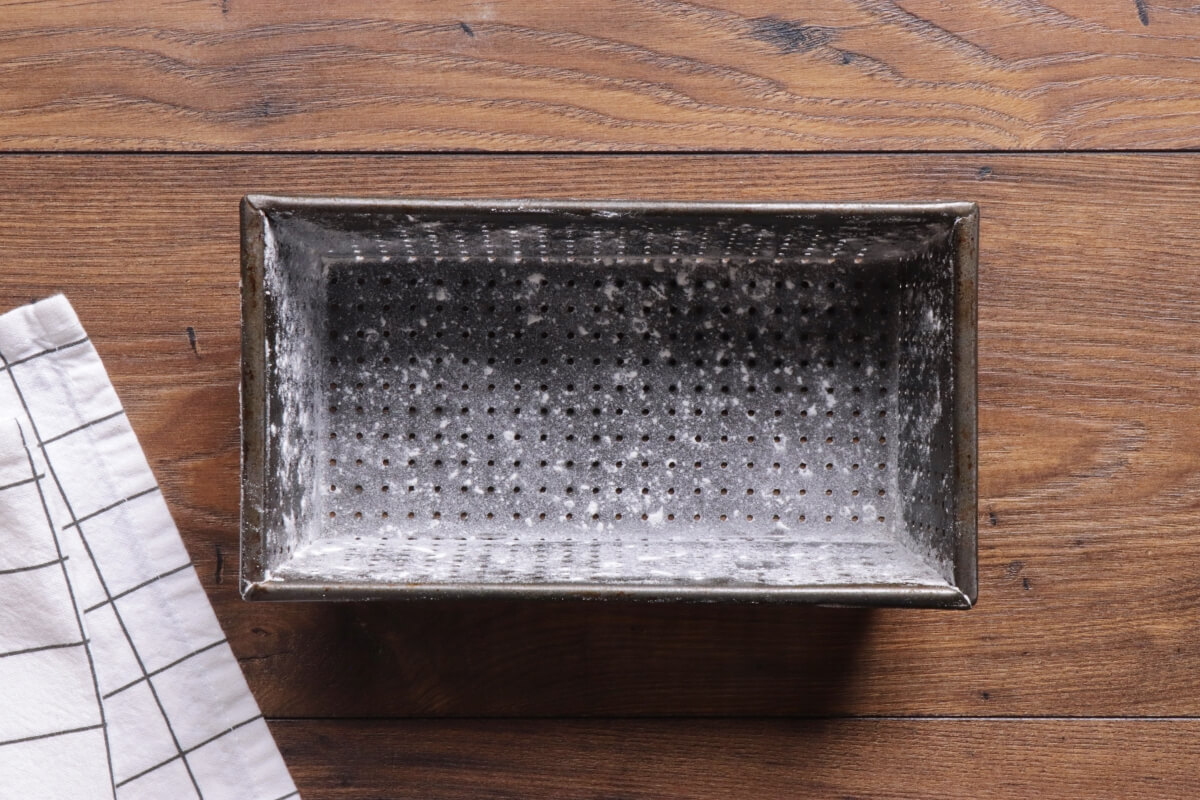
Grease and flour a 9×5-inch loaf pan.
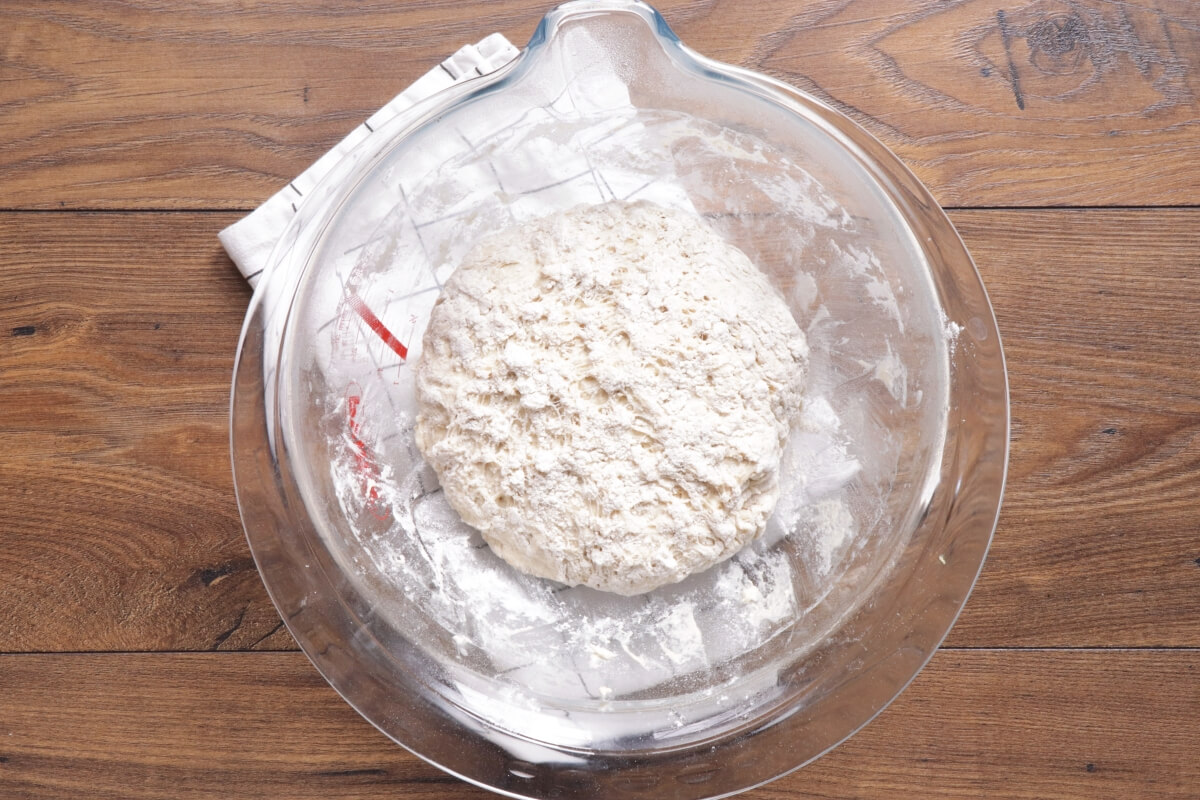
Uncover the dough and gently fold in the remaining 2 tablespoons bread flour.
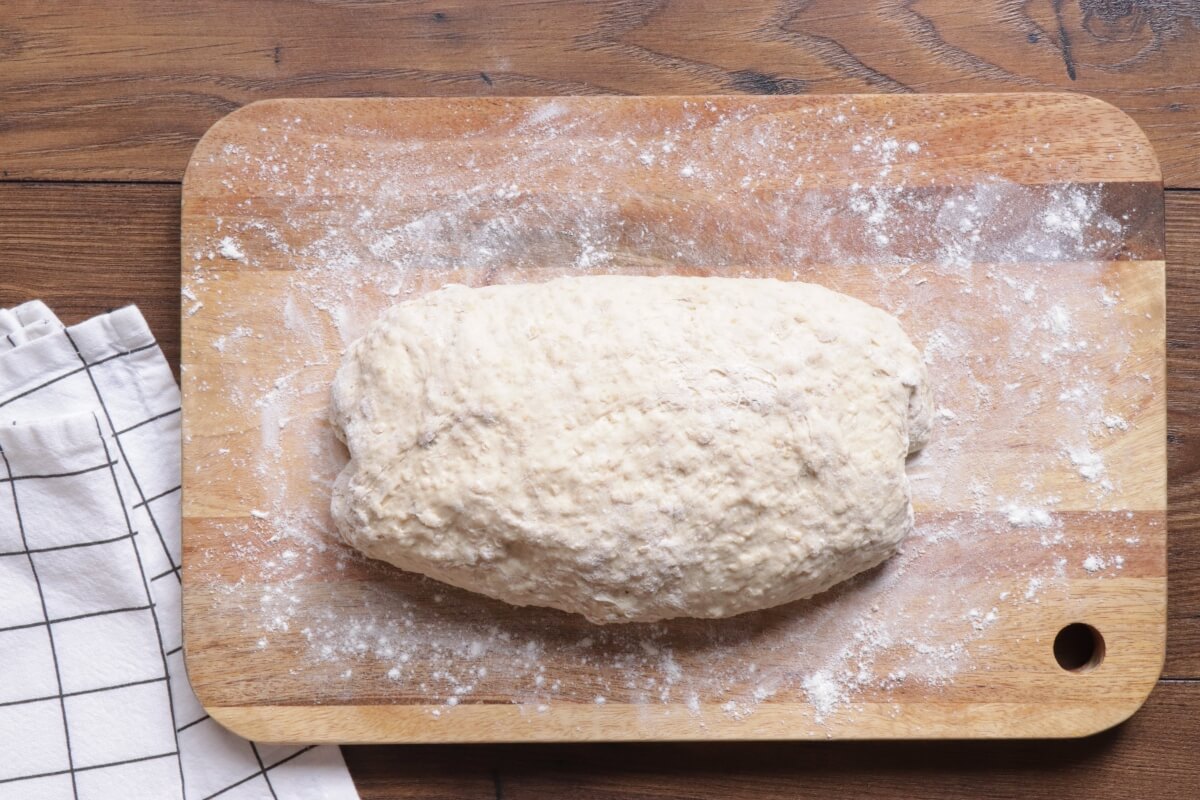
Pour the dough and any excess flour that is not mixing in onto a lightly floured work surface. Lightly flour your hands and flatten the dough into a rectangle about the width of your loaf pan. Fold the edges in and roll the dough up into a log. It does not have to be perfect.
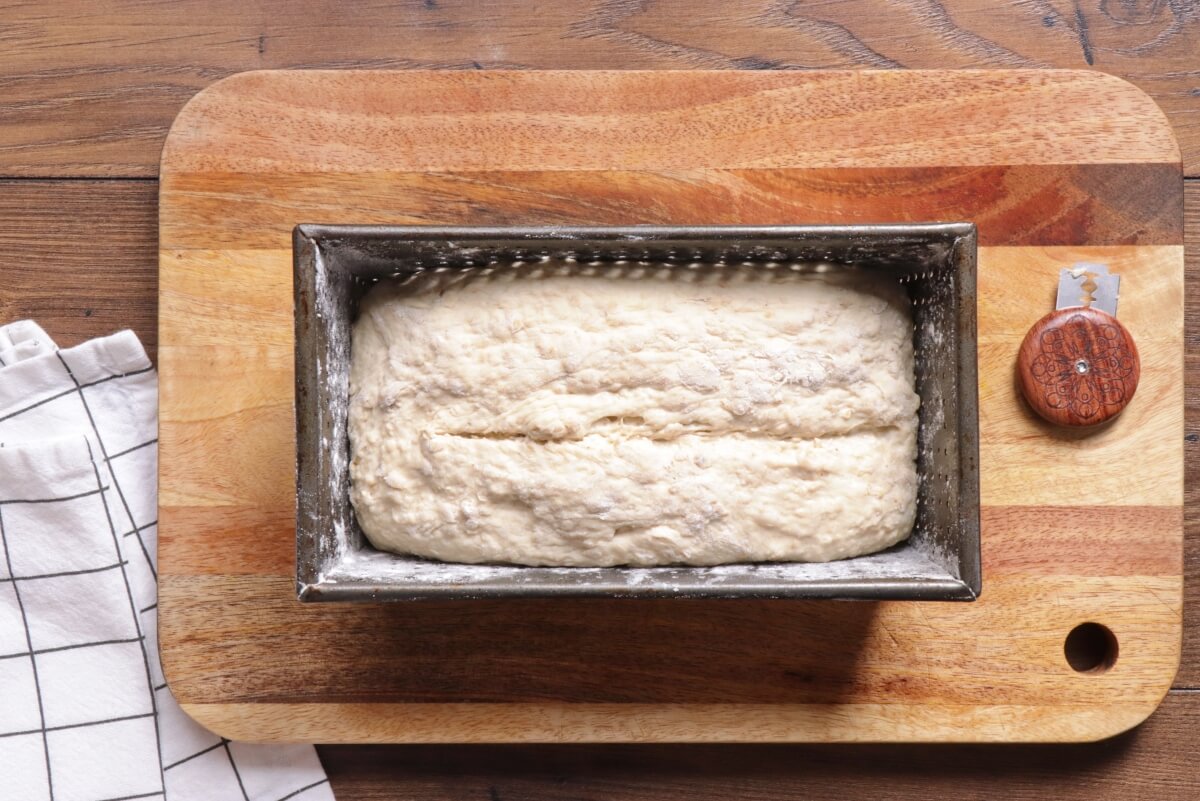
Transfer the loaf to the prepared loaf pan seam-side down. Use a sharp knife or bread lame to score the bread loaf with 1 slash down the off-center, about ½ inch deep.
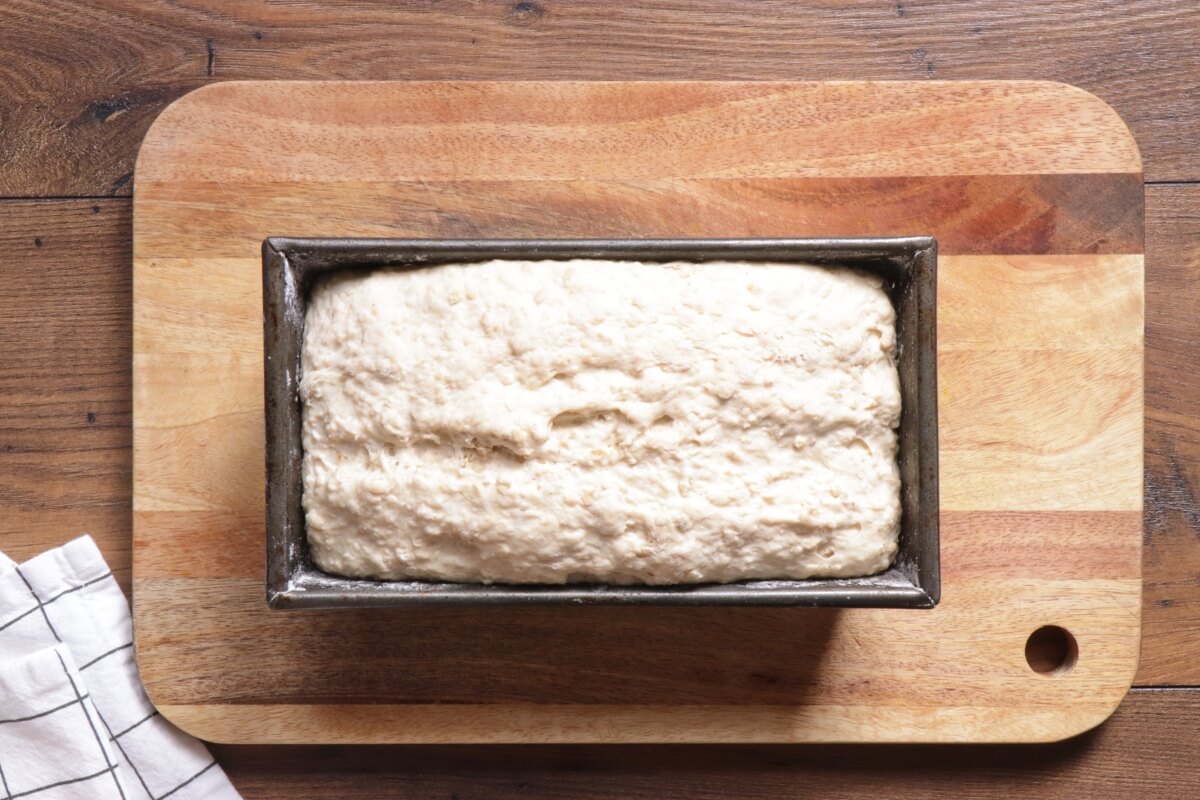
Loosely cover the loaf and let the dough rise on the countertop for 1 hour.
Towards the end of the 2nd rise, preheat the oven to 375 °F.
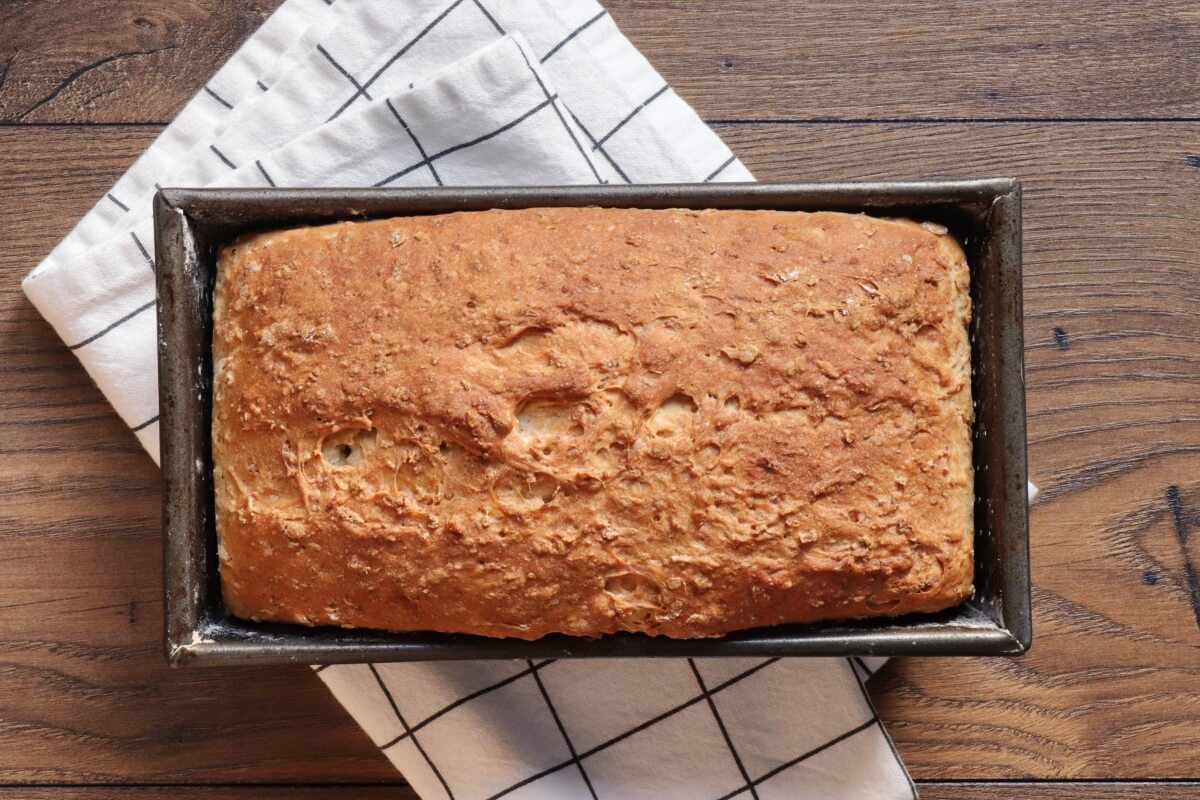
Just before baking, lightly spray the loaf with some water. Bake the loaf for 45-50 minutes or until the top is evenly browned. If the loaf starts to heavily brown on top, tent it with aluminum foil after 30 minutes. To test for doneness, give the loaf a tap. If it sounds hollow, it’s done.
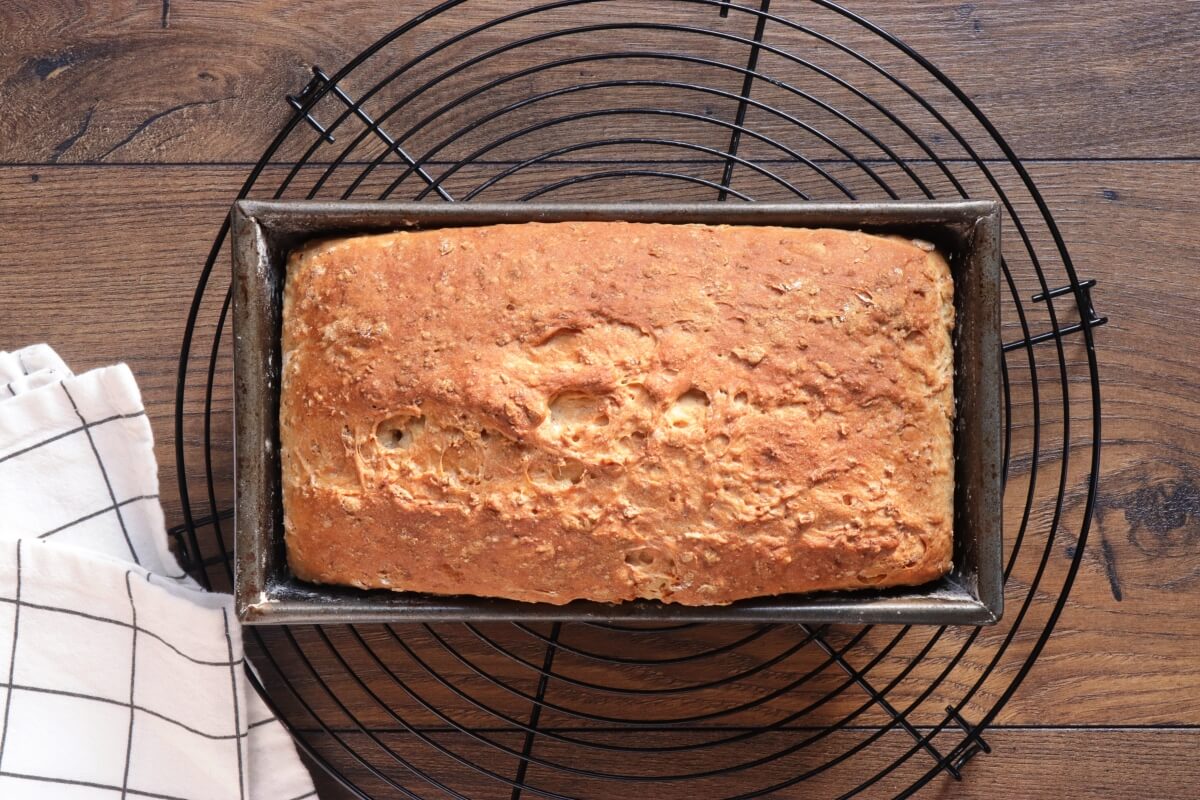
Remove the pan from the oven and cool for 10 minutes in the pan. Then turn the loaf out onto a wire rack. Let the loaf cool before slicing, about 20 minutes more.
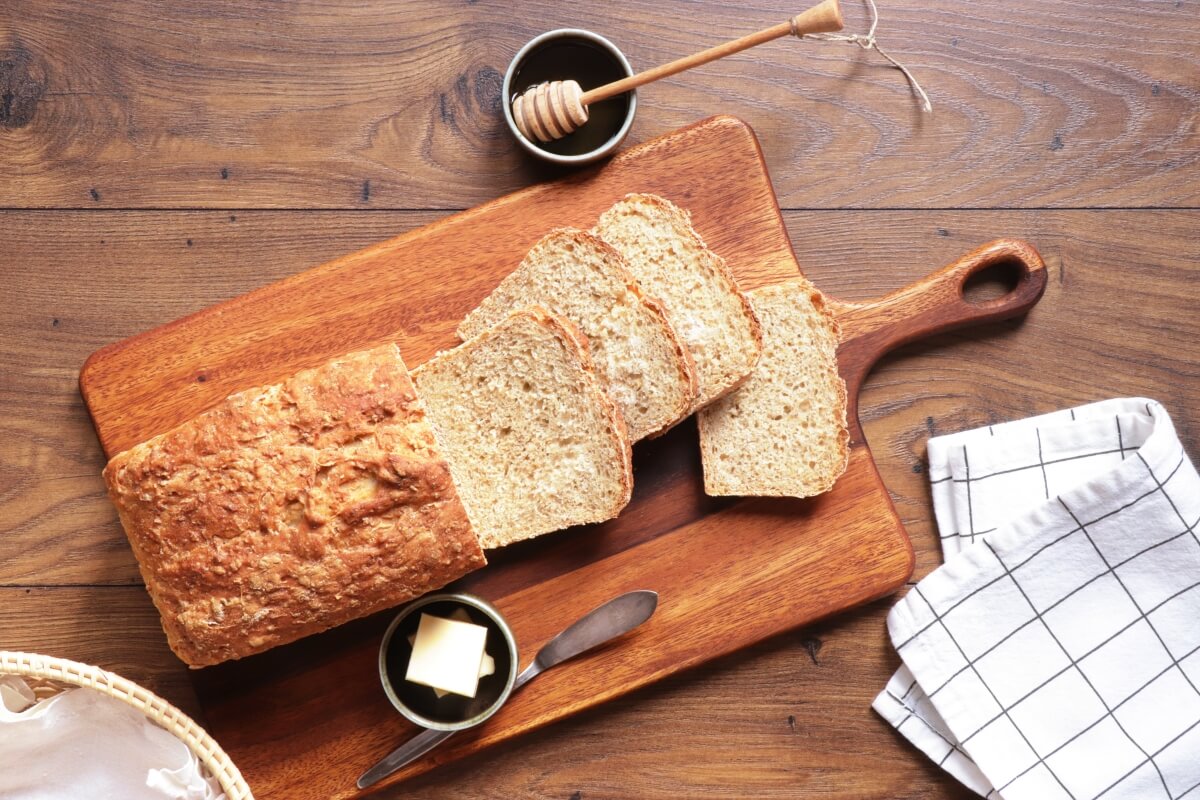
Slice and serve. Store, covered, at room temperature for up to 3 days or in the refrigerator for up to 10 days.
You do not need fancy kit. A large mixing bowl, a whisk or wooden spoon, a medium bowl for the wet mix, plastic wrap or a tea towel, and a nine by five inch loaf pan will do the job. A sharp knife helps to score the top and a wire rack for cooling is handy. I keep a spray bottle near the oven for a quick mist before baking. That little mist is my secret weapon for a properly crunchy crust.
Once, I forgot to grease the pan and the loaf stuck like glue. Now I grease and flour it properly or line with parchment if I am feeling cautious. Lesson learned.
Temperature matters. Use water at about 70 degrees Fahrenheit so the instant yeast wakes up gently. If the water is too hot it will kill the yeast and you will end up with a flat loaf. I test it on the inside of my wrist, like checking a baby bath. It sounds fussy but it helps.
Use old fashioned or quick oats rather than instant. They hold texture and give that satisfying chew. Stir the cinnamon in with the dry ingredients so it spreads evenly. I prefer a light touch of spice so it feels cozy and not like a cake.
For this recipe I use instant yeast because I like how reliable it is for long ferments. A lot of people ask about baking with instant yeast and yes, it works straight into the dry mix without proofing. If your yeast is old, test it in warm water with a pinch of sugar to see if it bubbles. That simple check has saved me from wasted ingredients more times than I can count.
Fold rather than knead. Lightly flour your hands and do a few gentle turns to create a shape. You want to keep the air pockets, not squash them. If the dough looks sloppy add a touch more flour on dry days. On humid days you may need a bit less.
This method yields simple artisan style bread that looks more impressive than the effort involved. It has a crunchy exterior and a soft, chewy crumb that toasts beautifully.
Seeds make it more interesting. After the first rise fold in a quarter cup of pumpkin or sunflower seeds for crunch and extra nutrition. This gives it a brilliant crunch and turns it into healthy sandwich bread perfect for school lunches or picnic boxes.
For a sweeter loaf, add half a cup of dried fruit like raisins or cranberries with a little extra cinnamon. It ends up as a cinnamon oat bread dotted with juicy bits that are lovely with a cup of tea. If you add fruit, be careful not to add too much or the loaf can get soggy.
If you need gluten free, swap in a one to one gluten free flour blend and add xanthan gum if the mix needs it. It will be denser but still comforting. I once made this for a playdate where a child could not have gluten and everyone still loved it.
Slice it thick and toast it until golden, then spread butter and a drizzle of honey. Simple and unbeatable. It also becomes the best base for a cheese toastie or an avocado and egg brunch. I often use it for sandwiches with turkey and greens because it holds up without turning soggy.
Try it with soups, especially tomato or vegetable stews. It soaks up the broth in a very pleasing way. For picnics I cut it into fingers with hummus or guacamole. It plays well with sweet and savoury toppings.
First, grease the pan well and dust with flour, tapping out the excess. Parchment helps if you worry. Run a knife around the edges while warm if it does cling. I once scraped half a loaf out of a pan and never want to repeat that, so I always overdo the greasing now.
Bread flour is higher in protein which helps build gluten and gives a taller, chewier loaf. If you only have all purpose try adding a tablespoon of vital wheat gluten per cup to mimic bread flour. I have done this in a pinch and the loaf turned out fine, though not quite as lofty.
Yes. You can mix instant yeast directly with the dry ingredients and it will be fine for the long overnight rise. If you are unsure about the yeast, test it first in warm water with a pinch of sugar to see if it foams. That test has saved me a few times.
Absolutely. Fold in herbs, cheese, or seeds after the first rise. Use sparingly so the dough still rises well. I made a rosemary and cheddar version for a family gathering and everyone asked for the recipe.
Yes, the oats add fibre and the honey is a natural sweetener, so it is a good pick for packed lunches. If you want less salt reduce the amount slightly. It keeps covered on the counter for a few days or in the fridge longer.
It is forgiving, quick to start, and perfect for busy mornings. Bake it, toast it, share it, and do not worry if the shape is a bit rough. Real life is messy and bread that still tastes good is a small victory worth celebrating.
Get out your loaf pan and bake this No-Knead Honey Oat Bread! It has a crispy crust, moist interior, and amazing flavor. If you make this recipe, share a photo with us @cookmerecipes on Instagram — and don't forget to leave a comment below with your thoughts!

 Dairy-Free Recipes
 Vegetarian Recipes