

Boo! Mummified Garlic Bread is a festive appetizer. Make garlic bread come to life with string cheese and olives that form mummy eyes! You need just eight ingredients to whip up this wickedly cute 30-minute garlic bread recipe. Before heading out to trick-or-treat this year, serve up a Halloween-themed dinner and pair this garlic bread with this Spooky Halloween Monster Mash Soup, or serve alongside this frighteningly good Halloween Spaghetti to form a traditional pairing.
This Halloween take on crusty garlic Parmesan bread is a breeze to make. To start, toast garlic cloves and prepare a cheesy garlic topping. Next, slice the French mini baguettes in half lengthwise and then in half crosswise. Spread the bread halves with topping and decorate with sliced black olives and cheese strands. Bake until the cheese has melted. Serve immediately alongside your Halloween-themed dinner and enjoy!
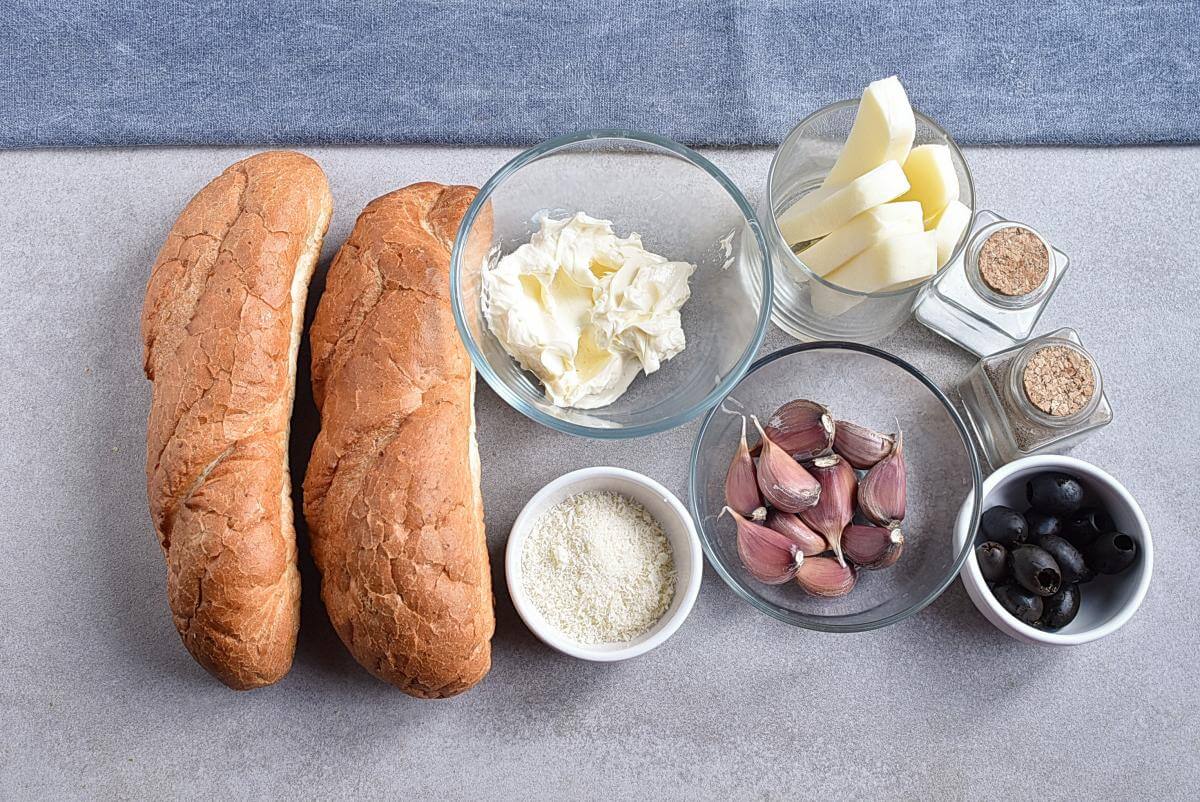
To make the Mummified Garlic Bread, you will need the following ingredients:
Adjust the oven rack to lower-third position and preheat the oven to 500 °F.
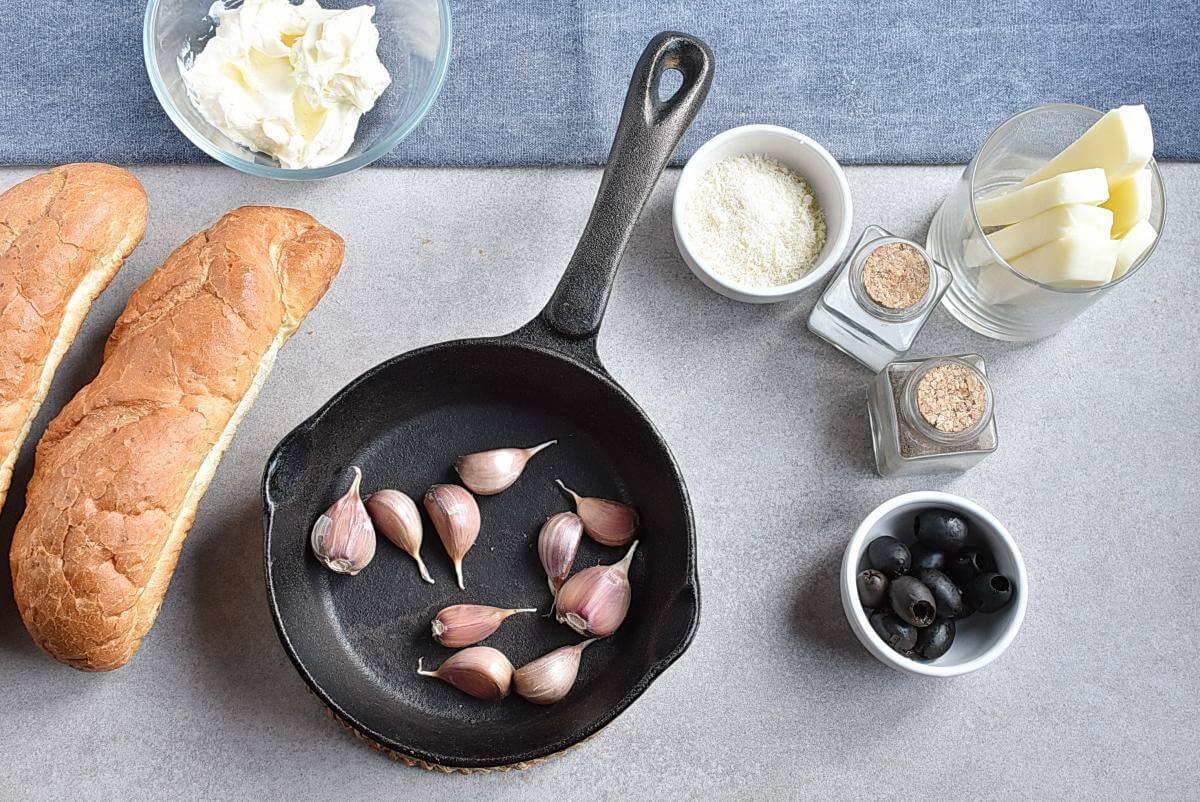
In a small skillet over medium heat, toast 8 skin-on garlic cloves, shaking pan occasionally, for about 8 minutes until fragrant and the color of the cloves deepened.
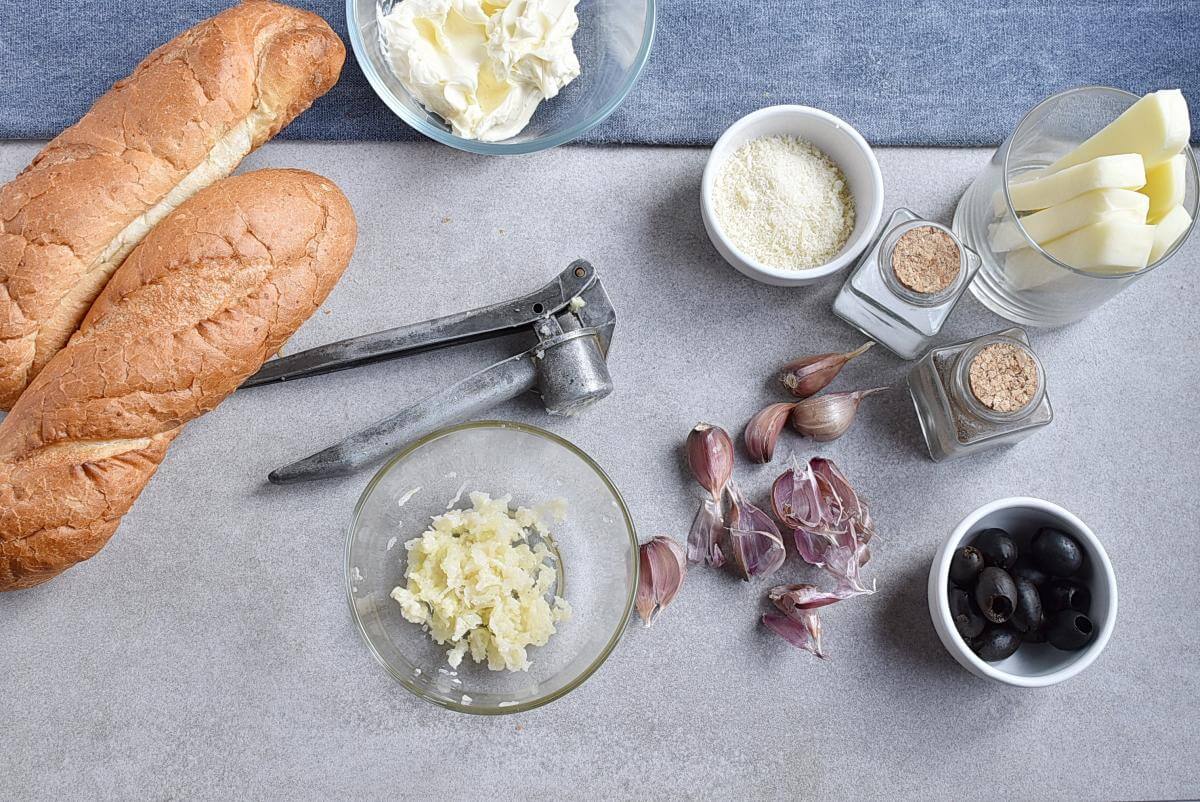
Once cool enough to handle, skin and mince the garlic.
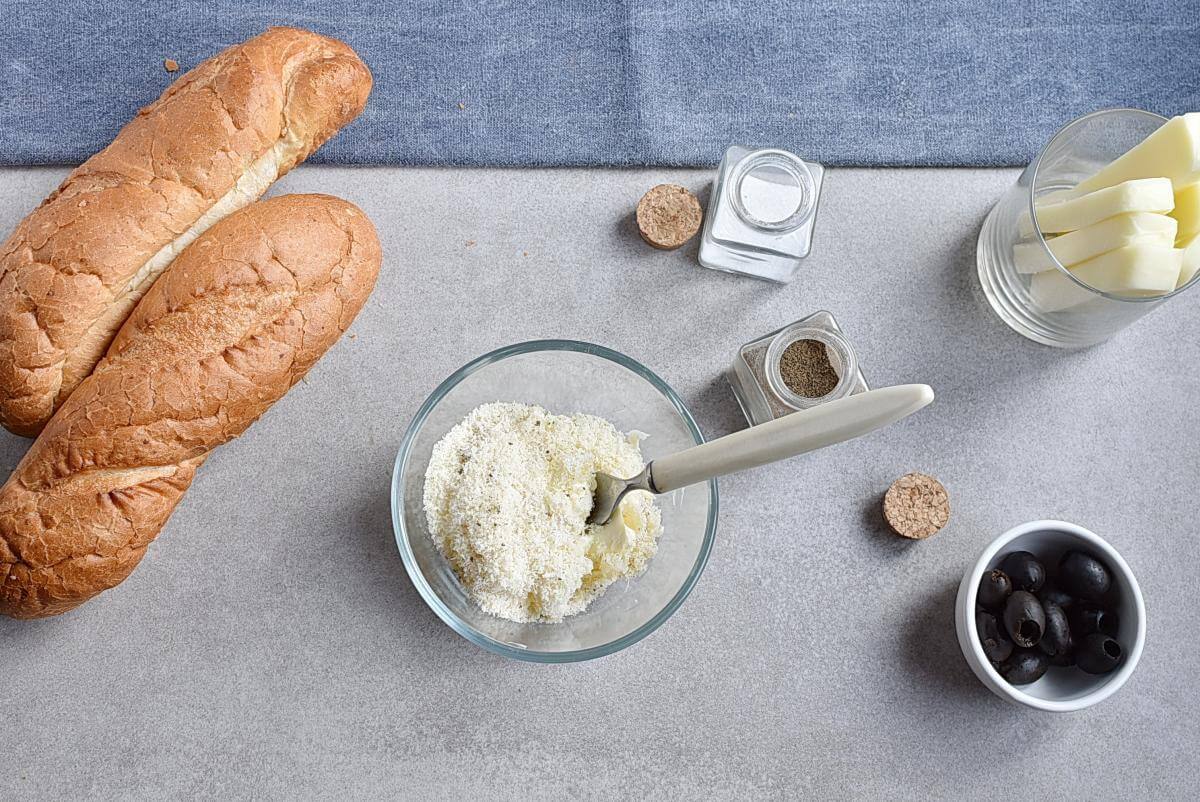
In a bowl, using a fork, mash together garlic, 6 tablespoons softened butter, 2 tablespoons grated Parmesan cheese, ½ teaspoon salt, and a pinch of pepper.
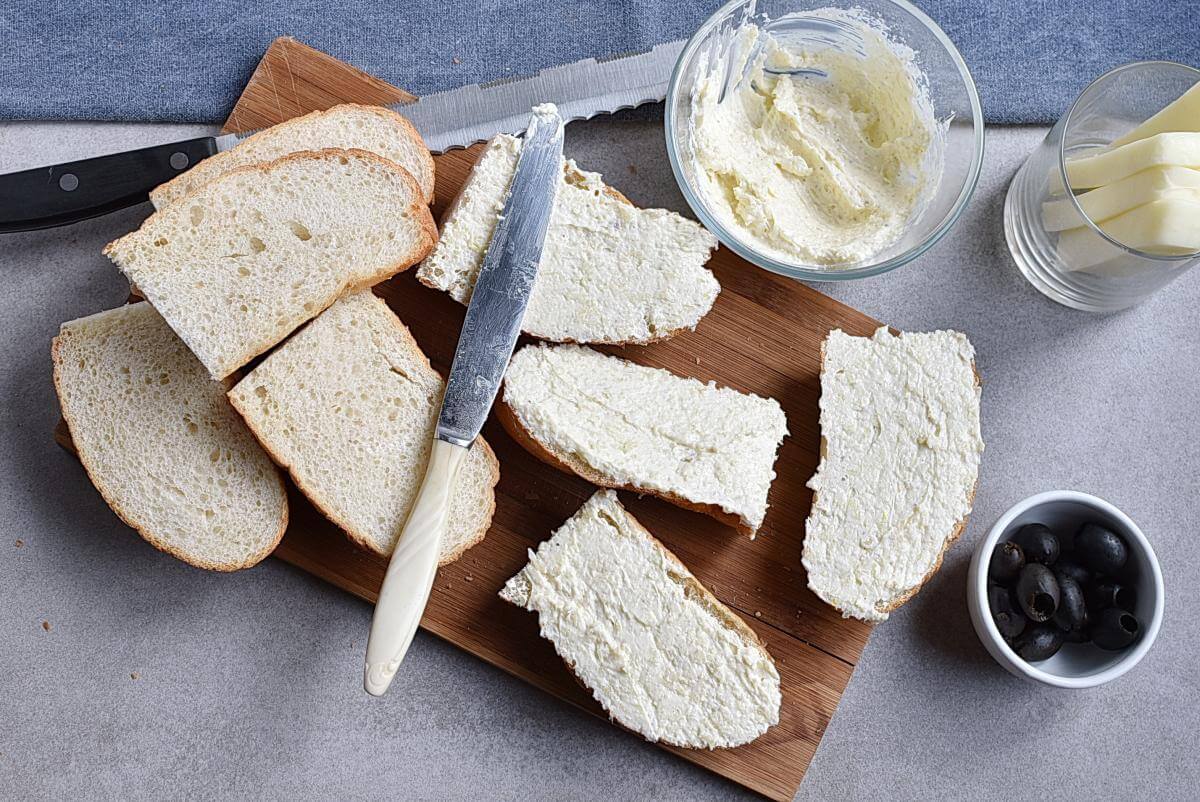
Slice each baguette in half lengthwise and then again in half crosswise so you have eight halves. Spread the cut side of each of the eight halves with the prepared cheesy garlic topping.

Tear the string cheese in thin strands. Place two slices of black olives on each baguette half for eyes and then place the strands of string cheese in layers on top of the bread halves to look like mummies. Make sure to leave some space between the cheese strands.

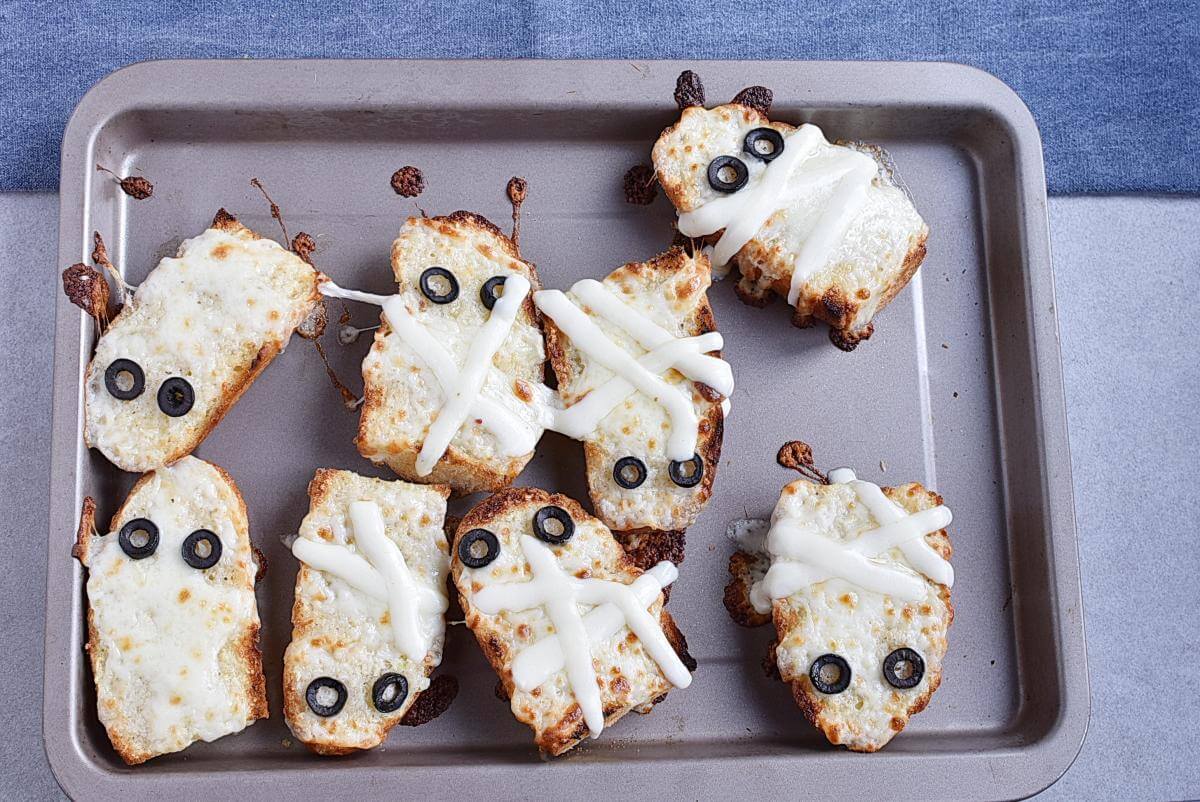
Transfer the bread halves to a baking sheet. Bake until the cheese is melted and just beginning to brown, about 6-8 minutes.

Serve the mummified garlic bread immediately and enjoy!
Dress up a basic garlic bread with string cheese and olives until this Mummified Garlic Bread takes shape. So simple to make and so delicious! If you feel inspired by this spooky recipe, then we’d love to see your creations on Facebook and Instagram! Simply follow us and tag us in your posts with @cookmerecipes.